When the time comes for your under-sink water filter to hang up its boots, you're faced with the task of ensuring the continuous safety and palatability of your home's water supply. You've likely noticed a change in taste or a reduction in flow rate, signaling that your filter isn't performing at its peak. It's crucial to understand not only when, but also why it's necessary to replace your filter, as the health of your water – and consequently your family – depends on it.
In the following discussion, you'll find essential tips that will help you recognize the lifespan limits of your filter, comprehend the indicators of water quality, and guide you through the replacement process. You'll also learn how to troubleshoot common issues that might arise during installation and how to maintain optimal filter performance, ensuring that you're never left high and dry with subpar water.
Recognizing Filter Lifespan Limits
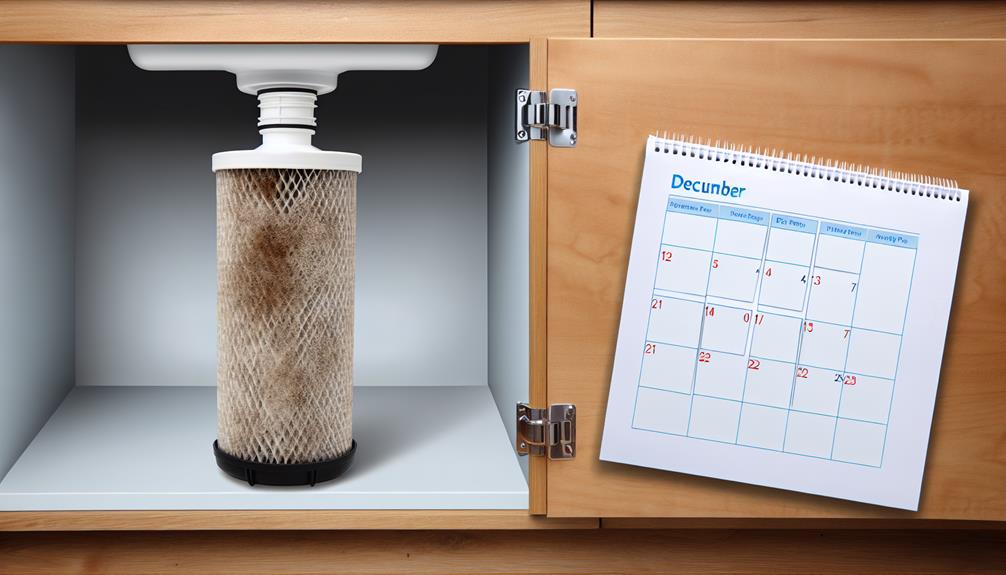
Understanding your under-sink water filter's lifespan is crucial to ensure you're always drinking clean, safe water. Filter expiration isn't a simple date stamped on a product; it's a factor of multiple variables that contribute to lifespan variability. As you consider the filter beneath your sink, you must acknowledge the manufacturer's recommended service interval, but also the unique aspects of your water usage and quality.
Filter lifespan is impacted by the volume of water processed, the level of contaminants in your water supply, and the specific filtration technology employed. For instance, a carbon block filter might have a different life expectancy than a reverse osmosis membrane, due to the differing mechanisms of contaminant removal. Moreover, if you're in an area with higher sediment levels, your filter could reach its capacity sooner than expected.
To navigate these complexities, it's important to monitor your water's taste, odor, and clarity, as changes can signal filter saturation. Additionally, installing a water meter to track usage can inform you when you're approaching the filter's rated capacity. Remember, proactive filter management not only safeguards your health but also maintains optimal filtration performance, preventing undue stress on the system.
Understanding Water Quality Indicators
While monitoring your water filter's lifespan is essential, you'll also need to become familiar with the various signs indicating water quality degradation, such as changes in taste, odor, or appearance. Conducting a taste test can be a straightforward method to detect impurities. If you notice a metallic, sour, or chlorine-like flavor, it's likely that contaminants are bypassing your filtration system.
Moreover, the presence of sediment or turbidity in your water is a clear visual indicator that your filter is no longer performing optimally. A sudden change in water clarity can signify a range of issues, from filter saturation to the introduction of new contaminants in your water supply.
Additionally, you should be aware of the hardness scale, which measures the concentration of calcium and magnesium ions in water. An increase in these minerals can lead to scale buildup, affecting not only the taste but also the efficiency of your plumbing fixtures and appliances. If you observe that soaps and detergents are less effective, or there's an increase in limescale deposits, it's time to check your filter.
Being vigilant about these water quality indicators ensures you'll recognize when it's necessary to replace your under-sink water filter, maintaining the purity and safety of your water supply.
Step-by-Step Filter Replacement Guide
Once you've recognized the signs of water quality degradation, it's crucial to replace your under-sink water filter by following these precise, step-by-step instructions.
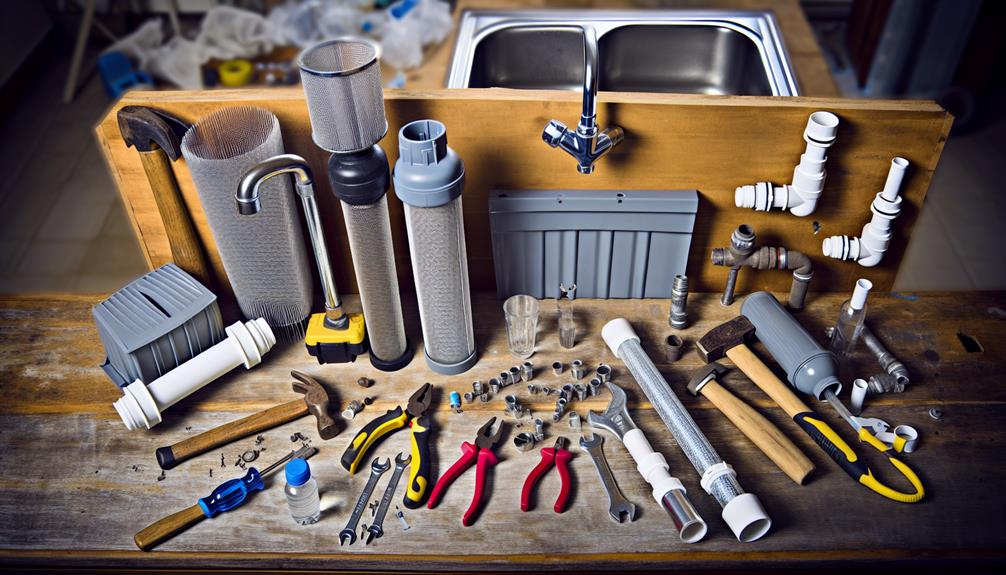
Begin by selecting the appropriate replacement filter, ensuring it matches your system's specifications for optimal performance.
- Turn Off the Water Supply: Locate the valve under your sink and turn it clockwise to shut off the water to prevent any leaks during the replacement process.
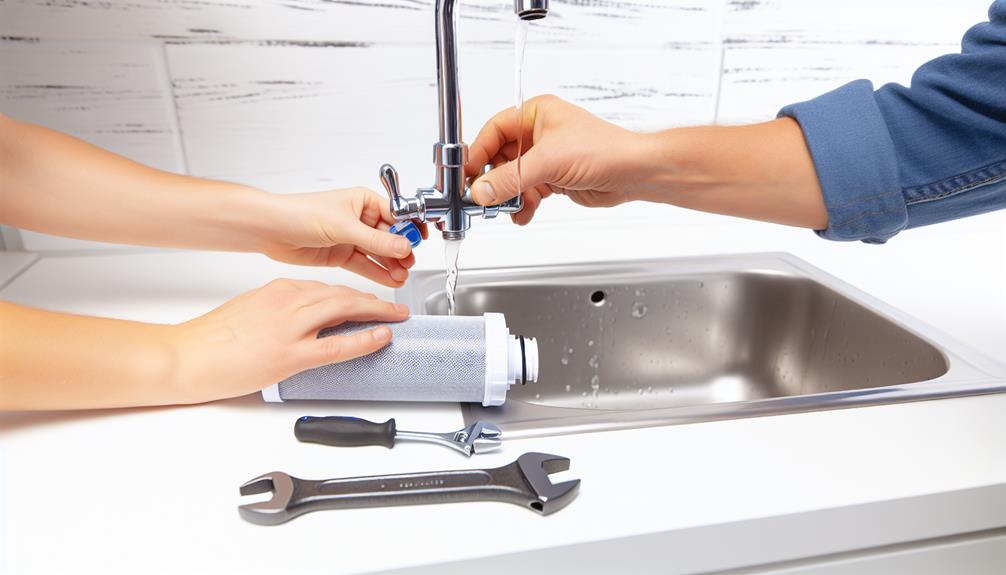
- Remove the Old Filter: Depending on your system, you may need to twist the filter off or release it by pressing a button. Have a bucket nearby to catch any drips.
- Install the New Filter: Align the new filter with the housing and follow the manufacturer's instructions to secure it in place. This might involve twisting it until it's snug or locking it with a specific mechanism.
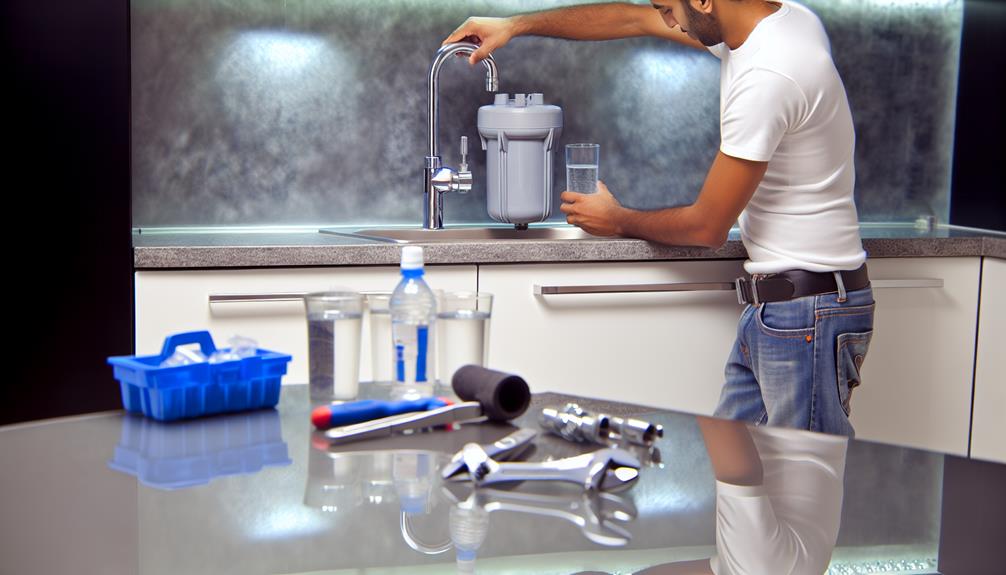
After installing the new filter, slowly turn the water supply back on and check for leaks. Run the faucet for a few minutes to activate the filter and clear out any carbon fines. Remember to follow proper disposal methods for the old filter, as this can vary depending on the filter type and local regulations.
Filter selection and installation are straightforward, but don't underestimate their importance. A correctly installed, high-quality filter will ensure your water remains clean and safe for consumption.
Troubleshooting Common Installation Issues
Even with meticulous adherence to the replacement guide, you may encounter issues that require additional troubleshooting to ensure your under-sink water filter functions correctly. Installation errors can lead to leaks or poor water quality, but with the right approach, you can ensure leak prevention and optimal performance.
Here's a quick reference table to address common installation issues:
| Problem | Solution |
|---|---|
| Leaks at connections | Tighten fittings; check for damaged seals |
| No water flow | Ensure valves are open; inspect for kinks |
| Strange taste/odor | Flush system; check filter compatibility |
When dealing with leaks, always double-check your connections. If a fitting isn't secure, give it a gentle but firm twist. Be cautious not to overtighten, as this can damage the fittings. Inspect all seals and gaskets; if they're worn or damaged, replace them immediately to prevent future leaks.
If you're experiencing no water flow, verify that all valves along the water line are fully open. Also, inspect the lines for any kinks that might be restricting water movement.
Maintaining Optimal Filter Performance

To maintain your under-sink water filter's peak performance, it's crucial to adhere to a regular maintenance schedule that includes periodic filter changes and system inspections. Filter efficiency is directly related to the quality of your drinking water, and neglecting maintenance can lead to detrimental contaminant buildup, reducing the efficacy of your filtration system.
Here are essential steps to ensure optimal filter performance:
- Monitor Filter Lifespan: Most filters have a recommended service life, typically measured in months or gallons of water processed. Track this closely to prevent efficiency loss.
- Inspect for Signs of Wear: Regularly check your filter for any signs of wear or damage. Cracks or leaks can compromise the system's integrity.
- Test Water Quality: Periodically testing the water before and after filtration can provide insight into the filter's effectiveness and signal when a replacement is necessary.
Conclusion
You've now mastered the essentials of under-sink water filter replacement—recognizing lifespan limits, gauging water quality, and navigating installation.
By following these guidelines and addressing common issues, you'll maintain optimal performance, ensuring your water stays pure and safe.
Remember, staying proactive with filter maintenance is key to safeguarding your household's health.
Don't hesitate; replace your filter at the right time to keep enjoying clean, refreshing water every day.