Just as the purity of a mountain spring is guarded by nature's vigilant ecosystem, so too must you protect the sanctity of your home's water by maintaining your under-sink filter.
You're the gatekeeper of your family's water quality, and it's time to arm yourself with the knowledge necessary to change that filter effectively. Whether it's your first time taking on this task or you're a seasoned veteran looking to refine your technique, you'll find the tips laid out here invaluable.
From assessing the compatibility of your new filter to ensuring the safe disposal of the old one, you'll want to master each step to keep your water pristine. And remember, overlooking even one of these tips could mean the difference between a job well done and a potential under-sink catastrophe.
Join us as we explore the intricacies of this essential home maintenance task, and discover the critical nuances that could safeguard your family's health and your peace of mind.
Assessing Filter Compatibility
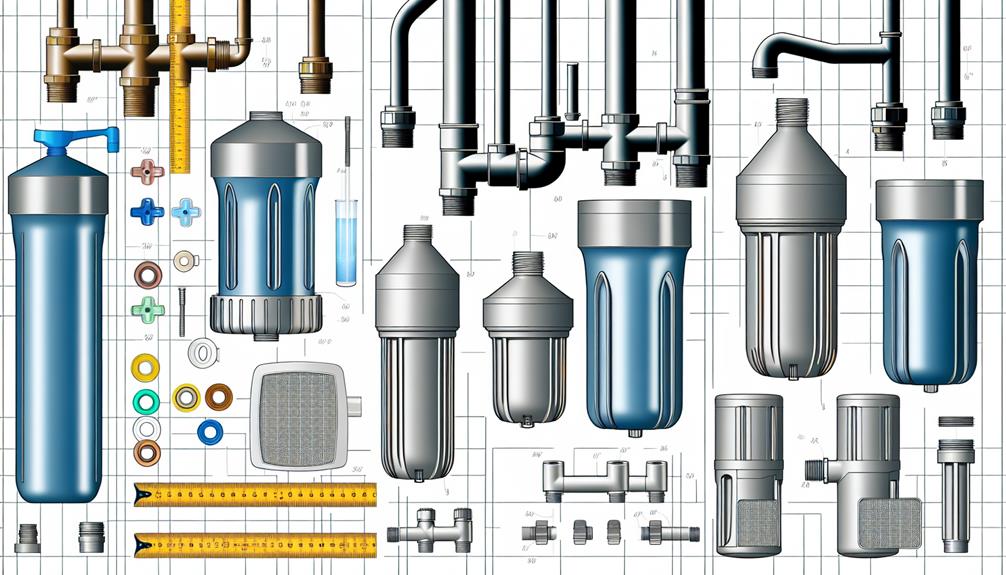
Before purchasing a replacement cartridge, it's essential to ensure that the new filter is compatible with your under-sink water filtration system to avoid any installation issues or subpar performance. Begin by consulting your system's manufacturer specifications to identify the appropriate replacement model. This will guarantee that the filter lifespan aligns with the expected duration of service, reducing the frequency of replacements and associated costs.
Examine the filter's dimensions, connector types, and flow rate requirements to ascertain a match with your existing setup. Compatibility not only influences the efficacy of filtration but also impacts installation cost. A mismatched filter can necessitate additional fittings or adapters, escalating the overall expenses. Manufacturers often provide a reference number or sizing chart for their filtration systems, which you should cross-reference with the replacement cartridge details.
Furthermore, assess the filter medium material to confirm that it can effectively remove the contaminants of concern from your water supply. The technical specifications should list the types of impurities the filter is certified to reduce. Ensure that the replacement maintains or enhances the quality of filtration, thus safeguarding your water quality without incurring unnecessary installation cost or compromising filter lifespan.
Shutting Off Water Supply
To prevent water from flowing while you replace the filter, you'll need to locate the dedicated shutoff valve under your sink and turn it clockwise until it's fully closed. Identifying the water shutoff location is critical to ensure no water pressure is present when you're working on the system. Typically, you'll find two valves under the sink: one for hot water and one for cold water. It's advisable to close both valves to completely isolate your water filter from the water supply.
Valve maintenance is also an important aspect of this process. Over time, valves may become stiff or may not close properly due to mineral buildup or corrosion. It's important to inspect and operate these valves periodically to ensure they function smoothly when you need to shut off the water.
Here's a quick guide to help you locate and understand your under-sink plumbing:
| Component | Description |
|---|---|
| Cold Water Valve | Shuts off the cold water supply to the sink. |
| Hot Water Valve | Shuts off the hot water supply to the sink. |
| Filter Inlet | Connects to the filter's input side. |
| Filter Outlet | Connects to the filter's output side. |
| Water Lines | Flexible pipes connecting valves to faucet. |
Ensure you have a dry area and a towel at hand in case there is any residual water when you disconnect the filter.
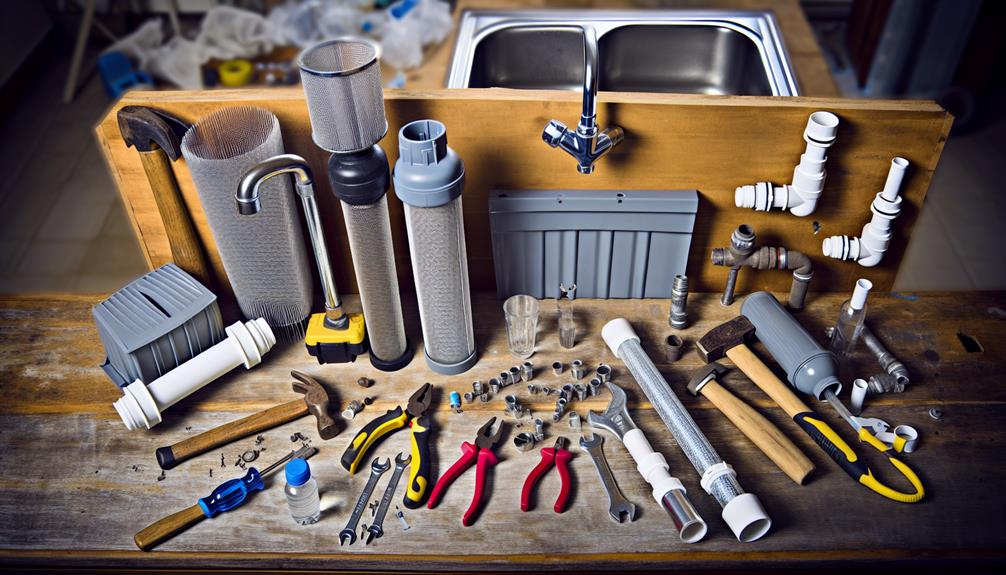
Tools and Materials Preparation
Gather the necessary tools and materials, such as an adjustable wrench, plumber's tape, and a replacement filter cartridge, ensuring you're fully prepared for a smooth filter change. A filter wrench is crucial for loosening the housing of the old filter cartridge, and its selection must correspond to the size and shape of your filter unit for optimal grip and torque.
In addition to the wrench, you'll require plumber's tape, also known as thread seal tape, to secure connections and prevent potential leaks after installing the new filter. This tape is designed to create watertight seals at the threaded joints of your plumbing fixtures.
Moreover, ensure that you have the correct replacement filter cartridge on hand, which matches the specifications of your current system. Using the wrong type of cartridge can lead to ineffective filtration or even damage to your system.
Lastly, consider having a leak detection method at the ready, such as dye tablets or electronic leak detectors, to test for any unnoticed leaks post-installation. This precautionary step is essential for safeguarding against water damage and ensuring the integrity of your filter installation.
Disconnecting Old Filter Unit
Before you begin the removal of your existing water filter unit, ensure you've shut off the water supply to prevent any leaks.
You'll need to relieve the pressure within the system by opening the faucet after the shut-off valve; this step is crucial for a safe disconnection.
With the pressure released, carefully detach the filter's connections, using the appropriate wrenches to avoid damage to the plumbing.
Shut Off Water Supply
Ensure you turn off the water supply to your under-sink filter by locating the shut-off valve, typically found beneath the sink, to prevent any potential water spillage during the disconnection process. It is crucial to understand the operation of the water valve as it is the first line of defense in emergency measures against leaks.
| Step | Emotion | Reason |
|---|---|---|
| 1 | Relief | Water is securely shut off |
| 2 | Confidence | Understanding valve mechanics |
| 3 | Preparedness | Emergency measures in place |
| 4 | Satisfaction | No spillage during process |
| 5 | Anticipation | Ready for the next steps |
Release Pressure Safely
Having successfully shut off the water supply, you'll now need to relieve any pressure within the old filter unit to prevent water from spurting out as you disconnect it. To do this safely and effectively, follow these steps:
- Locate the pressure release valve: Typically found at the top of the filter unit, this valve allows for the safe discharge of any built-up pressure.
- Activate the bleed line: Open the bleed line if your system is equipped with one, to facilitate the release of pressure and drainage of water.
- Open a faucet: Turn on the cold water tap nearest to the filter to aid in pressure release.
Detach Filter Connections
With the pressure now safely released, proceed to carefully disconnect the hoses or pipes connecting your old under-sink water filter unit. Use an appropriate filter wrench to loosen any tight fittings. Most under-sink filters feature connection types such as push-to-connect fittings, threaded connections, or compression fittings. Identify the type you have before proceeding.
For threaded connections, hold the filter steady and turn the wrench counterclockwise to unscrew the fitting. If you're dealing with compression fittings, you'll need to hold the compression nut steady while turning the wrench on the fitting itself. Push-to-connect fittings may require you to depress a collet to release the hose. Always ensure you're turning components the correct way to avoid damage to the plumbing or filter housing.
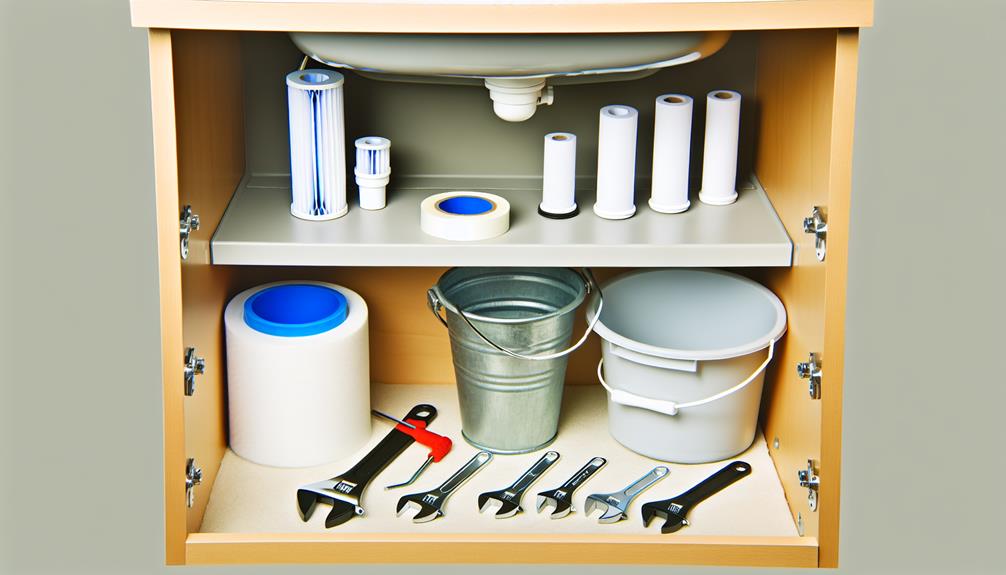
Cleaning Mounting Area
Before replacing your under-sink water filter, thoroughly clean the mounting area to remove any debris or buildup that may compromise the new filter's installation. It's essential to ensure that the surface where the mounting hardware will be placed is free from contaminants that could lead to leak prevention issues later on.
When cleaning the mounting area, consider the following steps:
- Inspect the Space: Look for any signs of damage or corrosion around the area where the filter will be mounted. Address any issues prior to installation to avoid future complications.
- Wipe Down Surfaces: Use a damp cloth or sponge to clean the area. For tougher grime, a mild detergent can be used. Avoid harsh chemicals that could damage the surfaces or the new filter components.
- Dry Thoroughly: After cleaning, it's critical to dry the area completely. Any moisture left behind could cause problems when securing the new filter and potentially lead to leaks.
Employing diligence in preparing the mounting area will aid in a smooth installation process and help maintain the integrity of your under-sink water filtration system. Remember, a clean and secure mount is paramount for optimal filter performance and longevity.
Sealing and Teflon Tape Application
To ensure a watertight seal on your under-sink water filter connections, carefully wrap Teflon tape around the threads of the fittings before assembly. This step is crucial for preventing leaks and avoiding pipe corrosion over time.
Begin by ensuring that the threads are clean and free of debris, which could compromise the seal.
Hold the end of the Teflon tape against the thread's base and wrap it clockwise, keeping tension on the tape to ensure it lies flat against the threads. Typically, wrapping the tape three to four times is adequate. Overwrapping may make it difficult to achieve proper joint alignment and can lead to cross-threading. Conversely, under-wrapping increases the risk of leaks.
After applying the Teflon tape, carefully start threading the fitting by hand to ensure correct joint alignment. Avoid using excessive force as this can strip the threads.
Once hand-tight, use an appropriate wrench to finish tightening the connection. Don't overtighten, as this may cause damage to both the fitting and the tape, undermining the integrity of the seal.
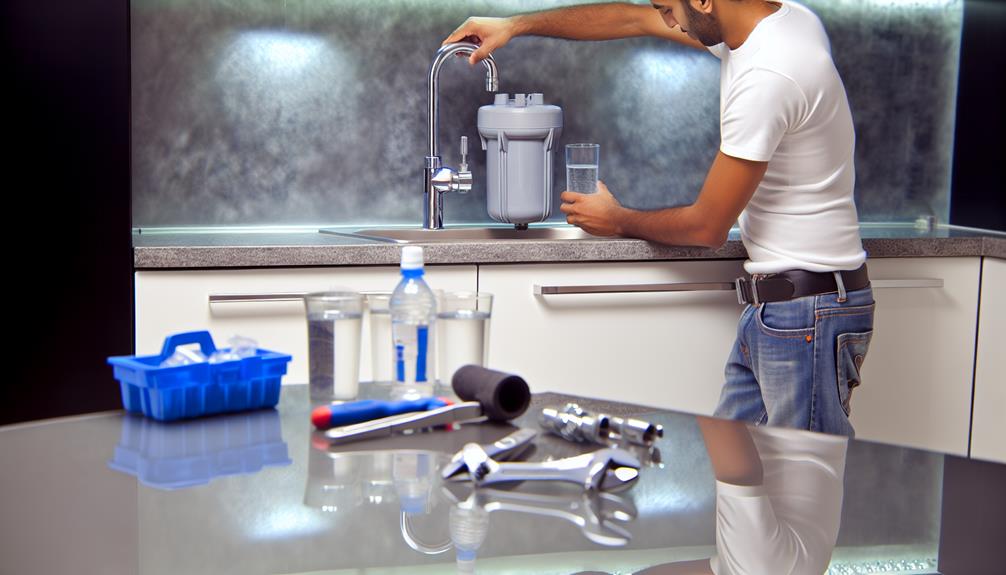
Installing New Filter System
You've chosen the right filter based on your water quality and usage needs; now it's time to install your new under-sink water filtration system.
Begin by thoroughly reading the manufacturer's manual to understand the specific steps and tools required for installation.
Ensure you have shut off the water supply and gathered all necessary components before proceeding with the step-by-step installation process.
Filter Selection Criteria
When selecting a new under-sink water filter system, it's essential to evaluate the specific contaminants your household water supply may contain. You'll want to choose a filter that effectively addresses these concerns to ensure the safety and taste of your water. Consider the following criteria:
- Contaminant Removal: Verify the system's certification against NSF/ANSI standards for reducing specific contaminants like lead, chlorine, and pathogens.
- Filter Lifespan: Look for filters with a longer lifespan to minimize replacement frequency and ensure cost efficiency.
- Flow Rate: Ensure the filter maintains an adequate flow rate to meet your daily water usage without significant pressure loss.
Selecting a filter that meets these criteria ensures you're installing a system tailored to your needs, providing reliable contaminant removal and long-term performance.
Installation Step-by-Step
Begin your under-sink water filter installation by ensuring all necessary tools and components are readily available and that the water supply is turned off.
Carefully follow the manufacturer's instructions regarding filter orientation to avoid improper installation, which can lead to leaks or compromised filtration efficacy.
Precisely align the new filter cartridge with the system's housing; an exact fit is crucial for preventing water bypass or potential contamination.
Securely fasten the housing in place, double-checking for any signs of cross-threading which can cause damage and lead to future issues.
Once the system is assembled, slowly turn the water supply back on and inspect for any leaks, rectifying any issues before continuous use.
Proper installation is paramount for optimal filter performance and longevity.
Checking for Leaks
Ensure you meticulously inspect all connections for drips or moisture to detect any potential leaks after installing a new under-sink water filter. Leak detection is a critical step to safeguard against water damage and ensure the system's integrity. Use moisture indicators such as tissue paper or dry cloth to identify even the slightest wetness, which could signify a leak.
When checking for leaks, follow these technical steps:
- Visual Inspection: Carefully examine all fittings, connections, and the filter housing. Look for any signs of water or moisture that could indicate a leak.
- Pressure Test: After installation, turn on the water supply and let the system pressurize. Observe the connections during this process for any water escape.
- Dry Test: Wipe down all areas with a dry cloth, then check the cloth for wetness. This step can reveal leaks that aren't immediately visible to the naked eye.
Remember to check under the filter, around the inlet and outlet pipes, and at all joint areas. If you find any moisture or drips, immediately tighten the fittings or replace defective parts as needed.
Regular monitoring for leaks is essential to maintain the system and prevent water damage under your sink.
Water Flow and Pressure Test
After verifying that there are no leaks, you should perform a water flow and pressure test to confirm that your under-sink water filter is operating correctly. This process involves assessing the system's ability to deliver water at an appropriate flow rate and pressure, which can be indicative of the filter's functional integrity.
Begin by opening the faucet connected to your filter system. Observe the water's flow; it should be steady and consistent. Inconsistent or weak flow may suggest an issue, such as an incorrectly installed filter or a compromised pipe diameter due to sediment buildup. If you notice a significant deviation from the expected flow rate, consult the manufacturer's specifications to determine the optimal performance standards for your particular model.
To accurately gauge water pressure, use a pressure gauge attached to the faucet. The reading should align with the recommended pressure level stated in your filter's documentation. If the pressure is too low, it could indicate that the filter is clogged with sediment or that there's a constriction in the pipe diameter reducing water movement. Conversely, excessively high pressure might stress the system components, risking damage over time.
Address any discrepancies immediately to ensure your under-sink water filter continues to operate efficiently, providing you with safe, clean drinking water.
Activated Carbon Flushing
Once you've confirmed that your under-sink water filter is operating with the correct flow and pressure, it's crucial to flush the activated carbon filter to remove any residual manufacturing sediment or carbon fines. This step is vital to ensure optimal performance of carbon adsorption, which is the key mechanism for reducing contaminants and improving the taste and odor of your water.
Here are the steps you should follow:
- Turn on the cold water supply: Allow cold water to run through the filter for at least 5-10 minutes. This duration may vary depending on the manufacturer's instructions.
- Check the water clarity: As you flush the system, look for any discoloration or particles. If the water doesn't run clear after the initial flush, continue to run the water until it does.
- Taste test: After flushing, taste the water to assess the improvement in flavor. This subjective measure can indicate the efficacy of the carbon filter in removing undesirable tastes and odors.
Maintaining Replacement Schedule
To maintain your under-sink water filter's efficacy and the safety of your drinking water, it's essential to adhere to the manufacturer's recommended replacement schedule. The filter lifespan varies depending on usage and water quality, but typically ranges from six months to a year. Ignoring these guidelines can lead to reduced performance, possible contamination, and ultimately, the failure of the filtration system.
To ensure you're replacing filters on time, integrate reminder systems into your routine. Most manufacturers offer digital reminders via email or smartphone apps that alert you when it's time to order and replace the filter. Alternatively, you could mark your calendar or set up a recurring event in your digital planner for filter assessments and replacements.
When you install a new filter, record the date and note the expected replacement timeline. Regularly check the water flow and taste, as these can be indicators that the filter is reaching the end of its lifespan. If you notice a significant decline, it's prudent to replace the filter even if the designated time hasn't fully elapsed. Staying vigilant about your filter's condition ensures that your water quality remains optimal and that your health isn't compromised.
Safe Disposal of Old Filters
Once you've replaced your under-sink water filter, you must consider the ecological impact of disposing of the old one.
Begin by consulting your local waste management regulations to ensure you're in compliance with specific disposal guidelines.
If recycling options are available, they're often the most responsible choice; otherwise, ensure proper trash disposal to prevent environmental contamination.
Identify Local Regulations
Before replacing your under-sink water filter, it's crucial to check with your local waste management authorities for regulations regarding the safe disposal of used filters. Compliance with water legislation and understanding permit requirements are vital to ensure that you're adhering to environmentally responsible practices. Here are some key considerations:
- Consult Local Water Legislation: Stay informed about updates to regulations that might affect filter disposal.
- Adhere to Permit Requirements: Secure any necessary permits for disposal, as mandated by local authorities.
- Environmentally Responsible Disposal: Follow guidelines to prevent contamination and protect local ecosystems.
Recycle When Possible
Having acknowledged local regulations for filter disposal, it's also important to explore recycling options as a way to minimize environmental impact.
Filter lifespan can vary, yet each has a definitive end, after which it must be responsibly retired from service. Instead of relegating used filters to a landfill, ascertain if the filter components are recyclable.
Many filters contain materials such as plastics, metals, or activated carbon that can be reclaimed and repurposed, reducing the overall environmental footprint. You'll need to dismantle the filter to sort recyclable parts.
Contact local recycling centers to confirm acceptance policies for these materials. By choosing to recycle, you're contributing to a sustainable cycle and mitigating the negative environmental impact linked with indiscriminate disposal.
Proper Trash Disposal
If recycling isn't an option for your used water filters, it's crucial to follow proper trash disposal methods to mitigate environmental harm. The environmental impact of improperly discarded filters can be significant, as they may contain absorbed contaminants that pose potential health hazards.
To ensure you're disposing of old filters responsibly, consider the following steps:
- Consult Manufacturer's Guidelines: Check for any disposal recommendations provided by the filter manufacturer, which may include returning the filter for proper disposal.
- Containment: Place the used filter in a sealed bag to prevent any leakage of contaminants during transport to a waste facility.
- Local Waste Management Policies: Contact your local waste management authority to ascertain specific regulations for disposing of water filters, ensuring compliance with environmental safety standards.
Conclusion
In conclusion, you've now mastered the critical steps for replacing your under-sink water filter. By ensuring compatibility, safely shutting off the water, and preparing the necessary tools, you've executed a seamless swap.
Properly flushing the new activated carbon filter and conducting a flow test safeguards your system's performance. Adhere to your filter's replacement schedule and responsibly dispose of the old unit.
Your diligence ensures a continuous supply of clean water and the longevity of your filtration system.