When you select, purchase, and install a home water filter, you're taking control of your water quality, ensuring your family's health, and potentially increasing the lifespan of your household appliances. It's a process that warrants your careful attention and a bit of expertise.
As you embark on this journey, you'll want to arm yourself with the knowledge to make informed decisions and execute the installation with precision. You'll need to consider the specific contaminants in your water, the types of filters available, and the unique setup of your home plumbing system.
But where do you start, and how can you be sure you're doing it right? Stay tuned, as expert insights lie ahead to guide you through this crucial task, ensuring you have clear, clean water flowing from every tap in your home.
Assessing Your Water Needs

Before investing in a home water filter, you'll need to evaluate the specific contaminants present in your water supply and determine your household's water consumption patterns. Water testing is the initial step towards a tailored filtration solution. By identifying the exact contaminants, you ensure that the filter you choose will target the impurities impacting your water quality. Test kits are available for purchase, or you can hire a professional service for a comprehensive analysis.
Contaminant identification is crucial because different filters are designed to remove varying impurities. Common contaminants include chlorine, lead, pesticides, and bacteria, each requiring specific filtration technology. For example, activated carbon filters are effective for chlorine and organic compounds, while reverse osmosis systems are more suitable for a broad spectrum of contaminants, including lead and certain microorganisms.
Furthermore, understanding your water usage will guide you in selecting the capacity and type of filtration system that can handle your household's demand without frequent maintenance or replacement. Consider the number of people in your home and your daily water activities, from drinking to cooking and bathing. A precise assessment of these factors ensures optimal filter performance and longevity, safeguarding your water quality consistently.
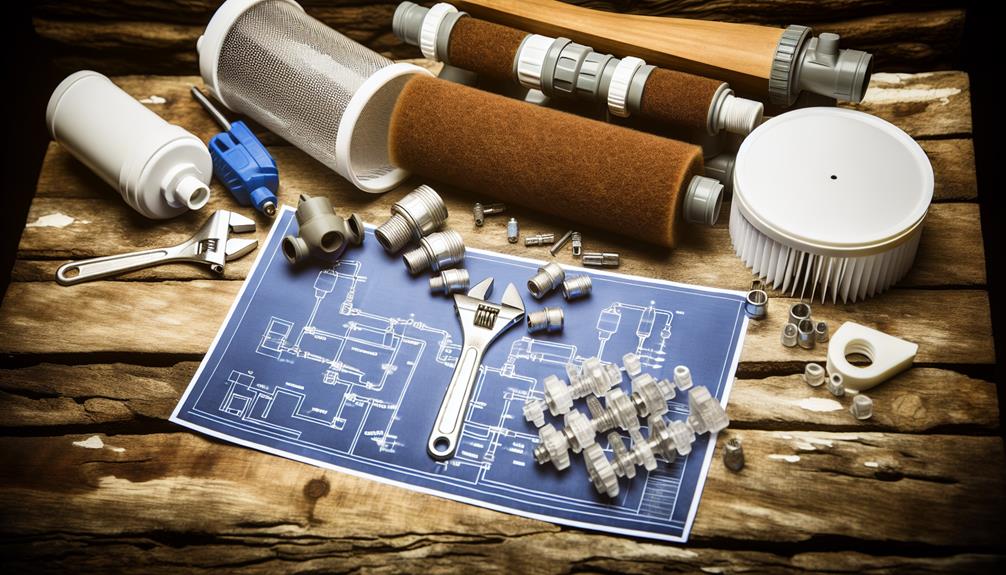
Choosing the Right Filter
Having assessed your home's water quality and usage, you're now equipped to select a water filter that aligns with your identified needs and contaminants. The right filter should effectively target the specific contaminant types present in your water supply.
When considering options, focus on the technical specifications and practical aspects that will ensure optimal performance and sustainability.
Here are crucial factors to consider:
- Filter Lifespan: Check the estimated life of each filter cartridge. A longer lifespan means fewer replacements and potentially lower long-term costs.
- Contamination Removal: Ensure the filter is certified to remove the specific contaminants found in your water analysis. Different filters target varying contaminant types.
- Flow Rate: The filter should accommodate your household's water flow requirements without significant pressure loss.
- Maintenance Requirements: Understand the maintenance involved. Some filters require regular cleaning or part replacement to maintain efficiency.
It's practical to invest in a system with a robust construction and a proven track record of reliability. Remember, the initial cost isn't the only expense; factor in maintenance and filter replacement costs to understand the true long-term investment. Always refer to third-party certifications to verify the filter's claims.
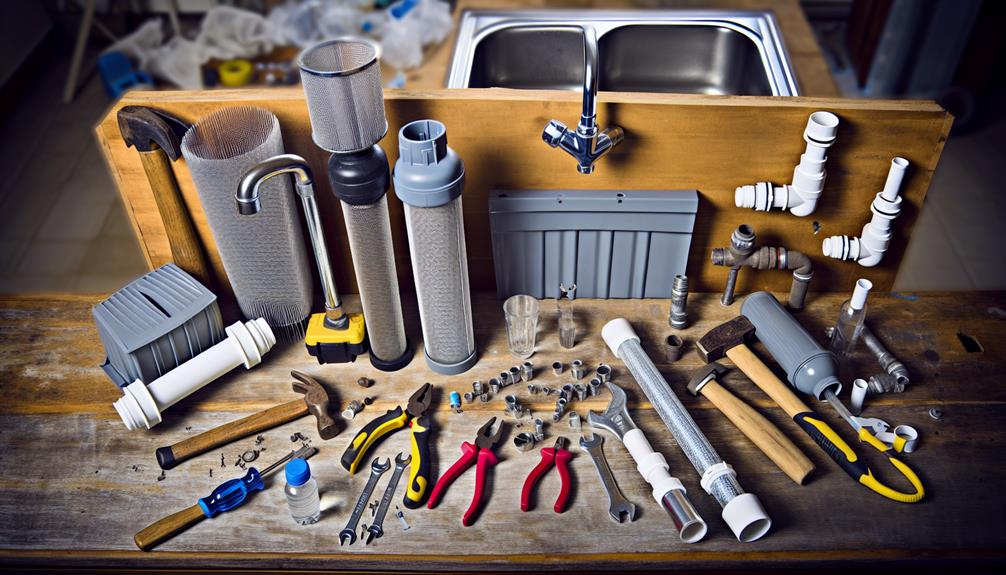
Preparing for Installation
To ensure a smooth installation process, you'll need to gather the necessary tools and clear the area around your main water line. Identifying the filter location is crucial; it should be easily accessible for maintenance and monitoring. Once the spot is determined, make sure it's free from clutter and has sufficient lighting. This will prevent any hindrance during the installation and future filter changes.
Before you start, familiarize yourself with the installation tools required for the job. A proper set of tools ensures efficiency and safety. Here's a table summarizing what you'll need:
| Installation Tools | Description |
|---|---|
| Adjustable Wrench | For tightening and loosening fittings |
| Pipe Cutter | To cut the pipe where the filter will be installed |
| Teflon Tape | For sealing threaded joints to prevent leaks |
| Screwdrivers | For securing any mounts or brackets |
| Plumber's Tape | Optional, for added sealant on certain filter models |
Having the right tools at hand will streamline the installation of your home water filter. Double-check for any additional, model-specific tools or accessories that may be required. Remember, precision and attention to detail are paramount when preparing for installation to ensure a functioning and leak-free water filter system.
Step-by-Step Installation Guide
Once you've gathered your tools and prepared the installation area, it's time to shut off the main water supply and drain the existing pipes.
Next, determine the filter location, which should be easily accessible for maintenance and not obstruct regular activities.
Remember, the right tool selection is crucial to ensure a smooth installation process.
Here's a practical guide to installing your home water filter:
- Choose the Right Filter Location: Find a spot on the main water line, preferably after the municipal meter or your storage tank.
- Tool Selection: Arm yourself with adjustable wrenches, Teflon tape, pipe cutters, and leak-proof fittings appropriate for your specific filter model.
- Connect the Filter: Cut the pipe where the filter will reside, remove any burrs, and secure the filter's inlet and outlet with the fittings, ensuring they're snug and sealed with Teflon tape.
- Test for Leaks: Once installed, slowly turn the water supply back on and check for leaks, tightening connections if necessary.
Remember to follow the manufacturer's instructions for your specific filter model, as the details may vary.
After installation, flush the system according to the guidelines to ensure it's ready for use.
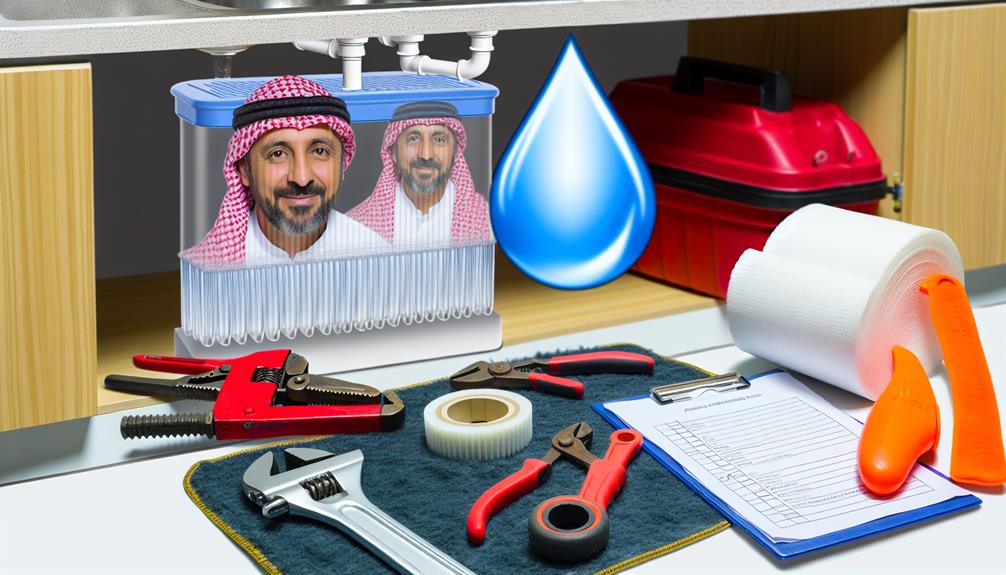
Maintenance and Troubleshooting

Regular maintenance ensures your home water filter operates efficiently and extends its lifespan, while proper troubleshooting can swiftly address any performance issues that arise. To maximize your filter lifespan, you must regularly check and replace the cartridges according to the manufacturer's recommendations. Ensure cartridge alignment during each change to prevent leaks and maintain optimal filtration.
Be vigilant for signs of reduced water flow or changes in water taste or odor, which may indicate a clogged or improperly installed filter cartridge. If you encounter such issues, refer to the table below for quick troubleshooting:
| Problem | Possible Cause | Solution |
|---|---|---|
| Reduced flow rate | Clogged filter | Replace filter cartridge |
| Leak at filter head | Cartridge misalignment | Re-align and secure cartridge |
| Odd taste/odor | Exhausted filter media | Replace with a new cartridge |
Always turn off the water supply before performing maintenance or troubleshooting tasks. When handling cartridges, do so with clean hands to prevent contamination and check for any damage or wear that could affect performance.
Conclusion
Now that you've installed your home water filter, remember to keep up with regular maintenance. Check your manual for specific filter replacement timelines and adhere to them to ensure optimal performance.
If you encounter any flow issues or taste changes, troubleshoot immediately—don't ignore potential signs of a problem.
With diligent care, your water filter will provide clean, safe water for years to come. Stay proactive and enjoy the benefits of your home water filtration system.