In the days of yore, you'd have had to rely on the village well for a fresh sip of water, but today, you're looking to harness modern filtration right in your own homestead.
You've made the wise decision to install a water filter, understanding that it's not just about quenching your thirst, but ensuring the purity of every drop you drink and use.
As you embark on this journey, you'll need to navigate the maze of options and steps with care – from selecting the right filter for your abode to the intricacies of installation.
With a steady hand and a bit of guidance, you'll be set to enjoy the fruits of your labor: clean, safe water flowing from your taps.
Now, let's get your tools lined up and the main valve closed, because you're about to learn how to transform your water supply, one twist and turn at a time.
Selecting the Right Filter
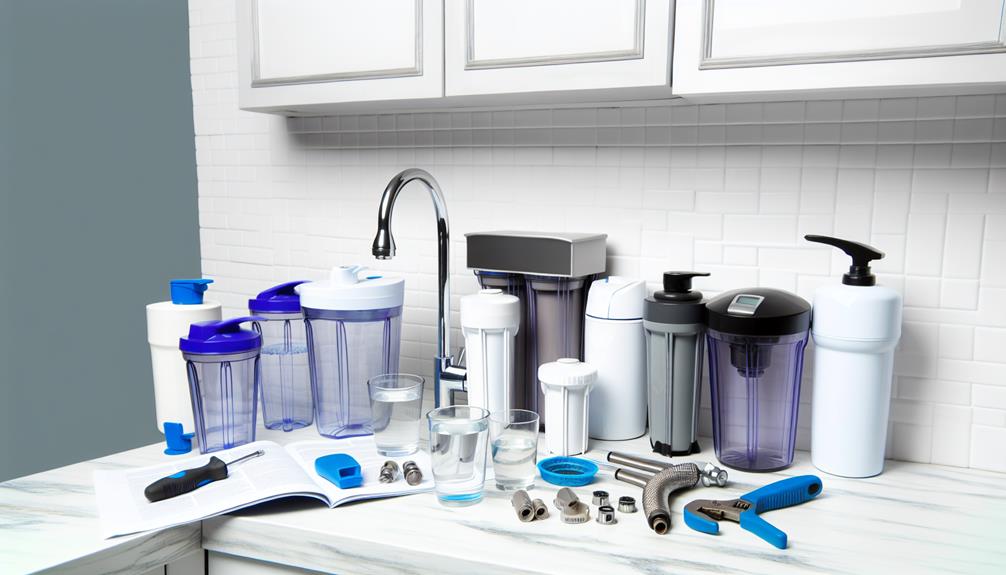
When choosing a water filter for your home, it's essential to assess the specific contaminants you need to target based on your water quality report. This document, typically provided by your local water utility, enumerates various substances present in your tap water, including but not limited to, organic and inorganic compounds, heavy metals, and microbiological entities. Ascertaining the concentration levels of these contaminants is pivotal in selecting a filtration system with a proven efficacy for contaminant removal specific to your needs.
The filter lifespan is another crucial factor in your selection process. You'll want to ensure that the system you choose not only has the capacity to remove contaminants effectively but also offers a reasonable period of operation before necessitating replacement. Filter lifespan is generally gauged by the volume of water it can treat or the duration of time it remains functional, which varies widely among filtration technologies.
Evaluate the specifications of each filter carefully, comparing their contaminant removal capabilities against the impurities highlighted in your water quality report. Opt for a filter that not only meets but exceeds the required standards for a safer water supply, and pay close attention to the manufacturer's guidelines on filter lifespan to maintain optimal performance.
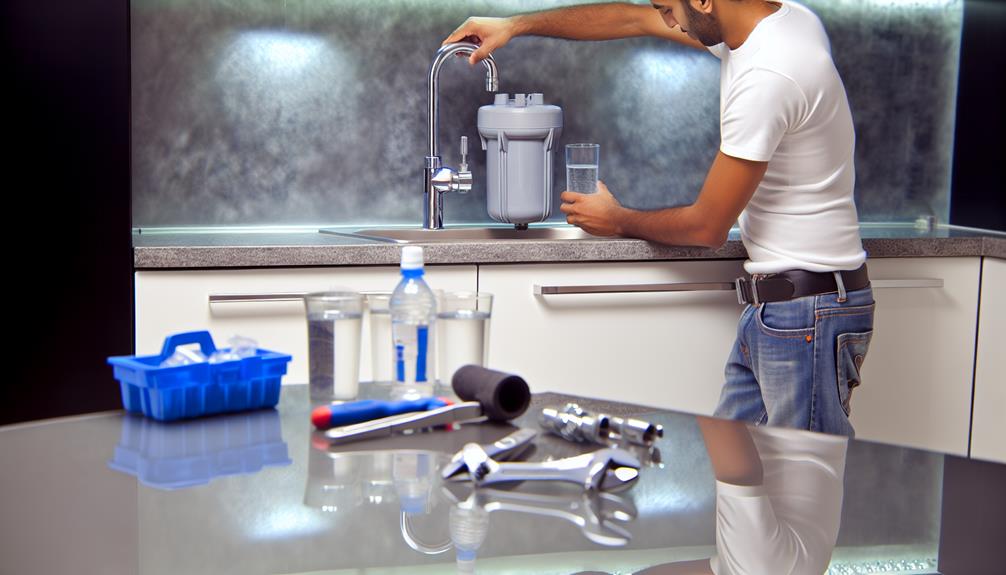
Gathering Necessary Tools
Before commencing the installation of your home water filter, ensure you've assembled all the necessary tools to facilitate a smooth and efficient process. Adequate tool organization is pivotal; it not only simplifies the task but also enhances safety by minimizing potential hazards.
When assembling your toolkit, consider the following items, each serving a distinct function in the installation process:
- Adjustable Wrench: Vital for tightening and loosening connections.
- Pipe Cutter: Ensures a clean cut of the piping where the filter will be installed.
- Teflon Tape: Used to seal threaded joints, preventing leaks.
- Screwdriver Set: Various sizes may be needed for securing the filter housing.
- Plumber's Putty or Sealant: Essential for watertight seals around fittings.
Remember to follow safety precautions: wear protective eyewear and gloves to shield against potential debris or sharp edges. Moreover, having a flashlight or headlamp can be beneficial for visibility in low-light conditions. Keep all tools within reach and organized, as you'll want to avoid unnecessary interruptions during the installation.
With the necessary tools in hand, you're now equipped to move forward with the installation process confidently.
Shutting Off Water Supply
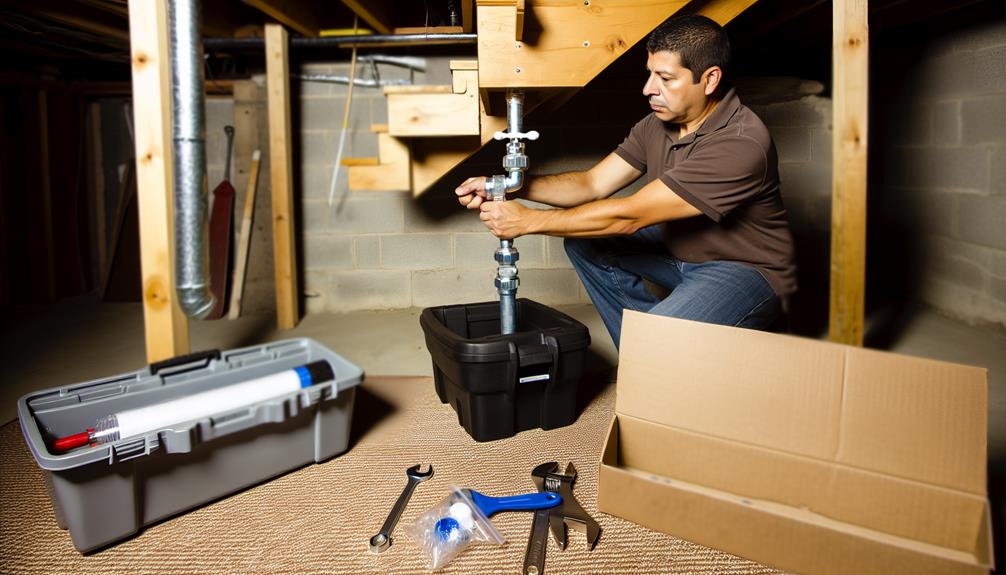
Having assembled your toolkit, the next critical step is to shut off the water supply to prevent any flow into the area where you'll be installing the home water filter. Initially, locate the main water shut-off valve which is typically situated near the water meter or where the main water line enters your home. Turn the valve clockwise to close it. It's imperative to ensure the valve is completely turned to avoid any potential for leakage during the installation.
After the water supply has been terminated, open a faucet at the lowest point in your home to drain any remaining water from the pipes. This will minimize the risk of water spillage when you cut into the pipes to install the filter.
Inspect the installation site for pipe insulation that may need to be removed for access to the piping. Carefully set aside this insulation; it can be refitted once the filter is securely in place.
Before proceeding, implement leak detection measures. Dry the pipes and surrounding area to easily identify any new moisture that may appear after the water supply is reinstated. Ensuring that the pipes are dry will facilitate immediate detection of any potential leaks at the new junctions once the filter is operational.
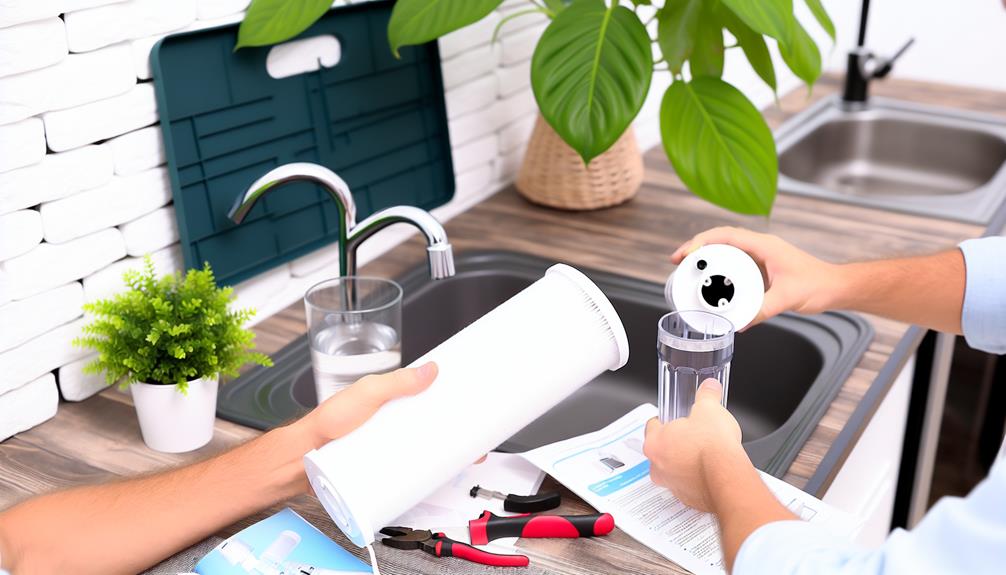
Filter System Installation
With the water supply now off and the pipes prepped, it's time to install the home water filter by following these precise, step-by-step instructions.
Ensure you have all the necessary tools and components at hand before initiating the procedure. Pay careful attention to the manufacturer's manual for any model-specific guidelines, as improper installation could lead to water contamination or damage to your system.
Here are the essential steps for a successful installation:
- Identify the Installation Point: Choose a suitable location on your main water line, typically before it branches off to other areas of your home.
- Make Plumbing Modifications: Carefully cut the pipe where the filter will be installed, ensuring clean, straight edges for a secure fit.
- Ensure Filter Orientation: Position the filter so that the flow of water matches the direction indicated by the arrow on the filter housing.
- Secure the Filter: Utilize the provided brackets or mounting hardware to securely attach the filter assembly to a stable surface.
- Install Fittings: Connect the filter input and output to your water line using the appropriate fittings, ensuring all connections are tight and leak-free.
Once the physical installation is complete, slowly turn the water supply back on and check for any signs of leakage. Correct any issues before proceeding to use the filter.
Maintenance and Upkeep
To ensure your water filter continues to operate efficiently, regular maintenance and timely replacement of the filter cartridges are imperative. The filter lifespan is contingent upon your water usage and the specific contaminants present in your water supply. It's essential to monitor the manufacturer's recommended service intervals and adhere to them diligently.
Replacement indicators vary by system. Some filters are equipped with a visual signal, such as a color change, while others may rely on a drop in water pressure or the lapse of a preset time period to notify you of the need for a cartridge change. You must familiarize yourself with these indicators to maintain optimal performance.
When performing maintenance, shut off the water supply before removing the filter cartridge. Inspect the O-rings and housing for wear and tear, applying appropriate lubricant when necessary to ensure a proper seal upon reinstallation. Dispose of spent cartridges in accordance with local regulations, as they may contain trapped contaminants.
To prevent bacterial growth and scaling, sanitize the filter housing with a diluted bleach solution as recommended by the manufacturer. This will also help avoid clogs that can impede water flow.
Conclusion
Now that you've installed your home water filter, enjoy the clean, pure water it provides.
Remember to routinely check and replace the filter cartridges as recommended to maintain optimal performance.
Adhering to the maintenance schedule ensures the longevity and efficiency of your system.
With your careful attention, your water filtration system will continue to deliver safe, high-quality water for your household.
Stay proactive about your water quality—it's essential for your health and well-being.