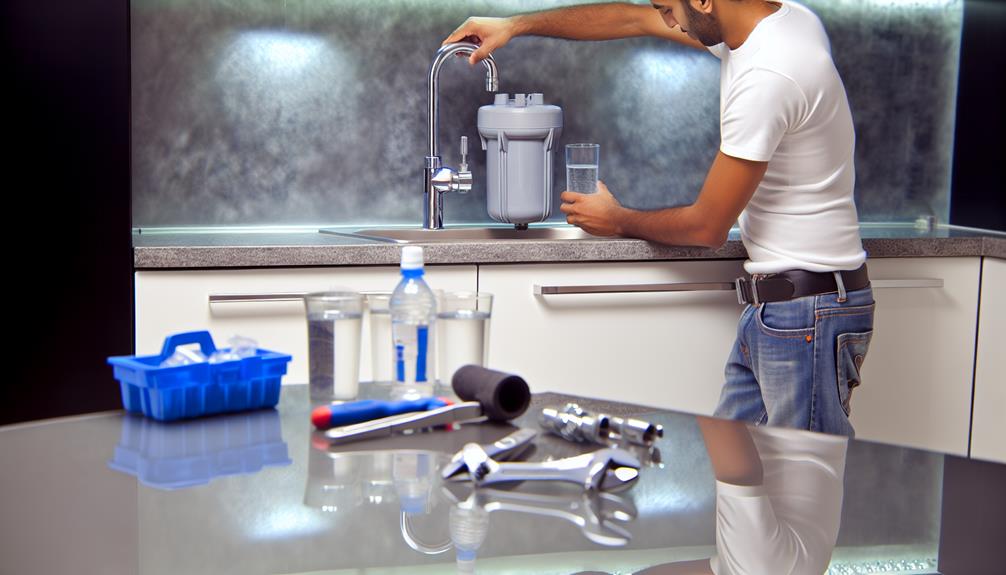
When the time comes to give your under-sink water filter a new lease on life, you'll find the process is not as daunting as you might initially think. You're at the helm of ensuring the purity of your drinking water, and while the task requires a bit of elbow grease, it's well within your capabilities.
To begin, you'll need to identify the specific model of your filter to procure the correct replacement. From there, you'll prepare your workspace, turn off the water supply, and gather the necessary tools. Removing the old filter may reveal a few surprises—perhaps a reminder of the unseen work it's been doing.
As for installing the new filter, precise steps need to be followed to avoid any future waterworks mishaps. But don't worry—you're about to uncover the simple intricacies of this essential maintenance task, ensuring that your next glass of water is as refreshing and safe as it should be.
Identifying Your Filter Model
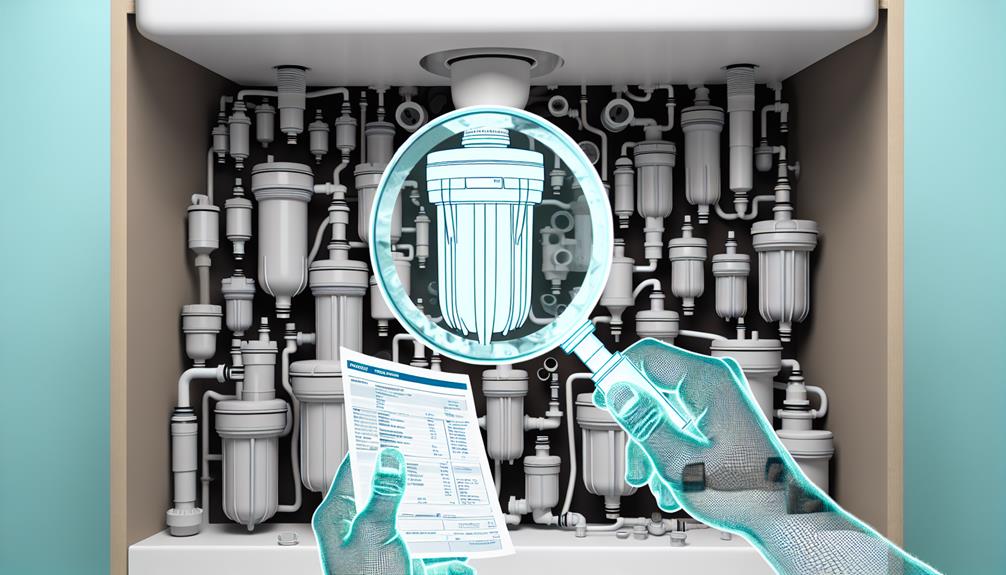
Before you can replace your under-sink water filter, you'll need to determine the exact model you currently have installed. This step is critical, as it ensures you avoid compatibility issues that can arise from purchasing the wrong replacement filter. Start by locating the manufacturer's name and model number, usually found on a label on the filter housing or in the original documentation that came with the system.
Understanding your filter's lifespan is also essential. Most models have a recommended service life, which can vary widely depending on usage and water quality. This information helps gauge whether it's time for a replacement or if your current filter can still effectively purify your water.
Once you've noted the model details, cross-reference this information with the manufacturer's specifications. This will confirm the type of replacement filter you need to buy. If the exact model is discontinued or unavailable, consult the manufacturer's guidelines for compatible alternatives. Remember, using a non-compatible filter can compromise the system's efficiency and potentially damage your plumbing.
Having the correct model information at hand will streamline your purchasing process, ensure a proper fit, and maintain the integrity of your water filtration system.
Preparing for Replacement
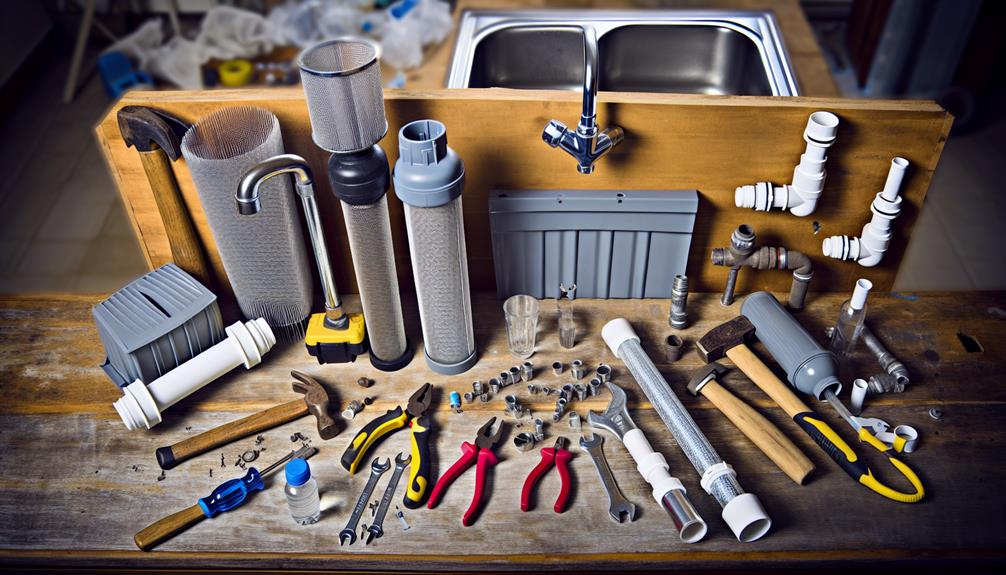
Having confirmed the correct filter model for your under-sink system, it's now time to gather the necessary tools and materials for a smooth replacement process. Don't overlook this step, as being prepared will help you adhere to the maintenance schedule and ensure you don't shorten the filter lifespan through mishandling.
Here's what you'll need:
- Adjustable Wrench: This tool will help you loosen and tighten the connections without damaging them.
- Bucket or Towel: To catch any water that may spill when you remove the old filter.
- Plumber's Tape: Essential for resealing thread connections to prevent leaks post-installation.
- Replacement Filter Cartridge: Ensure it's the same model as the one you're replacing to guarantee compatibility.
Before starting, shut off the water supply to your filter system to avoid any potential messes. Check your manufacturer's instructions for any specific requirements related to your filter model.
Removing the Old Filter
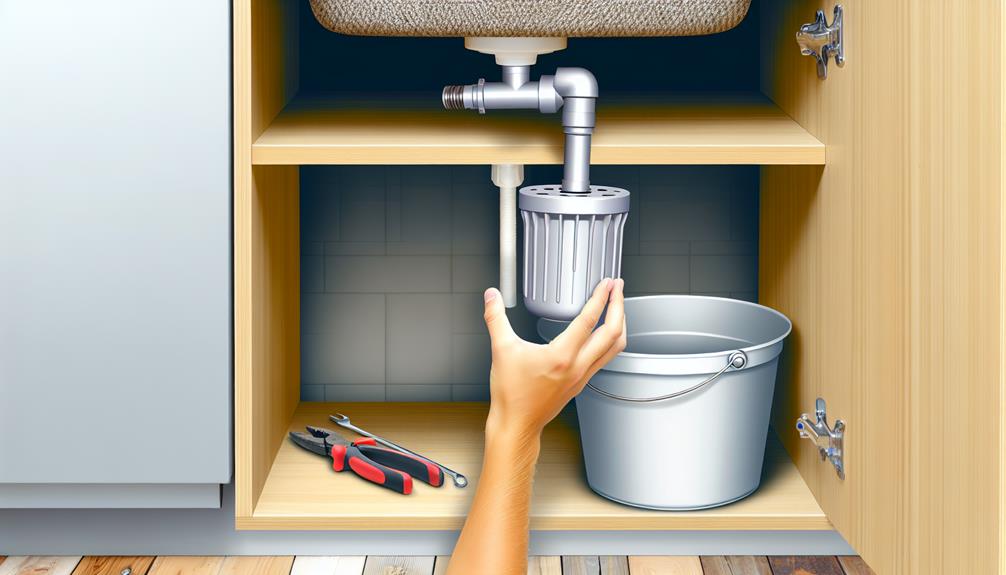
Ensure the water supply remains off as you position your bucket or towel underneath the filter housing to catch any residual water during removal. You'll want to avoid any unnecessary spills that could cause water damage or mess.
Next, carefully unscrew the filter housing. If it's tight, use the appropriate housing wrench that typically comes with your system. Turn the wrench counter-clockwise, and prepare for a bit of water to spill out as the seal breaks. Once loosened, lower the housing slowly to ensure water clarity and prevent any turbidity from stirring up.
After the housing is off, remove the old filter cartridge. Take note of its orientation so you can install the new one correctly. The filter should come out easily—simply pull it straight down and out of the housing.
| Step | Action |
|---|---|
| 1 | Position bucket/towel |
| 2 | Unscrew housing |
| 3 | Remove old filter |
Before proceeding with filter disposal, inspect the old filter. If it shows signs of excessive sediment build-up, it might be wise to check your water supply more frequently. Dispose of the old filter according to manufacturer's instructions or local regulations—some filters can be recycled, while others need to be thrown away.
Installing the New Filter
With the old filter cartridge successfully removed, you're now ready to install the new one into the filter housing. It's crucial to pay attention to the filter orientation as incorrect installation can compromise water quality or cause leaks. Here's a step-by-step guide:
- Check the New Filter: Examine the new filter cartridge for any transport damage and ensure it's the correct model for your system.
- Orient the Filter: Note the top and bottom of the filter; some models have an arrow indicating the direction of water flow. Align it according to your system's requirements.
- Insert the Filter: Carefully place the new filter into the housing, making sure it sits snugly. If it's a threaded type, gently screw it in without overtightening, which can damage the threads.
- Secure the Housing: Replace the housing cap and tighten it by hand. For housings that require a wrench, use it sparingly to avoid cracking the cap.
Once installed, it's essential to flush the system according to the manufacturer's instructions to remove any carbon fines or manufacturing residues.
Lastly, record the date of installation and set a maintenance schedule to ensure timely future replacements. This proactive approach will keep your water tasting great and your filter functioning optimally.
Post-Installation Checks
Once you've installed the new filter, it's crucial to perform a series of checks to verify that everything is functioning correctly and there are no leaks. Begin with leak testing, which is essential to ensure the integrity of your installation. Turn on the cold water supply and inspect all connection points. Look for any droplets of water or dampness that could signal a leak. If you find a leak, immediately turn off the water supply and tighten the connections or replace the faulty parts as needed.
After addressing any leaks, examine the water clarity. Run the water for a few minutes to allow the new filter to flush out any air or carbon fines, which are small carbon particles that might initially appear in the water. Don't be alarmed if the water looks cloudy or has small particles at first; this is normal. The water should clear up after a short period of flushing.
Conclusion
Congratulations, you've successfully replaced your under-sink water filter! Remember to double-check all connections for leaks and run the faucet for a few minutes to flush the new filter.
Regularly schedule replacements and keep your water tasting great. Stay proactive about your filter's maintenance, and you'll ensure the longevity of your system and the quality of your water.
Now, enjoy the peace of mind that comes with a job well done and clean, safe drinking water.