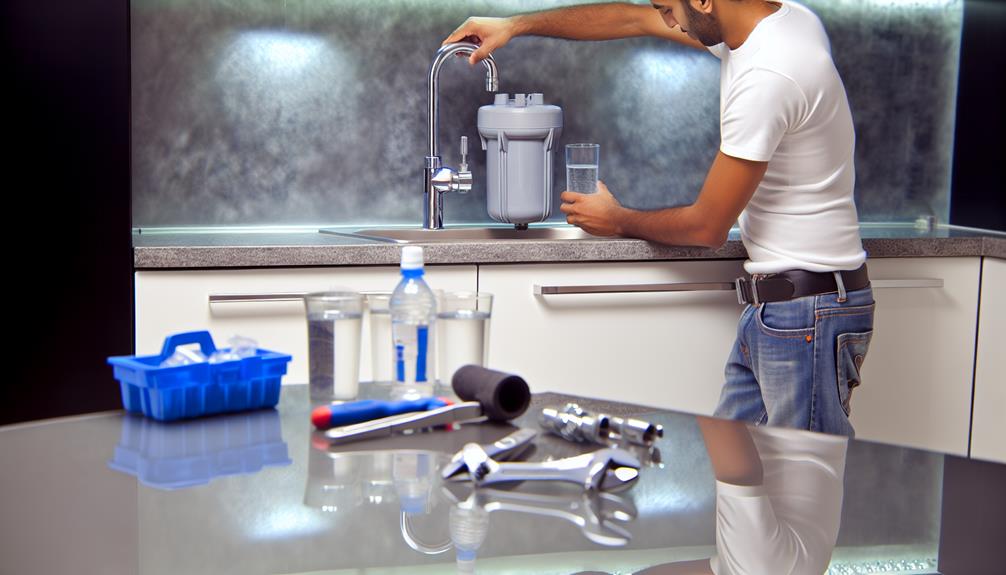
Imagine you've just moved into a new home and discovered the water tastes slightly off; you're pretty sure it's time to replace the under-sink water filter, but you've never tackled this task before.
As you stand before the maze of pipes and fittings, you might feel daunted by the prospect of DIY plumbing. However, with the right guidance, you can confidently navigate this essential maintenance task.
You'll need to know the type of filter you're dealing with, how to properly shut off the water supply, and the importance of having the right tools at hand before starting. What might seem like a straightforward swap can easily lead to leaks or water damage if not done properly.
So before you twist a single fitting, let's explore the crucial steps to ensure a smooth and successful filter replacement.
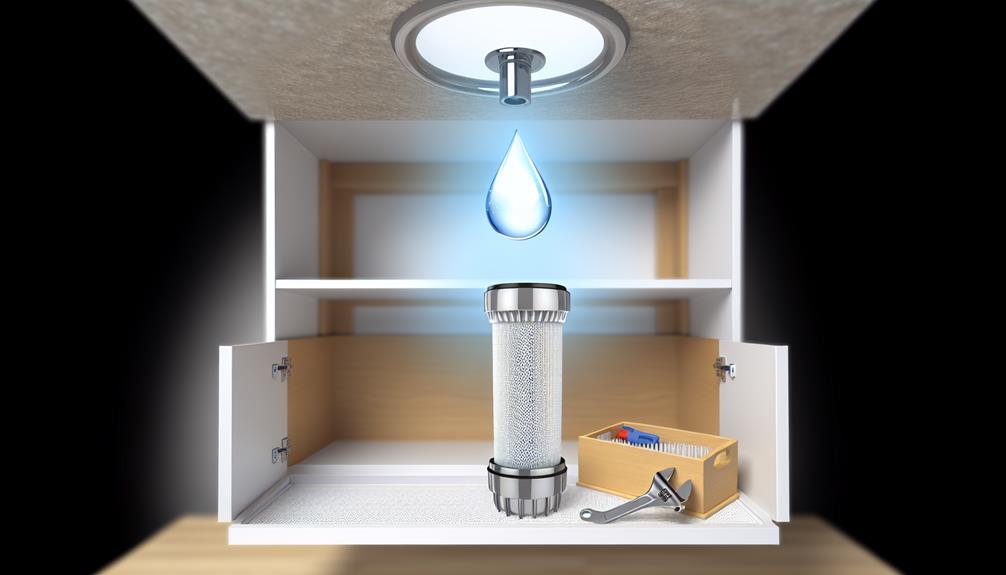
Identify Filter Type
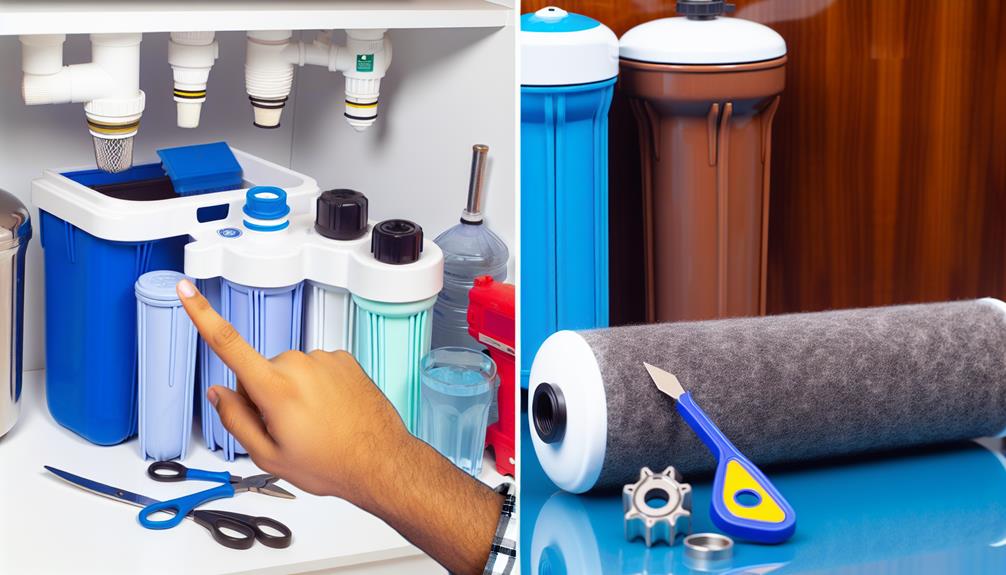
Before you can replace your under-sink water filter, it's essential to determine the specific type of filter cartridge installed in your system. This initial step is critical for ensuring that you purchase a compatible replacement, thereby preventing leaks or inadequate filtration due to mismatches. Start by locating the filter housing, which typically features a label or engraving that specifies the model or part number.
When conducting a compatibility check, cross-reference the model number with the manufacturer's specifications. You'll find that water filters come in various shapes, sizes, and filtration technologies, such as carbon block, reverse osmosis, or sediment filters. It's crucial to select a cartridge that aligns not only with the physical dimensions but also with the filtration capabilities of your existing setup.
You must also consider the filter lifespan, which is a predefined period or volume of water that a filter can effectively treat. Manufacturers usually provide this information, and adhering to it guarantees optimal performance and water quality. Neglecting to replace cartridges within their lifespan can lead to reduced water flow, compromised filtration efficiency, and potential contamination risks.
Shut Off Water Supply
To ensure a safe and dry filter replacement process, turn off the water supply valve located under the sink or at the main water line for your home. This crucial step prevents water pressure from propelling a surge into your workspace, potentially causing water damage or personal injury. Without the water supply securely shut off, the risk of unleashing a high-pressure stream when disconnecting the filter is significant.
After the water supply is off, open the faucet to relieve any residual water pressure in the lines. This action also serves to confirm that the water has been fully shut off. Remember, maintaining control over water pressure is not only vital for safety during filter replacement but also crucial for preserving the filter lifespan.
Here's a table summarizing the key actions:
| Step | Purpose | Outcome |
|---|---|---|
| Shut off water supply | Prevent water flow and reduce risk | Safe environment for replacement |
| Relieve pressure | Drain remaining water and pressure | Prevention of water surge |
| Confirm shut-off | Ensure no water is flowing | Assurance of a dry workspace |
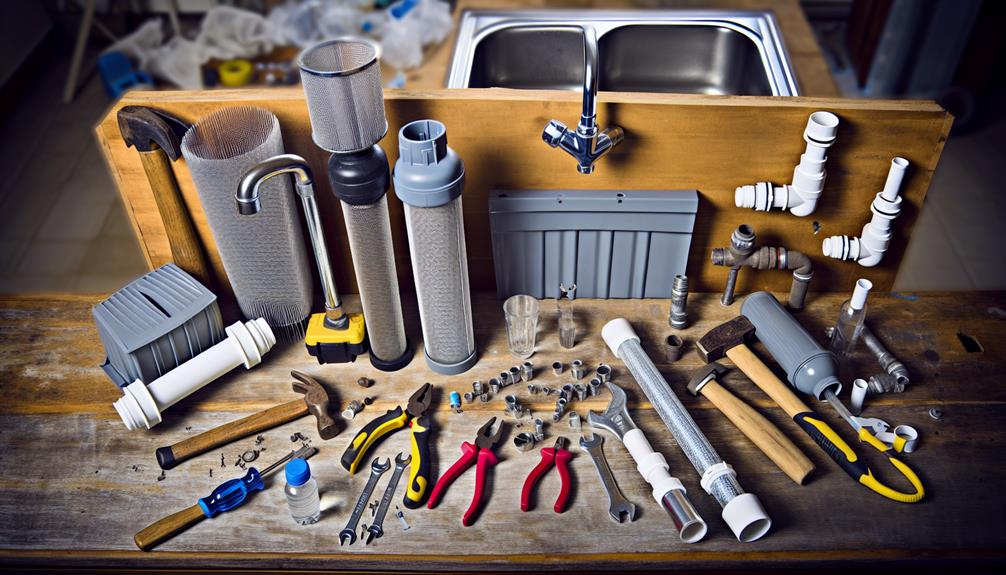
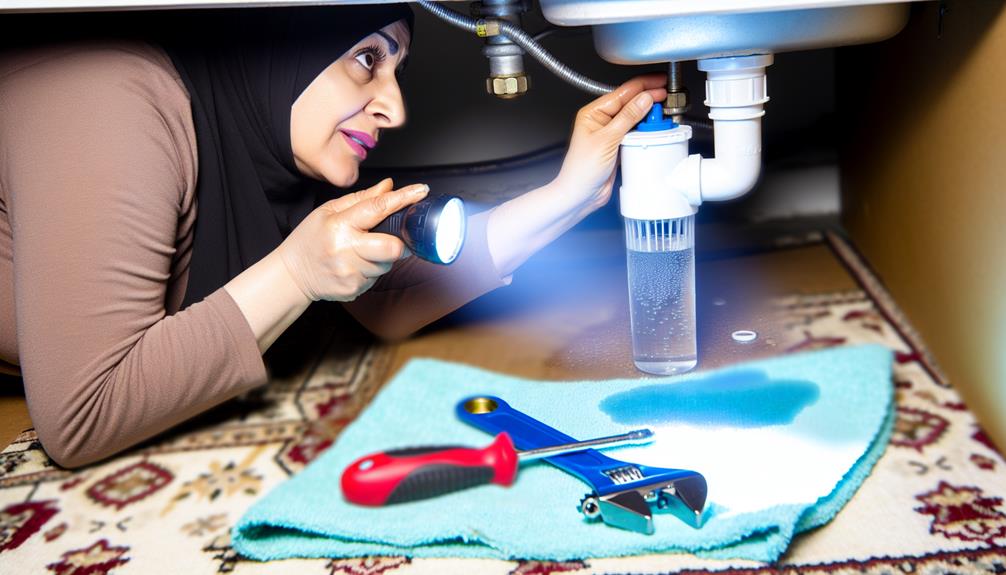
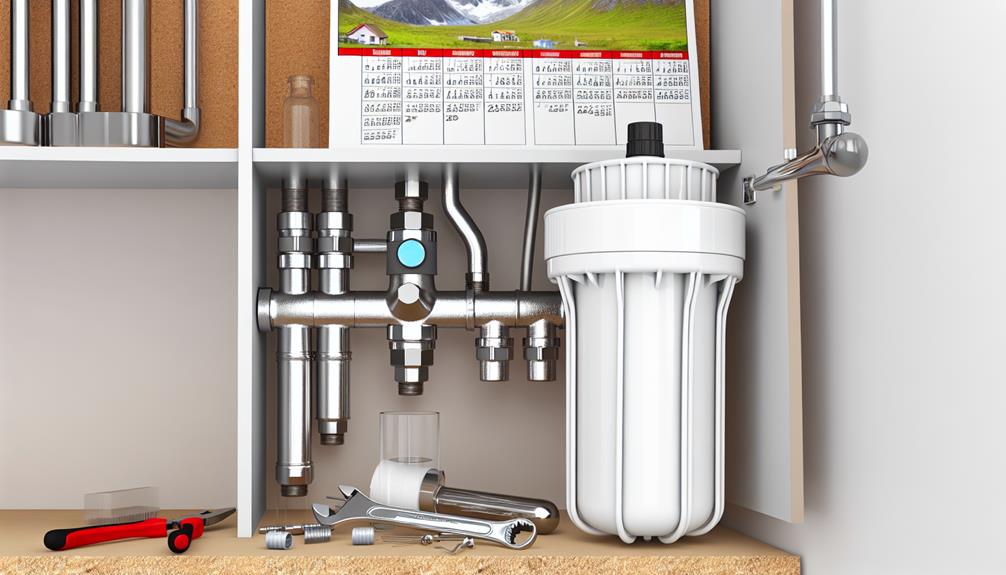
Gather Necessary Tools
Having secured a safe environment by shutting off the water supply, you'll now need to assemble the appropriate tools for replacing the under-sink water filter.
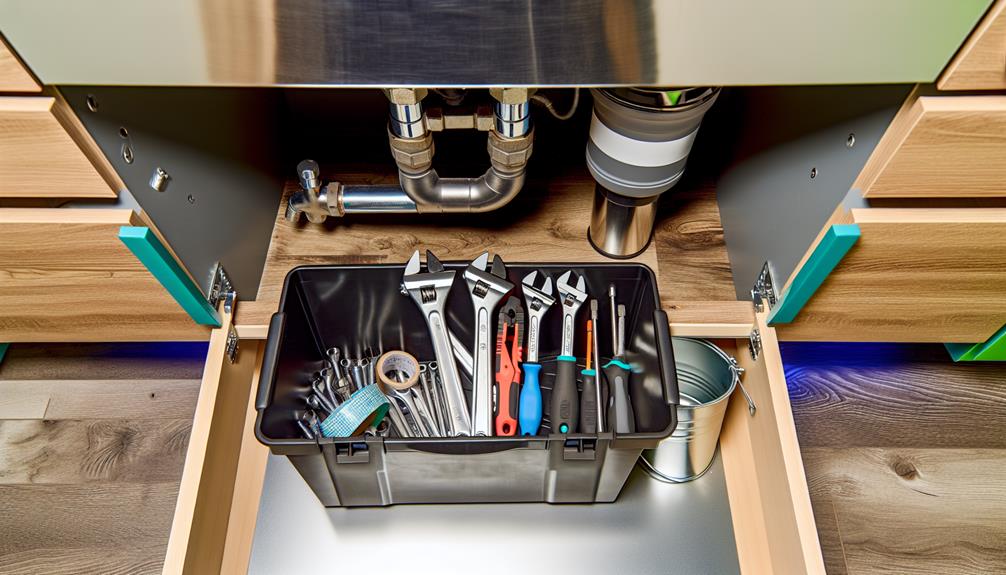
Precise tool organization is paramount; a systematic approach ensures efficiency and mitigates the risk of accidents. Begin by selecting an adjustable wrench or a set of wrenches, crucial for loosening and tightening the connections. Pliers may also be necessary, especially if you encounter stubborn fittings.
Next, ensure you have a bucket or a small basin on hand to catch any residual water when you detach the filter unit. Teflon tape is another essential item, often required to re-seal threaded connections and prevent leaks. Keep in mind safety precautions; wearing gloves can protect your hands from sharp edges and any contaminants that might be present.
A flashlight or work light is invaluable, providing visibility in the typically cramped and poorly lit space under the sink. Don't forget to include a towel or cloth for drying your hands or cleaning up any spills.
Lastly, it's wise to have the filter's instruction manual within reach, as it may contain specific tool recommendations or additional safety tips for your particular model.
Remove Old Filter Cartridge
Ensure you've positioned your bucket or basin under the filter housing to catch any water that may escape as you carefully twist the old filter cartridge counterclockwise to remove it. It's crucial to handle the cartridge with care to prevent any residual water from spilling during the extraction process.
After loosening, gently pull the cartridge downward to disengage it from the housing. Be mindful of the filter lifespan; if it's been in use beyond the recommended period, it may be more fragile and prone to breaking. This precaution is vital to avoid any potential mess or damage.
Once removed, inspect the old cartridge for signs of sediment build-up or damage that could inform the maintenance of your system. Proper cartridge disposal is essential; consult the manufacturer's guidelines or local regulations for environmentally responsible options. Some cartridges can be recycled, while others require specific disposal methods due to the materials they contain.
Before proceeding to install the new filter, ensure the housing o-ring is clean and seated correctly, and the interior of the housing is free from debris. This attention to detail ensures a secure fit and optimal performance of your under-sink water filter system upon reinstallation.
Clean Filter Housing
After removing the old filter cartridge, clean the housing thoroughly by wiping the interior with a soft, lint-free cloth dampened with mild soap and water to prevent contamination and ensure the new filter operates efficiently. It's imperative to maintain a clean environment within the filter housing to maximize the filter lifespan. Any residue or sediment left inside can reduce performance and lead to premature clogging, which can compromise water quality and flow rate.
Rinse the housing with clean water to remove any soap residue and inspect for signs of wear or damage. Cracks or warps in the housing can affect the integrity of the seal, potentially allowing unfiltered water to bypass the system. After rinsing, dry the housing completely before installing a new filter. Moisture trapped inside can encourage microbial growth, which would negate the purpose of the system.
When disposing of the old filter, follow the manufacturer's recommended disposal methods. Some filters contain materials that can be recycled, while others must be disposed of with regular waste. Proper disposal ensures that you're not only taking care of your water filtration system but also being responsible for the environment.
Install New Filter Cartridge
Once you've cleaned the filter housing, it's time to install the new cartridge.
Ensure you've selected a cartridge that matches your system's specifications for a seamless fit and optimal filtration.
Follow the manufacturer's installation steps precisely, aligning the cartridge correctly to prevent leaks and maintain system integrity.
Selecting the Right Cartridge
To guarantee your under-sink water filter functions optimally, it's critical to select a replacement cartridge that matches your system's specifications and water purification needs. Consider the cartridge lifespan; a longer lifespan means fewer changes, but don't compromise contaminant reduction for convenience.
Analyze your water quality reports to identify specific contaminants prevalent in your water supply. Ensure the cartridge you choose is certified to reduce these impurities effectively.
Look for cartridges with certifications from reputable organizations such as NSF International or the Water Quality Association. These certifications indicate that the cartridge has been rigorously tested to meet stringent industry standards for contaminant reduction.
Proper Cartridge Installation Steps
Ensure you have the correct replacement cartridge at hand, and carefully turn off the water supply before beginning the installation process to prevent any leaks or water damage. When you're ready to install the new filter cartridge, it's critical to pay attention to cartridge alignment and flow direction. These aspects are pivotal for the filter to function correctly.
| Step | Action | Detail |
|---|---|---|
| 1 | Remove Old Cartridge | Twist or pull according to model specifications. |
| 2 | Prepare New Cartridge | Rinse if required, ensuring it's ready for installation. |
| 3 | Align Cartridge | Position according to the flow direction indicated on the filter housing or manual. |
| 4 | Secure Cartridge | Insert and lock in place, ensuring a snug fit without overtightening. |
Double-check the cartridge is seated properly to maintain the integrity of the seal and function.
Check for Leaks
Once you've installed the new filter cartridge, it's crucial to check for leaks before considering the job done.
Inspect all connection points meticulously, using appropriate leak detection techniques to spot any moisture.
If you detect any leaks, it's imperative to address them immediately to prevent water damage and ensure the system's integrity.
Identify Potential Leak Sources
Before replacing your under-sink water filter, meticulously inspect all connections and fittings for signs of moisture that could indicate potential leaks. Leak indicators often manifest as dampness, discoloration, or mineral buildup around joints and seals. Keep in mind that the age of your plumbing can significantly impact the likelihood of leaks.
- Thread Seals: Examine the integrity of thread tape or compound on threaded connections.
- Gasket Conditions: Check for worn or misaligned gaskets that might compromise the seal.
- Valve Integrity: Ensure that shut-off valves function properly and don't seep when closed.
- Supply Line Flexibility: Inspect water supply lines for kinks or brittleness, which could lead to cracks and leaks.
Addressing these areas preemptively can save you from unexpected water damage and costly repairs.
Leak Detection Techniques
To effectively detect any leaks in your under-sink water filtration system, perform a thorough visual inspection and use your hands to feel for any unexpected moisture on pipes and connections. Look for signs of pipe corrosion, which can be a precursor to leaks. Pay special attention to joints and seals where leaks commonly occur.
| Step | Technique | Purpose |
|---|---|---|
| 1 | Visual Inspection | Identifying obvious leaks and corrosion |
| 2 | Manual Check | Feeling for moisture not visible to the eye |
| 3 | Moisture Indicators | Using tools to reveal hidden dampness |
Using moisture indicators can pinpoint leaks that aren't immediately apparent. These indicators can range from simple tissue paper to sophisticated electronic devices. Regular monitoring for moisture can prevent significant water damage and maintain the integrity of your filtration system.
Addressing Found Leakage Issues
If you've detected a leak in your under-sink water filtration system, immediate action is crucial to prevent water damage and ensure the system's continued performance. Tackling leakage issues involves a careful approach, utilizing the right leak proof materials and sometimes requiring professional consultation.
Here's what you need to do:
- Inspect Connections: Tighten all fittings and connectors. Check for wear and replace if necessary with leak proof materials.
- Sealant Application: Use a high-quality sealant on threads and junctions for an extra layer of protection.
- Replace Faulty Parts: Identify and replace any damaged components immediately.
- Professional Assessment: If the leak persists, seek professional consultation to diagnose and resolve complex issues.
Maintenance Schedule Tips
Regularly replacing your under-sink water filter cartridges ensures optimal water quality and prevents potential system clogs or failures. Understanding the filter lifespan is crucial to maintaining your system. Most filters have a recommended service life, typically ranging from three to twelve months. However, actual lifespan can vary based on your water usage and the quality of your water supply.
To keep track of when to replace your filter, consider utilizing reminder systems. Some advanced filters come with built-in indicators, while others might work with smartphone apps to alert you when it's time for a change. If your system lacks these features, set calendar reminders or use a maintenance log to keep track.
Below is a table outlining a typical maintenance schedule for an under-sink water filter system:
| Filter Type | Replacement Frequency | Additional Checks |
|---|---|---|
| Sediment Pre-Filter | Every 3-6 months | Check for sediment buildup |
| Carbon Filter | Every 6-12 months | Inspect for discoloration |
| Reverse Osmosis Membrane | Every 1-2 years | Monitor flow rate decrease |
| Post-Carbon Filter | Every 6-12 months | Verify taste and odor control |
Adhering to this schedule will help ensure your system's longevity and performance. Remember, the actual frequency may vary, so consult your manufacturer's guidelines and adjust as needed based on your specific circumstances.
Conclusion
After successfully installing your new under-sink water filter cartridge, you've taken a crucial step toward ensuring clean drinking water. Remember to regularly check for leaks and adhere to the manufacturer's maintenance schedule.
Proactive replacement and upkeep are essential to maintain optimal filtration performance. By following these instructions, you've not only protected your household's health but also extended the lifespan of your filtration system.
Stay vigilant and enjoy the benefits of pure water.