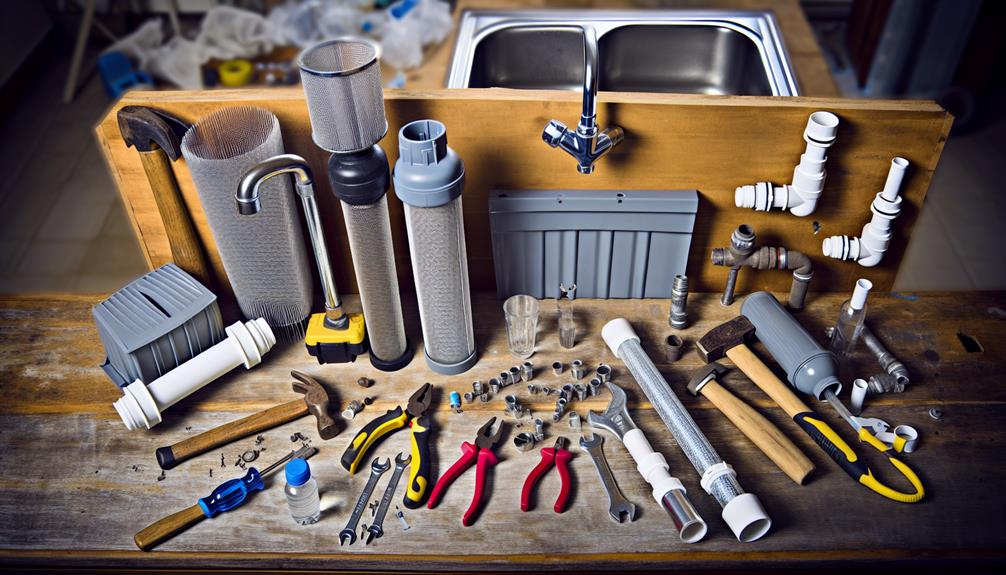
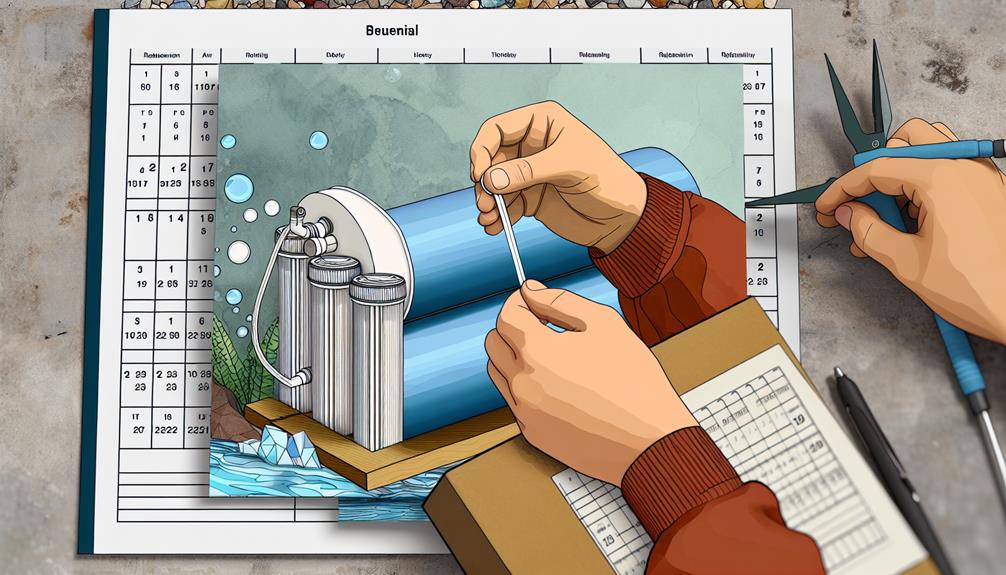
Maintaining your reverse osmosis system is like tending to a prized garden; it requires regular attention and care to ensure it continues to flourish. As the backbone of your water purification process, it's crucial that you're equipped with the knowledge to keep it running efficiently.
You'll need to schedule regular filter replacements to prevent clogging and degradation of water quality. It's also vital to check for leaks periodically, as even the smallest drip can be a harbinger of larger issues.
By taking the time to sanitize the system annually and monitoring the water pressure, you safeguard your investment and ensure the longevity of the system. The health of your RO system hinges on these practices, much like the well-being of a garden depends on the diligence of the gardener.
So, let's walk through the essential steps that will keep your system in peak condition, and discover the pivotal actions that could significantly extend its life and performance.
Schedule Regular Filter Replacements
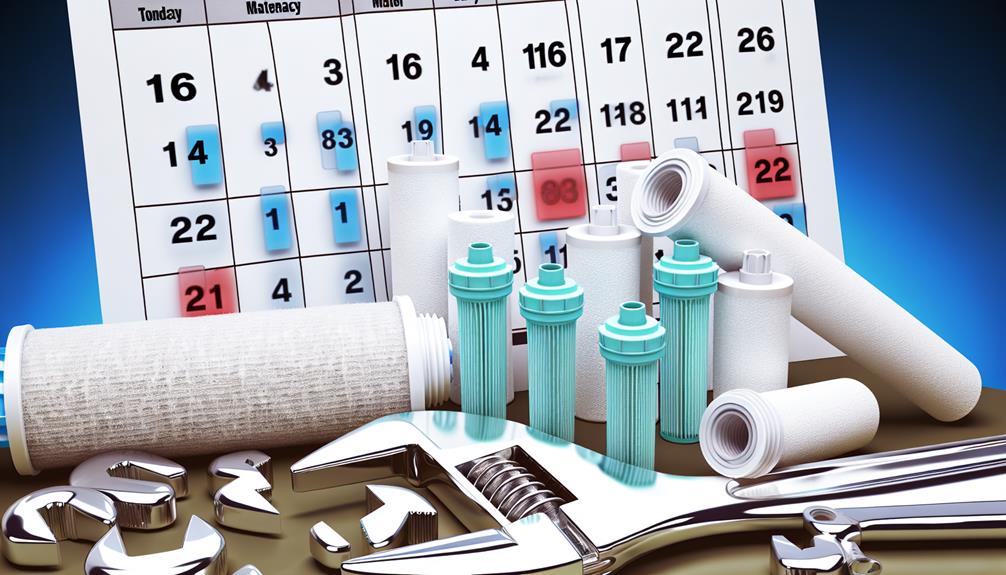
To ensure peak performance of your reverse osmosis system, it's crucial to adhere to a strict schedule for replacing filters and membranes.
Filter lifespan varies based on usage and source water quality; however, ignoring replacement indicators compromises system efficiency and water purity. Sediment pre-filters, typically the first line of defense, should be changed every 6-12 months to prevent clogging and protect downstream components. Carbon filters, responsible for chlorine and contaminant removal, demand attention every 6-12 months as well, as their adsorptive capacity diminishes over time.
Membrane replacement is less frequent, generally every 2-3 years, but contingent on the Total Dissolved Solids (TDS) levels and the gallons processed daily. Watch for signs of membrane exhaustion, such as a noticeable decline in water output or a consistent increase in TDS readings post-filtration. These are clear indicators that the system's core element requires replacement.
Adhering to these timelines ensures the longevity and effectiveness of your RO system. Deviations from the prescribed schedule can lead to subpar water quality and potential system failure. Record each replacement date meticulously and consult the manufacturer's guidelines to tailor the schedule to your system's specific needs.
Check for Leaks Periodically
While adhering to a replacement schedule is critical for maintaining system efficiency, it's equally important to regularly inspect your reverse osmosis system for any signs of leaks. Leak indicators can be subtle, so you'll need to be thorough in your examinations. Pay particular attention to connections, valves, and the membrane housing.
First, visually inspect for moisture or water droplets around the system's components. Any wet spots could signal a leak. If you spot any dampness, tighten the fittings and seals, but be careful not to over-tighten, as this could damage the components.
Next, conduct corrosion checks on metal parts. Corrosion can compromise the integrity of the system, leading to small cracks and leaks. Look for any discoloration or rust, especially around connections and fittings. If corrosion is present, it may be necessary to replace the affected parts to prevent further damage.
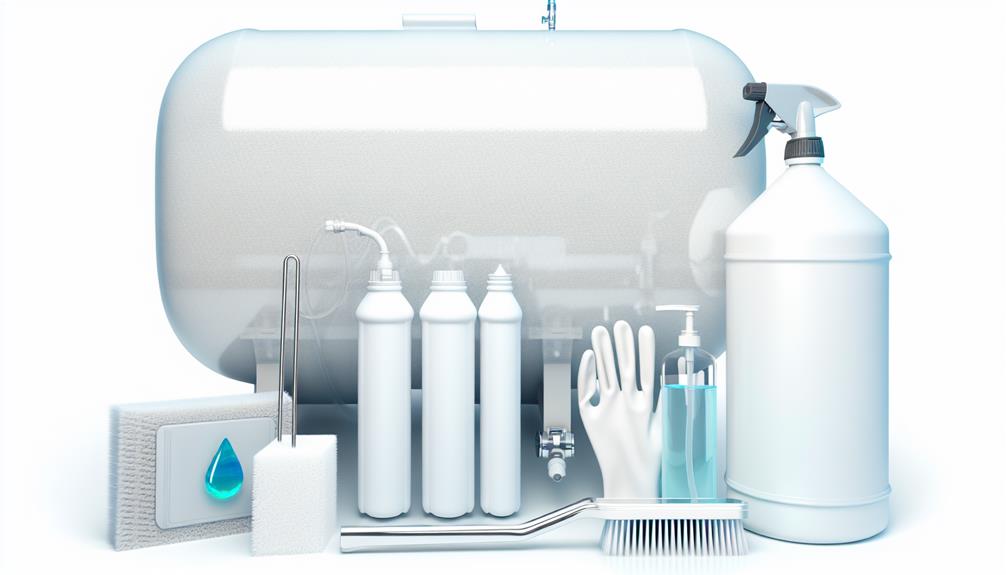
Sanitize the System Annually
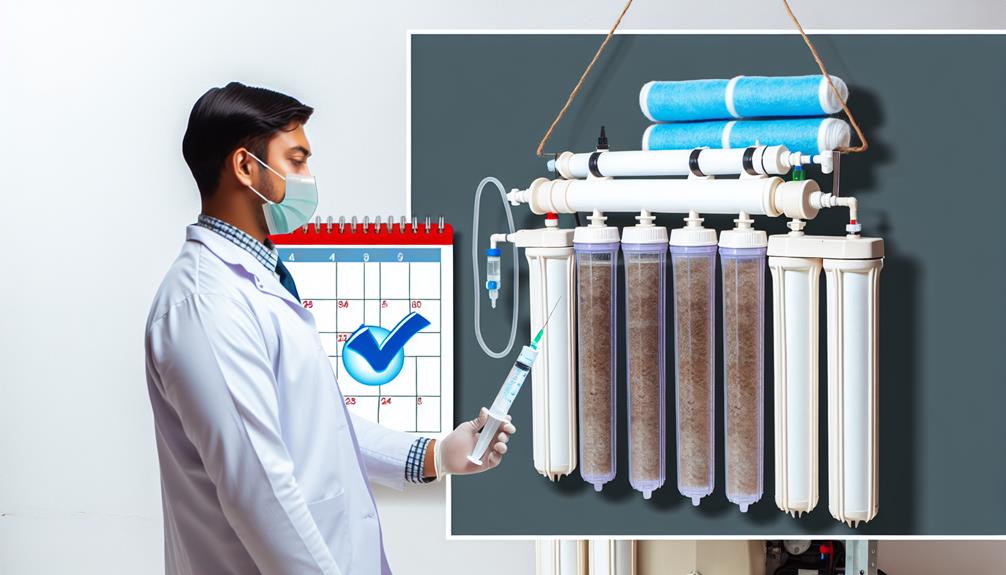
It's crucial to sanitize your reverse osmosis system annually to prevent microbial buildup and ensure optimal performance.
You'll need to flush the system with a sanitizing solution, carefully following the manufacturer's guidelines.
This process not only extends the lifespan of your system but also maintains the purity of your water.
Importance of Sanitization
Regular sanitization of your reverse osmosis system, ideally on an annual basis, is crucial to prevent microbial buildup and ensure optimal water purity.
Sanitization chemicals, specifically designed for reverse osmosis systems, play a pivotal role in eliminating bacteria buildup that can compromise system performance and water quality.
It's essential to select the appropriate chemicals that are effective yet safe for the components of your system.
Annual Sanitization Process
Understanding the importance of sanitization for your reverse osmosis system, you'll need to perform an annual sanitization process to maintain optimal functionality and water quality. This routine is crucial in preventing microbial growth, which can compromise your system's integrity and shorten the filter lifespan.
- Prepare a Sanitizing Solution: Use a manufacturer-approved sanitizer or a dilute bleach solution as specified.
- Circulate the Sanitizer: Run the solution through the system to reach all components.
- Contact Time: Ensure the sanitizer remains in contact with the system's interior for the recommended duration.
- Rinse Thoroughly: Flush the system with clean water to remove any traces of the sanitizing agent.
- Replace Filters: Post-sanitization, install new pre-and post-filters to guarantee continued high-quality water production.
Monitor Water Pressure
Monitoring water pressure is critical for the efficient operation of your reverse osmosis system. You must check the pressure regularly to ensure it aligns with the system's optimal pressure levels, which is pivotal for maximum contaminant removal.
If you detect low pressure, it's imperative to identify and address the underlying causes promptly to maintain system performance and water quality.
Check Pressure Regularly
To ensure optimal performance of your reverse osmosis system, it's crucial to check the water pressure consistently, as fluctuations can indicate potential issues with membrane efficiency or filter blockages. Regular monitoring with a reliable pressure gauge ensures accuracy and aids in troubleshooting.
Consider these key points:
- Verify pressure gauge accuracy regularly to detect anomalies.
- Monitor for sudden drops in pressure which could signal filter saturation.
- Note any unusual spikes in pressure that may point to a compromised membrane.
- Adhere to manufacturer's recommended pressure ranges for optimal system operation.
- Implement routine checks to enable early detection and maintenance, preventing costly repairs.
Optimal Pressure Levels
Your reverse osmosis system's efficiency hinges on maintaining water pressure within the manufacturer's specified optimal range. To ensure peak performance, you must routinely check and adjust the pressure settings. Pressure calibration is a critical step in this process. It involves fine-tuning the system to achieve and sustain the recommended pressure levels essential for effective filtration.
Initiate system diagnostics to detect any discrepancies in pressure that could signal malfunctions or the need for maintenance. Use a reliable pressure gauge to monitor the readings. If the pressure deviates from the ideal parameters, it's imperative to take corrective action immediately. This could involve adjusting the pressure valve or inspecting the system for any potential issues causing the drop or spike in pressure.
Address Low Pressure Causes
Identifying and rectifying the causes of low pressure in your reverse osmosis system is crucial for its optimal operation and longevity. Monitoring water pressure is a technical endeavor requiring precision and an understanding of the system's mechanics.
To address low pressure, you should:
- Verify pressure gauge calibration for accurate readings.
- Perform routine pre-filter maintenance to prevent clogging.
- Check for any crimps or damage in the RO unit's tubing.
- Inspect the storage tank's air bladder for proper pressure.
- Ensure that the feed water valve is fully open for maximum flow.
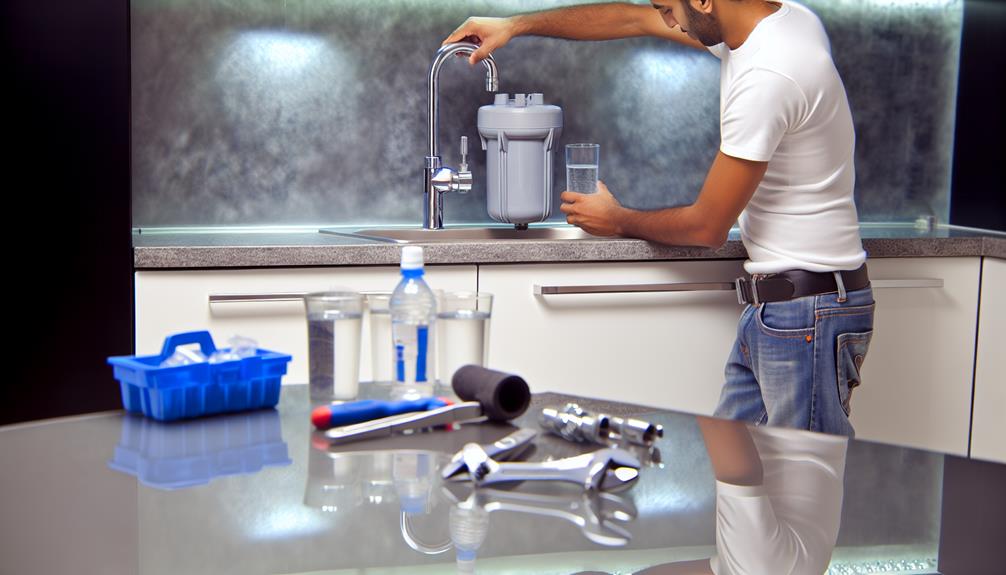
Inspect and Clean RO Faucet
Have you checked your reverse osmosis system's faucet lately for signs of buildup or contamination? It's imperative for the longevity and performance of your system that you regularly inspect your RO faucet.
Signs of mineral buildup or bacterial contamination can compromise water quality and flow. Begin by examining the faucet's spout and body for any mineral deposits or irregularities.
If you're considering faucet upgrades, ensure compatibility with your system. A higher-grade material can offer better resistance to corrosion and wear. When you disassemble the faucet for cleaning, pay special attention to the aerator, which can be a hotspot for sediment and scale accumulation.
Aerator cleaning is a critical maintenance step. Carefully unscrew the aerator and dislodge any debris using a brush with soft bristles. Rinse it thoroughly with water before soaking it in a vinegar solution to dissolve any mineral deposits. After soaking, rinse the aerator again, and if necessary, use a toothpick to remove any remaining particles from the small openings.
Reassemble the aerator and faucet, checking for leaks or drips. A well-maintained faucet ensures that your reverse osmosis system operates efficiently, delivering clean, purified water to your home.
Replace RO Membrane Biennially
While keeping the RO faucet clean is crucial for immediate water quality, replacing the RO membrane every two years is essential to ensure the system's long-term efficacy in removing contaminants. The RO membrane is the heart of your reverse osmosis system; it's where the critical process of removing dissolved solids from water occurs. Over time, the membrane can become clogged or damaged, which can significantly reduce its performance.
To maintain optimal system performance and permeate flow, follow these technical guidelines:
- Verify Membrane Compatibility: Ensure the replacement membrane matches your system's specifications for size, type, and model to maintain system integrity and performance.
- Monitor Permeate Flow: Regularly check the flow rate of the permeate water to identify when the membrane's performance declines, signaling the need for replacement.
- Prevent Fouling: Replace pre-filters as recommended to protect the membrane from fouling due to sediment, chlorine, and other contaminants.
- Follow Manufacturer Instructions: Adhere to the manufacturer's guidelines for membrane replacement to avoid any mishandling that could compromise system function.
- Disinfect the System: When replacing the membrane, it's advisable to disinfect the entire system to prevent microbial buildup and ensure the purity of the produced water.
Flush the System Quarterly
To ensure optimal performance of your reverse osmosis system, it's imperative that you schedule a flush every three months.
This process involves a series of steps that will clear out any accumulated contaminants and prevent membrane fouling.
Understanding the importance of system flushing can significantly prolong the life of your unit and maintain water quality.
Schedule Regular Flushes
Scheduling quarterly flushes of your reverse osmosis system ensures the removal of contaminants and prevents the buildup of deposits, maintaining optimal performance. Adhering to flush timing is critical; delays can impair your system's efficiency.
The flush benefits are numerous, including:
- Prolonging Membrane Lifespan: Regular flushing reduces the stress on the RO membrane.
- Optimizing Water Quality: It ensures consistently pure water by removing lingering impurities.
- Preventing System Downtime: Scheduled maintenance minimizes unexpected malfunctions.
- Enhancing Flow Rate: Clearing blockages maximizes the system's water flow.
- Saving Costs: Long-term, preventive care averts costly repairs or replacements.
To execute a system flush, you'll need to follow your manufacturer's specific instructions. This typically involves initiating a flush cycle or manually cleaning the system components.
Flushing Process Steps
Embarking on the quarterly flush of your reverse osmosis system, you'll first need to halt water flow and depressurize the unit to prepare for a thorough cleansing of the system's internals.
Ensuring optimal membrane health, follow the manufacturer's protocol to introduce a high flow rate of water through the system. This process dislodges any trapped particles or sediments, preventing fouling that can impede performance.
Carefully monitor the flow rate to maintain sufficient velocity; a forceful flush is crucial for dislodging stubborn contaminants.
After completing the flush, verify the system pressure and flow rate are back to normal operational levels.
Consistent adherence to these steps is paramount in maintaining your reverse osmosis system's efficiency and prolonging the lifespan of its critical components.
Importance of System Flushing
Understanding the steps for a proper system flush leads to recognizing its quarterly execution as essential for preventing the accumulation of harmful contaminants and ensuring the reverse osmosis system operates at peak efficiency. Quarterly flushing is a critical maintenance task to sustain the integrity and longevity of your system.
The flush benefits are substantial:
- *Reduces contaminant buildup*, ensuring consistent water quality.
- Prolongs membrane and filter life by preventing fouling.
- Maintains high system performance, reducing energy costs.
- Deters bacterial growth and biofilm formation within the system.
- Enhances the taste and clarity of the treated water.
Test Water Quality Regularly
To ensure your reverse osmosis system operates at peak efficiency, regularly testing the water quality is essential for detecting contaminants and assessing filter performance. You must be vigilant about water contaminants that can compromise your system's filtration accuracy. A meticulous approach to monitoring Total Dissolved Solids (TDS), pH levels, and microbial presence gives you a comprehensive understanding of your system's effectiveness.
Here's a detailed table with key parameters to check:
| Parameter | Ideal Range | Significance |
|---|---|---|
| TDS (ppm) | 0-50 | Indicates the concentration of dissolved substances. Low TDS is indicative of high filtration accuracy. |
| pH Level | 6.5-8.5 | Outside this range can signal system imbalances and potential corrosion. |
| Hardness (gpg) | 0-1 | Ensures minimal scaling and prolongs membrane life. |
| Chlorine (ppm) | 0 | Presence indicates filter exhaustion or failure. |
| Microbial Count | 0 CFU/ml | Absence confirms the system prevents pathogen infiltration. |
Adhere to a strict testing schedule, preferably every six months, to pre-empt issues and maintain water purity. If the results fall outside the ideal ranges, it's a clear signal to replace filters or address system malfunctions. Don't underestimate the importance of these metrics—they're vital for your system's longevity and the safety of your water.
Maintain Storage Tank Hygiene
While regular testing of water quality is crucial, it's also imperative to maintain the hygiene of your reverse osmosis system's storage tank to prevent contamination and preserve water purity. The storage tank is a critical component, as it holds the purified water until you need it. However, without proper maintenance, it can become a breeding ground for bacteria and other contaminants.
To ensure optimal tank hygiene and contamination prevention, follow these technical guidelines:
- Sanitize the tank annually: Use a non-toxic sanitizer approved for potable water systems to avoid introducing harmful chemicals.
- Inspect tank ventilation: Ensure that the air vents are clean and free from obstructions to prevent the growth of anaerobic bacteria.
- Check for leaks regularly: A compromised tank can lead to contaminants entering the system. Address leaks immediately.
- Drain and refill the tank periodically: This practice helps to flush out any stagnant water that may have accumulated over time.
- Replace filters and membranes as recommended: Faulty components can lead to decreased performance and potential contamination risks.
Keep Detailed Maintenance Records
Keeping meticulous records of all maintenance activities performed on your reverse osmosis system ensures you can track performance and address issues promptly. Record organization is not just a procedural formality; it's a vital component of your system's longevity and efficiency. By cataloging every filter change, membrane replacement, and system inspection, you're creating a reference that can help with troubleshooting and inform future maintenance scheduling.
Your records should include dates, specific actions taken, and any parts replaced. This historical data is crucial for understanding the wear and performance trends of your system. To facilitate this, use a table format that allows for quick reference and a clear overview of maintenance history:
| Date | Maintenance Activity |
|---|---|
| 2023-04-01 | Replaced pre-filter |
| 2023-06-15 | Cleaned and sanitized tank |
| 2023-08-20 | Replaced RO membrane |
Always keep your records up-to-date, and review them periodically to plan for upcoming maintenance. This proactive approach will help minimize downtime and ensure that your reverse osmosis system operates at peak performance. Remember, a well-maintained system is key to providing consistently pure water, and detailed records are the map that guides you there.
Conclusion
You've got the roadmap to sustain your reverse osmosis system's peak performance. Stick to a routine:
- Replace filters
- Check for leaks
- Sanitize yearly
- Monitor pressure
Scrub that RO faucet, flush every quarter, and test water quality to stay ahead.
Keep your storage tank clean and maintain meticulous records.
Adherence to these steps ensures your system runs efficiently, providing you with the purest water.
Remember, consistent upkeep is the key to longevity and reliability.