Filtering through the facts, you'll find that swapping out your under-sink water filter doesn't have to flood you with frustration.
As you stand at the sink, you might be pondering the purity of the water that flows from your faucet. You're aware of the contaminants that can lurk unseen, and you're ready for a change—a simple swap to safeguard your drinking water.
This guide walks you through the selection of a suitable filter, prepares you for the straightforward installation process, and ensures you're equipped with the know-how for proper maintenance.
Let's turn the valve on uncertainty and clarify the steps you'll take to ensure your water is clean and clear.
What you'll discover next could be the key to not only enhancing your water quality but also ensuring peace of mind with minimal hassle.
Choosing the Right Filter Model
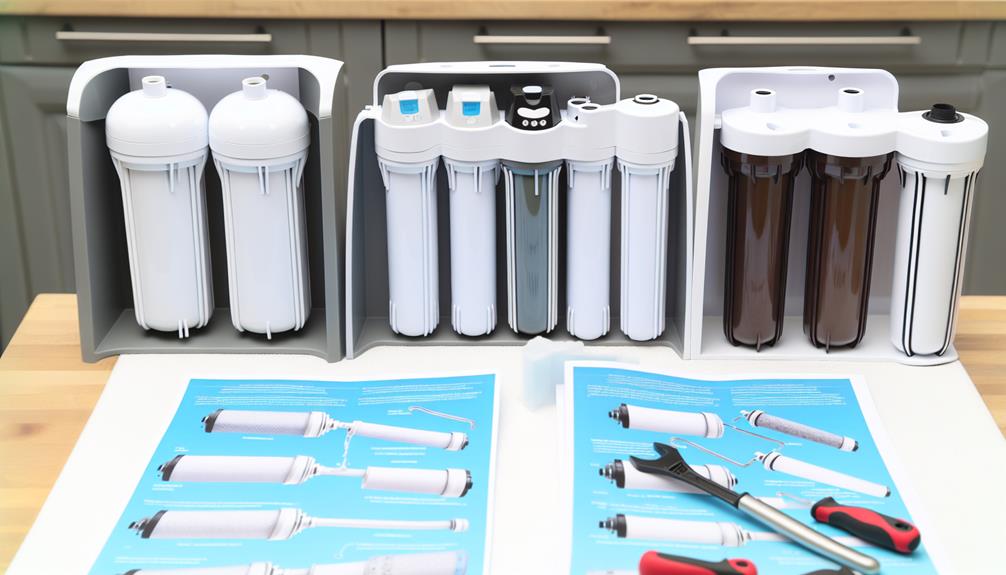
When selecting an under-sink water filter model, it's crucial to assess your specific water filtration needs and compatibility with your plumbing system. You'll need to consider both the filter lifespan and the degree of contaminant reduction it offers.
Filter lifespan is typically quantified in gallons filtered or months of usage before a replacement is necessary. A longer lifespan means less frequent maintenance and can be cost-effective in the long run.
Contaminant reduction capabilities are paramount. Ensure the filter you're considering is certified to remove specific contaminants prevalent in your water supply. These can range from chlorine, lead, and volatile organic compounds (VOCs) to microbial cysts and heavy metals. Look for certifications from reputable organizations like the NSF or the Water Quality Association, which validate a filter's performance against established industry standards.
Moreover, compatibility with your plumbing system is non-negotiable. The filter model must match your sink's space constraints and be suitable for the water pressure in your home. Incorrect fittings can cause leaks or hinder water flow, so it's essential to verify the specifications of the filter against your existing plumbing setup.
Always prioritize technical precision over aesthetics when choosing a filter model to ensure optimal functionality and safety.
Preparing for Installation
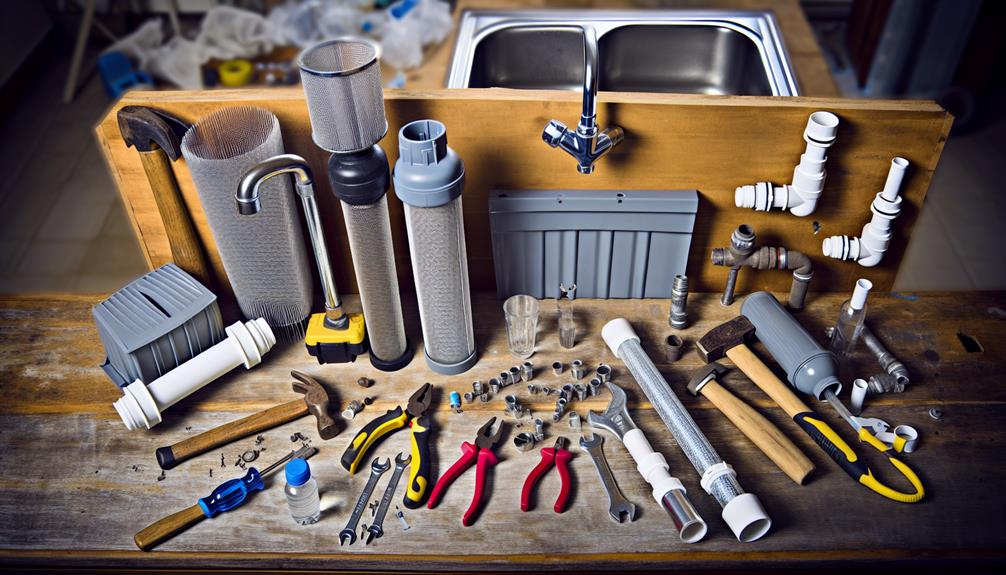
Having selected a filter model that meets your needs and fits your plumbing system, it's time to gather the necessary tools and materials for the installation process. Efficient tool selection is crucial for a smooth installation. Make sure you have all the items listed before you begin to ensure you're not midway through the installation only to find you're missing a key component.
Proper space organization under the sink will provide you with easy access and visibility. Clear out any items that might obstruct your work area and clean the space thoroughly. This will help you avoid any contamination of your tools and new filter. Keep a towel or a small basin handy to catch any residual water when you disconnect the plumbing lines.
Here's a quick reference table for the essential tools and their purpose:
| Tool | Purpose |
|---|---|
| Adjustable Wrench | For tightening and loosening fittings |
| Teflon Tape | To seal threaded joints and prevent leaks |
| Tubing Cutter | For clean cuts on any pipes that need resizing |
| Screwdriver | To secure brackets or components that require screws |
| Bucket | To catch drips or spills during the swap |
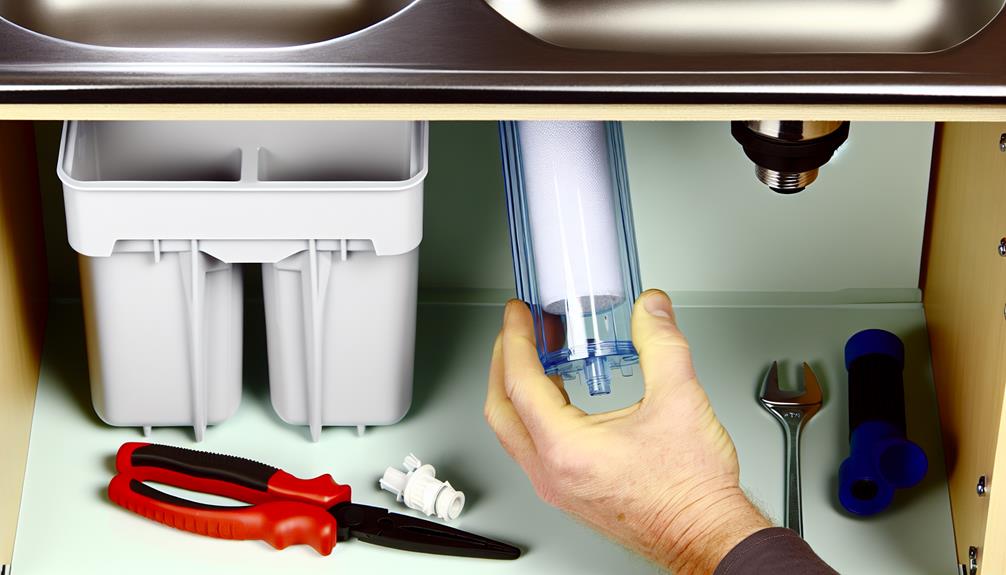
Step-by-Step Filter Installation
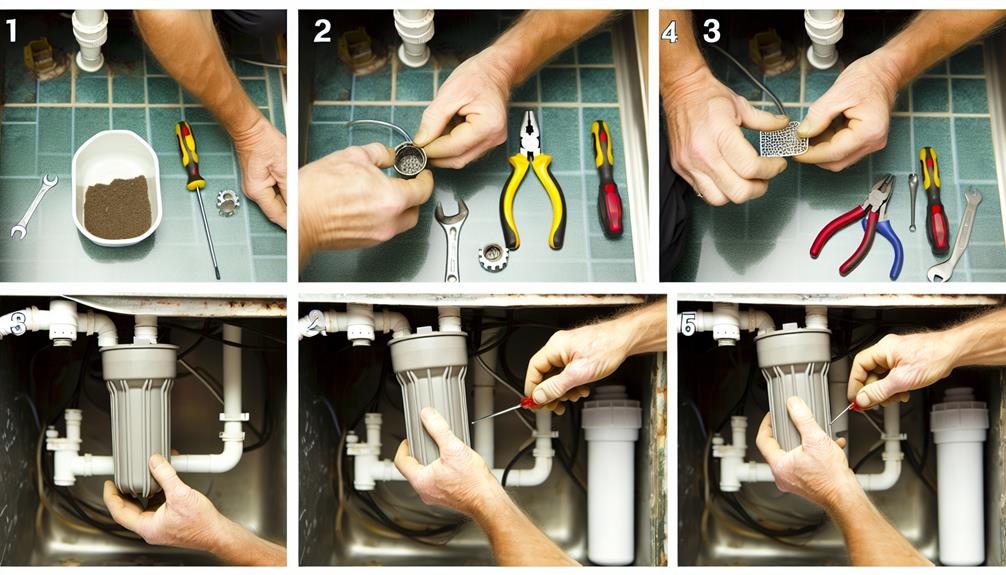
Before you commence the installation of your under-sink water filter, ensure the cold water supply valve is turned off to prevent any water flow during the process.
Begin by positioning the filter unit in a space that allows easy access for future maintenance. Mount the filter bracket to the side of the cabinet using screws, ensuring it's level to avoid stress on the system that could lead to leaks.
Next, attach the filter's inlet and outlet hoses to their respective ports. It's crucial to secure these connections tightly to maintain water pressure and prevent leaks. Use plumber's tape on the threads for leak prevention before screwing on the hoses. Follow the manufacturer's instructions to connect the hoses to the existing cold water line and the faucet stem, usually involving compression fittings for a reliable seal.
Now, insert the water filter cartridge into the housing. Make certain it's properly seated; incorrect placement can result in reduced water pressure and filtration efficiency.
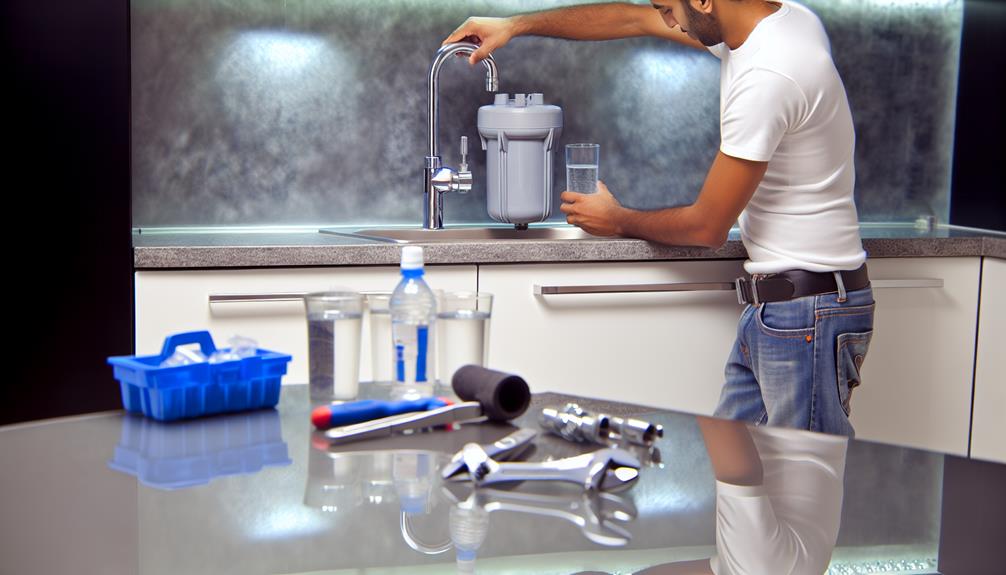
Once the cartridge is in place, slowly turn on the cold water supply valve to check for leaks. If there are no leaks, allow the system to flush according to the manufacturer's guidelines to clear any carbon fines before using the filtered water.
Post-Installation Checks
After installing your under-sink water filter, it's crucial to perform a series of checks to ensure the system operates correctly and efficiently. These checks are pivotal not only for the functionality of your filter but also to prevent any potential water damage that could arise from leaks. Your vigilance here sets the stage for reliable long-term use.
Here's what you need to do:
- Leak Testing: Carefully inspect all connections for any signs of moisture. Use a dry paper towel to check for leaks, paying extra attention to the areas where fittings connect to the filter.
- Flow Rate Evaluation: Turn on the faucet and observe the water flow. A significant reduction in flow could indicate an issue with installation or a potential blockage.
- Water Clarity Assessment: Once the system is running, check the water clarity. Any discoloration or turbidity may suggest a need to flush the system further or recheck the filter alignment.
- Taste and Odor Test: After running the water for a few minutes, sample it for any off-tastes or odors that could indicate contamination or installation errors.
- Pressure Test: Ensure the water pressure is consistent and meets your household needs. Sudden drops in pressure could signal a problem with the filter or the plumbing.
Conduct these post-installation checks with a meticulous eye to guarantee your water filter is set up for success.
Maintenance and Filter Replacement
To ensure your under-sink water filter continues to provide safe and clean drinking water, adhere to a regular maintenance schedule and timely replace the filter cartridges as recommended by the manufacturer. Filter longevity is contingent upon usage, water quality, and the type of filter employed. Typically, manufacturers stipulate a specific gallon limit or time frame, such as every six months, to signal when a cartridge requires replacement.
Monitoring your water filter's performance is paramount. A noticeable decrease in water pressure or an alteration in taste or odor may indicate the necessity for a filter change prior to the suggested schedule. When selecting new cartridges, confirm their compatibility with your system. Utilizing incorrect models can lead to water leakage, potential system damage, or suboptimal filtration performance.
Furthermore, during maintenance, inspect O-rings and seals for wear and lubricate them as needed to prevent leaks. Ensure that the housing is thoroughly cleansed with a disinfectant designated for water filter systems to prevent bacterial growth.
Conclusion
You've now mastered the under-sink water filter swap. Regularly check for leaks and note the filter's lifespan to ensure optimal performance.
Remember, proper maintenance is crucial for sustained water quality and the longevity of your system. Stay vigilant with these practices, and you'll guarantee clean, safe drinking water for your household.
Ready for the next challenge? Keep this guide handy, and you'll navigate future replacements with confidence and precision.