As the guardian of your own hydration haven, you know the value of pure, clean water on tap. But maintaining that purity hinges on the health of your reverse osmosis (RO) system. It's not just about quenching your thirst; it's about protecting the sophisticated filtration fortress that stands between contaminants and your glass.
You've invested in this technology for peace of mind and palate, and with a few key steps, you can ensure it runs smoothly for years to come. Regular filter replacement, timely sanitization, vigilant leak checks, and performance evaluations aren't just recommended—they're crucial.
So, if you're wondering how to keep your system's performance optimal and extend its life, stick with us—we've got the insights you need to keep the pure water flowing.
Understanding Your RO System
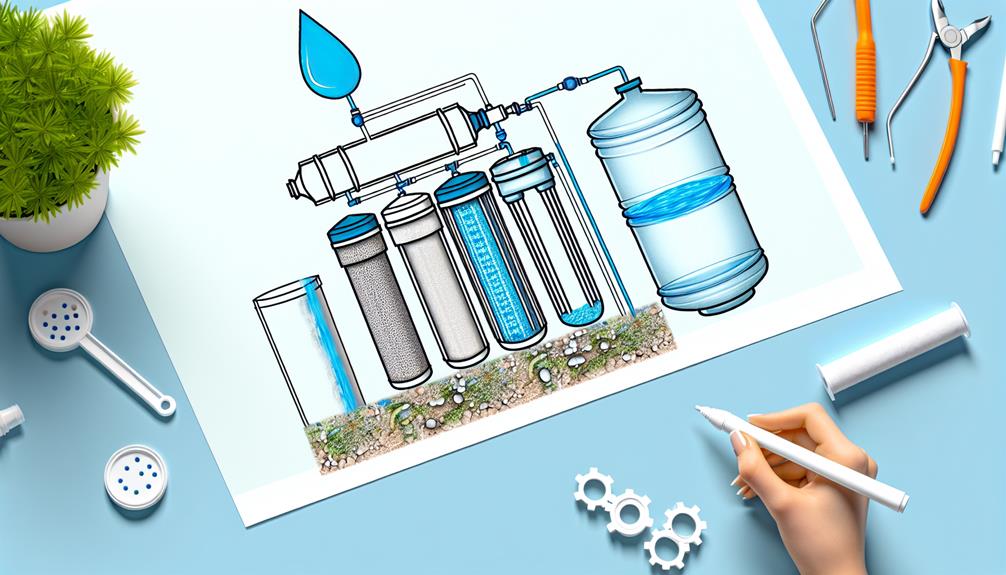
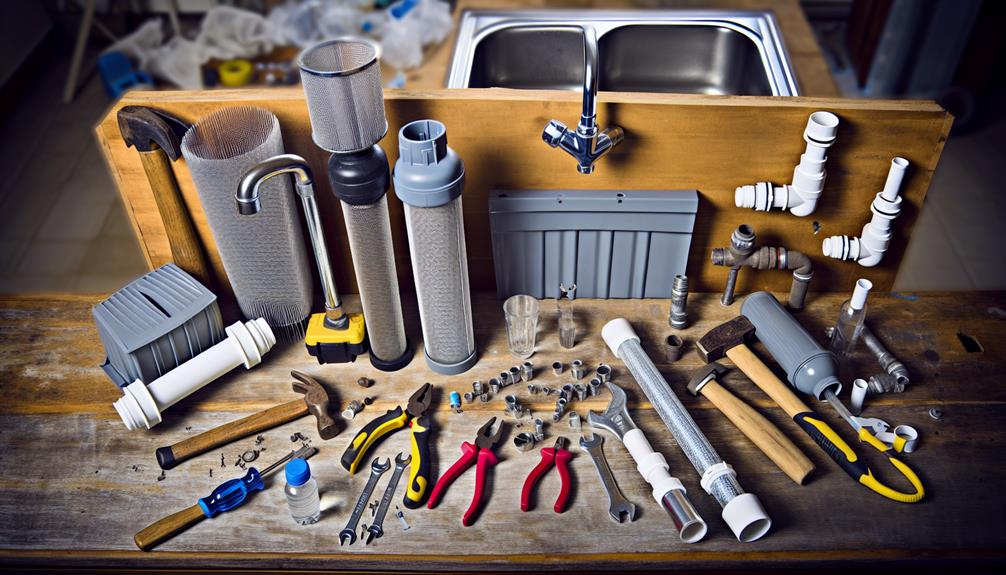
To ensure the longevity and efficiency of your reverse osmosis system, it's crucial to grasp its fundamental components and operational mechanics. Your system's core is the semi-permeable membrane, which meticulously filters out contaminants from your water supply. It's imperative to prioritize membrane care, as the state of this component substantially influences water quality and system performance.
Water pressure plays a pivotal role in the reverse osmosis process. Adequate force is essential for pushing water through the membrane, facilitating the filtration of unwanted particles. You must consistently monitor and maintain optimal pressure levels to prevent undue stress on the system. Low pressure can result in reduced efficiency and insufficient filtration, while excessive pressure might compromise the membrane's integrity, leading to costly repairs or replacements.
Methodically inspecting and replacing filters according to the manufacturer's guidelines is indispensable. Pre-filters protect the membrane by intercepting larger particles, thus it's vital to replace them regularly to reduce the burden on the membrane. Additionally, post-filters refine the water post-membrane, ensuring the removal of any residual impurities.
Regular Filter Replacement
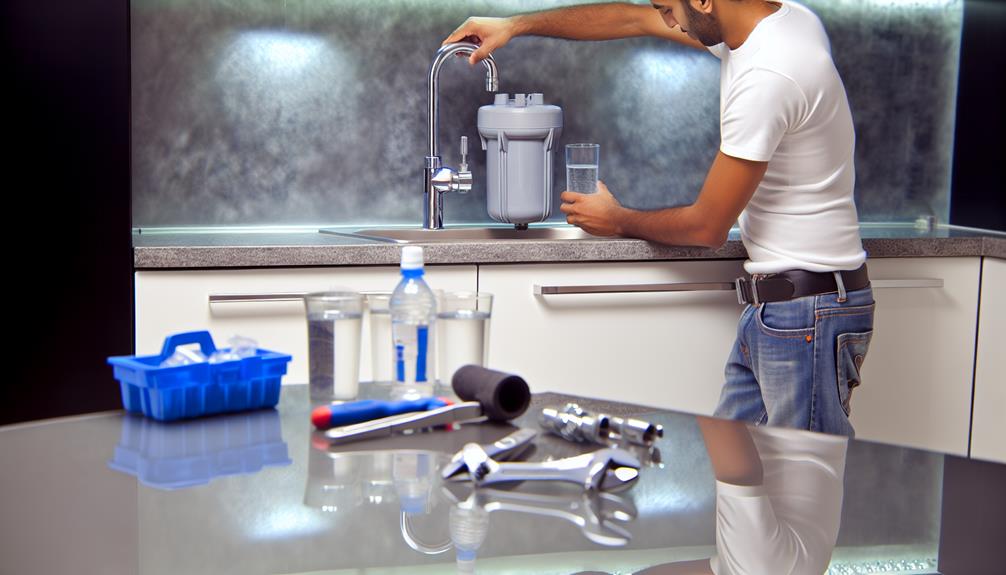
As you schedule regular maintenance for your reverse osmosis system, remember that timely filter replacement is critical for optimal performance and water purity. The filter lifespan can vary based on water quality and usage, but ignoring replacement indicators can lead to decreased efficiency and potential system damage.
To keep your system running smoothly, here's what you need to know:
- Sediment Pre-Filter: Replace every 6-12 months to prevent clogging and protect the membrane from large particles.
- Carbon Pre-Filter: Change this every 6-12 months to ensure chlorine and other chemicals are effectively removed before they can damage the RO membrane.
- RO Membrane: This is the heart of your system and should be replaced every 2-3 years, or when you notice a significant drop in water quality or flow rate.
- Post-Filter: Swap out this filter every 6-12 months to polish the water after it leaves the storage tank, ensuring taste and odor are in check.
Stay vigilant for replacement indicators such as a noticeable decline in water taste or pressure, which suggest it's time to replace your filters. Adhering to a strict replacement schedule won't only maintain water purity but also extend the life of your reverse osmosis system.
Sanitizing the RO Unit
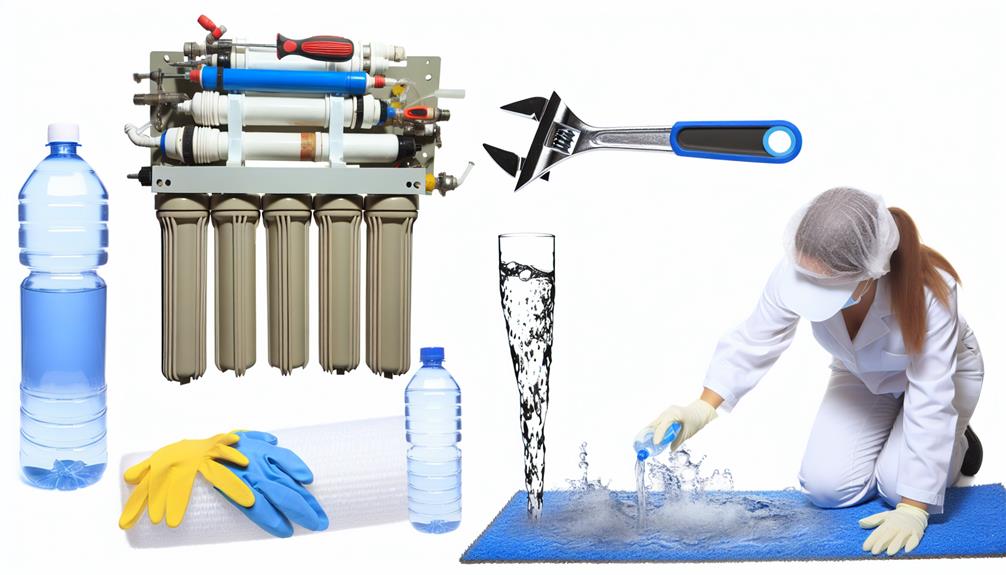
Regularly sanitizing your reverse osmosis system ensures the elimination of any bacterial build-up and maintains the integrity of your water quality. It's a critical process, and you'll want to use the right cleaning agents and follow precise steps.
Before you start, make sure you have the recommended cleaning agents on hand. Here's a quick guide:
| Step | Action | Note |
|---|---|---|
| 1. Preparation | Assemble cleaning agents and tools. | Use manufacturer-recommended products. |
| 2. Disassembly | Remove filters and membrane. | Handle membranes with care. |
| 3. Sanitization | Circulate sanitizing solution through the system. | Follow agent's contact time. |
Turn off the water supply and drain the system. Carefully disassemble the necessary components. With the filters and membrane removed, prepare the sanitizing solution according to the manufacturer's instructions. Circulate this solution through the system, ensuring all surfaces are in contact with the cleaning agent for the recommended duration.
After sanitizing, thoroughly rinse the system with clean water to remove any residual cleaning agent. It's crucial to adhere to storage tips for the filters and membrane if they're not immediately replaced.
Sanitizing your RO unit is methodical work, but it's vital for the health of your system and the quality of your water. Don't skip this maintenance step; it's as important as the regular filter replacement discussed earlier.
Checking for Leaks
After ensuring your reverse osmosis system is sanitized, it's essential to check for leaks to maintain optimal performance and prevent water damage. A meticulous approach to leak detection not only safeguards your investment but also ensures the longevity of the system. Here's a detailed, step-by-step list to help you examine your system thoroughly:
- Visual Inspection: Start by conducting a thorough visual inspection of all the pipes and connections. Look for any signs of moisture or water droplets that could indicate a leak. Ensure pipe integrity by checking for cracks or brittleness.
- Seal Inspection: Carefully inspect all the seals and O-rings within the system. Any signs of wear or damage can compromise the seal, leading to potential leaks. Replace any that appear degraded.
- Dry Test: After visual checks, dry any moisture from the pipes and fittings. Wait for a while, then inspect the areas again for any signs of water, which would indicate a slow leak that wasn't immediately obvious.
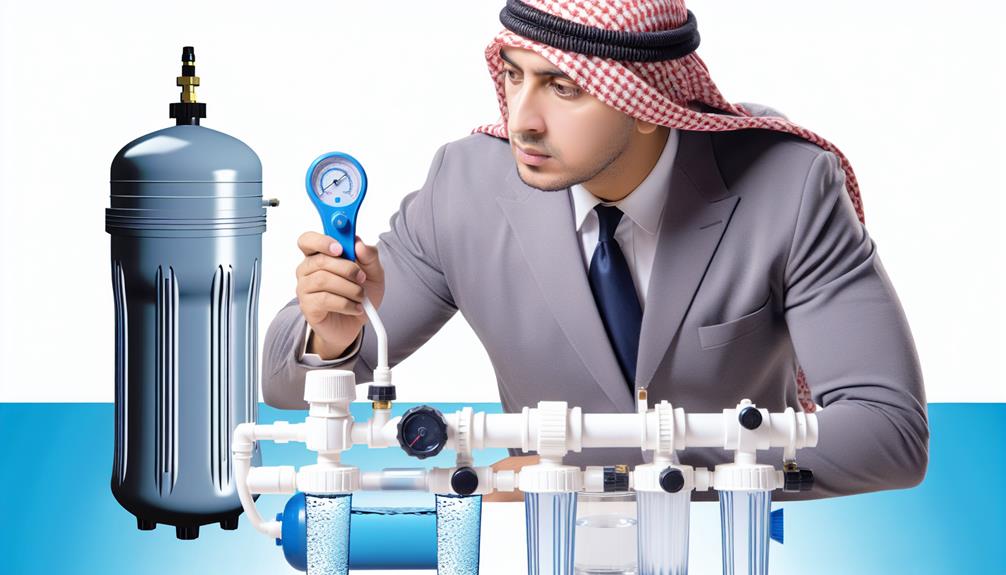
- Pressure Check: Finally, conduct a pressure test if your system has a pressure gauge. A significant drop in pressure could suggest a leak somewhere within the system. Investigate any discrepancies promptly to maintain system integrity.
System Performance Evaluation
To ensure your reverse osmosis system delivers the highest quality water, perform a comprehensive performance evaluation periodically. This evaluation will focus on two critical aspects: membrane integrity and water pressure.
Firstly, check the membrane integrity. The semi-permeable membrane is the heart of your RO system, responsible for filtering out impurities. Inspect for any signs of damage or wear that could compromise water quality. You'll want to conduct a TDS (Total Dissolved Solids) test to assess the membrane's effectiveness. A significant increase in TDS levels typically indicates a compromised membrane that may require replacement.
Next, evaluate the water pressure. Adequate pressure is essential for the RO process to function correctly. Low water pressure can lead to insufficient filtration and reduced water flow. Use a pressure gauge to measure the pressure of the feed water entering the system and compare it with manufacturer recommendations. If the pressure is below the optimal range, it may be necessary to clean or replace the filters, check for any obstructions, or consider installing a booster pump.
Conclusion
In conclusion, you've got this.
Regularly replace filters, sanitize your RO unit, check for leaks, and evaluate system performance to ensure top-notch water quality.
Stay precise, don't skip steps, and remember, a well-maintained RO system means long-term reliability.
Keep up the good work, and your system will continue to protect your water purity with unwavering efficiency.
Now, take the next step and put these practices into action. Your diligence will pay off in spades.