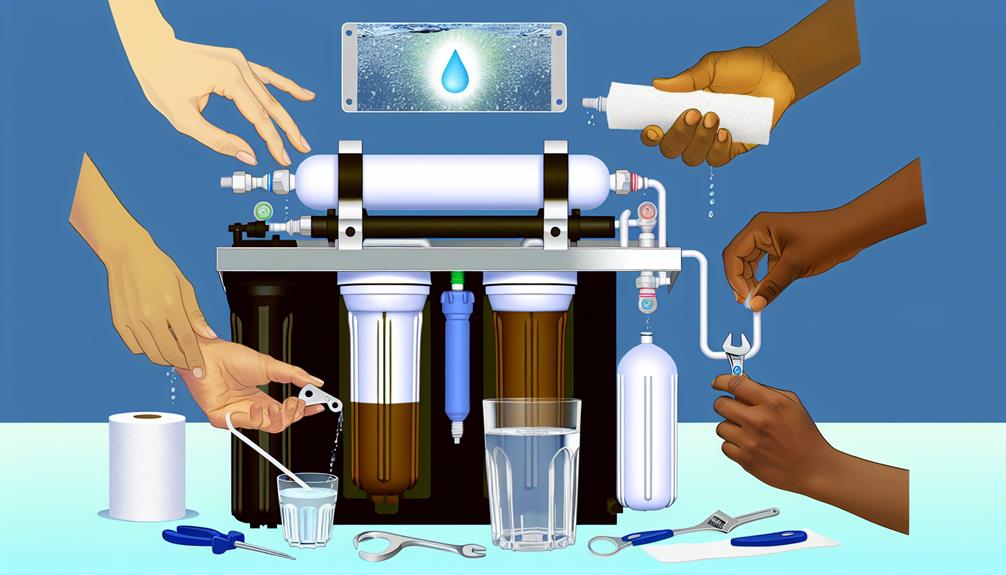
Maintaining your reverse osmosis system is like tending a garden; it requires regular attention and care to flourish. You've invested in this sophisticated water purification system to ensure your drinking water is crystal clear and free from contaminants, but its efficiency hinges on consistent upkeep.
As a professional in the water quality industry, I understand that the intricacies of system maintenance can be daunting. That's why it's crucial to arm yourself with knowledge on how to preserve the life and performance of your system.
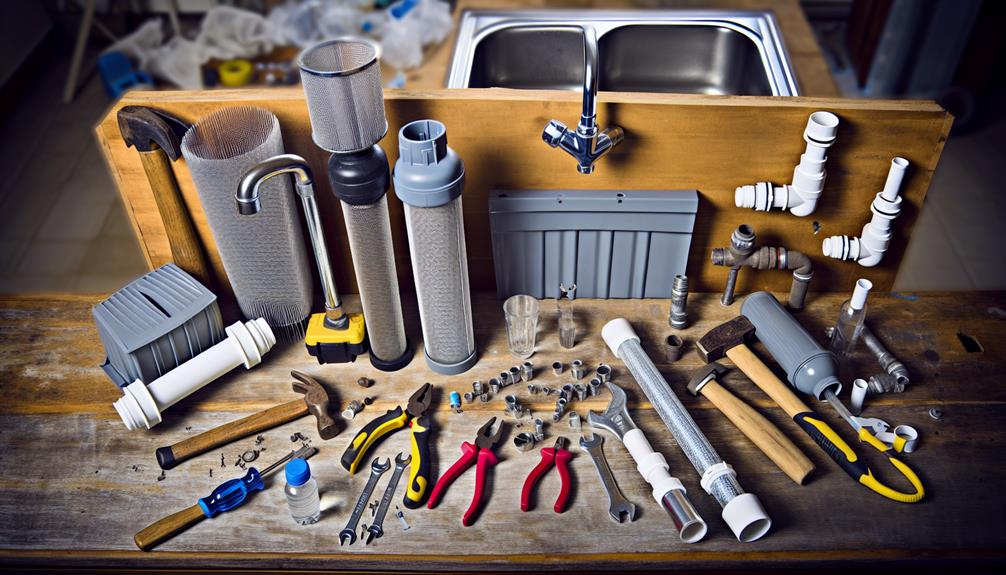
From the subtle art of pre-filter replacement to the critical nuances of monitoring water quality, I'll guide you through the top ten maintenance tips that you cannot afford to overlook.
Stay with me as we explore these pivotal strategies that will help keep your system operating at its peak, ensuring that you always have access to pure, refreshing water.
Pre-Filter Replacement Schedule
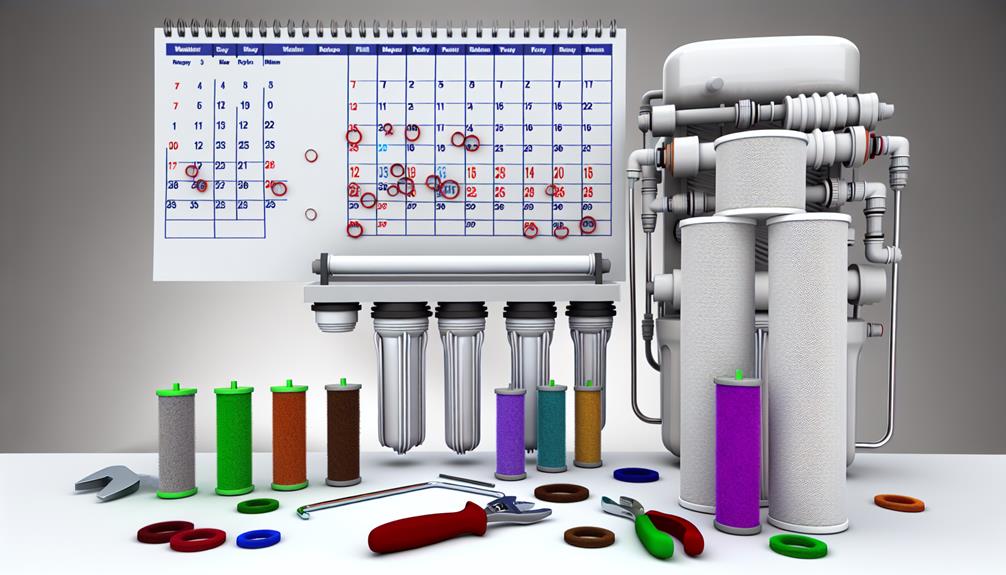
To ensure optimal performance of your reverse osmosis system, you should replace the pre-filters every 6 to 12 months, depending on your water usage and the local water quality. The pre-filters are your system's first line of defense, protecting the membrane from large particles and chlorine that can damage it and shorten its lifespan.
The filter lifespan varies based on multiple factors, including sediment levels and chemical contaminants present in your water supply. High sediment levels can clog filters more rapidly, necessitating more frequent changes. Similarly, if your water contains high levels of chlorine or other chemicals, the carbon pre-filter, which absorbs these contaminants, may become saturated more quickly.
Replacement indicators can be quite evident. A noticeable decrease in water pressure or a change in taste or odor of the treated water suggests that your pre-filters may be reaching the end of their service life. It's crucial to heed these signs to prevent undue stress on the system's membrane.
Always refer to the manufacturer's specifications for the exact replacement schedule and adhere to these guidelines to maintain the efficiency and longevity of your reverse osmosis system. Regularly scheduled maintenance ensures that you'll continue to enjoy clean, purified water without interruption.
Post-Filter Change Intervals
While keeping up with pre-filter replacements is crucial, you also need to pay attention to changing your reverse osmosis system's post-filters at recommended intervals to maintain water quality. The post-filter, typically a carbon filter, is vital as it polishes the water before consumption, removing any residual taste or odor. It's essential to ensure cartridge compatibility when selecting a replacement to avoid any potential system mismatches that could degrade performance or water quality.
The filter lifespan can vary based on usage and the quality of your feed water. However, a general guideline is to replace post-filters every 6 to 12 months. Keep in mind that if your water usage is high or if you notice a change in the water taste or odor, you might need to replace the filters more frequently.
Here is a table to help you track post-filter maintenance:
| Filter Component | Recommended Change Interval |
|---|---|
| Post-Filter | Every 6-12 months |
| Carbon Filter | Every 6-12 months |
| Polish Filter | Every 6-12 months |
| Taste/Odor Filter | As needed or every 6 months |
| Final Stage Filter | Every 6-12 months |
Adhering to these intervals ensures the longevity of your system and the consistent quality of your water.
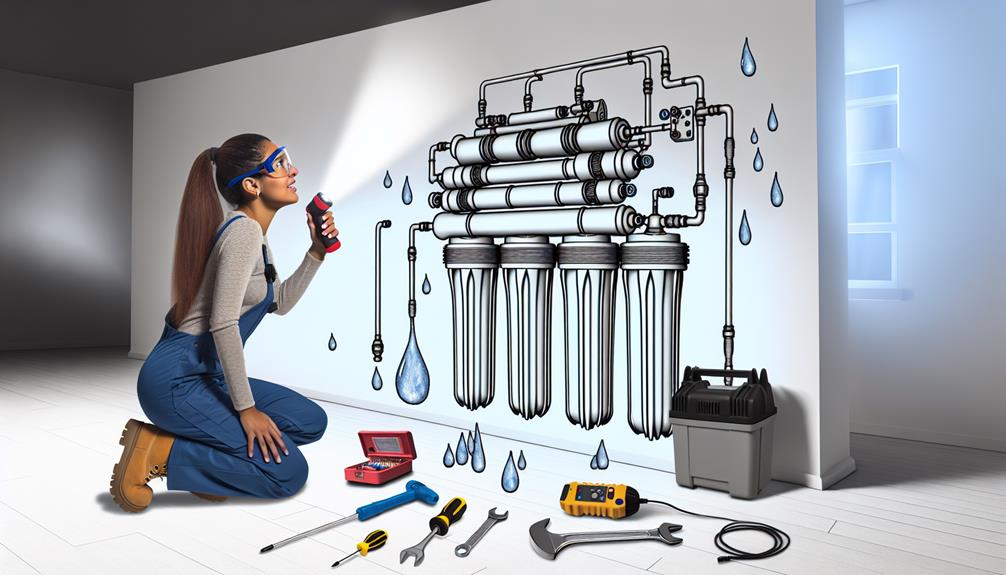
Membrane Inspection Protocol
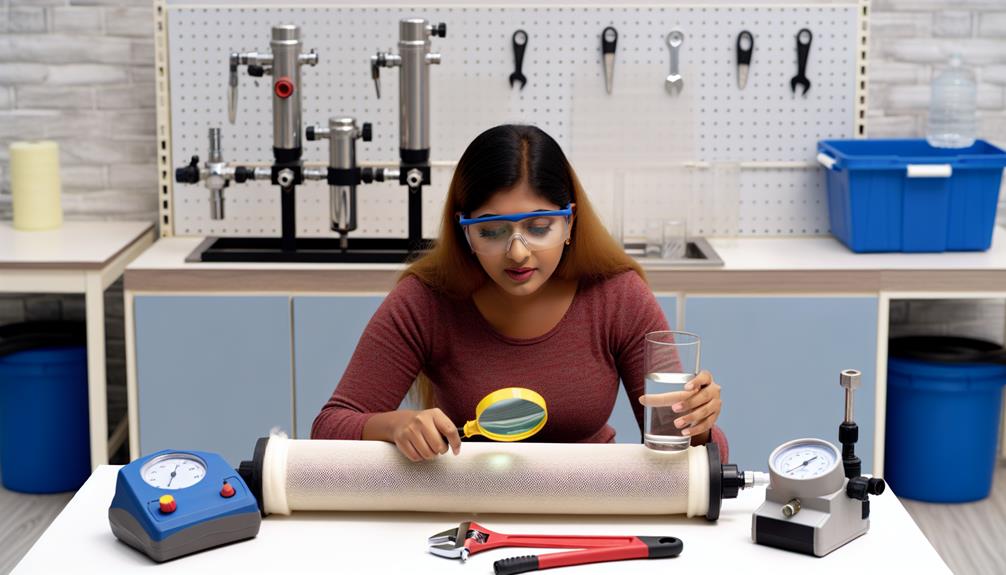
To ensure your reverse osmosis system operates at peak efficiency, you'll need to adhere to a strict membrane inspection protocol.
Begin by establishing a schedule for membrane cleaning based on usage and water quality, as neglecting this can lead to decreased performance and lifespan.
Regularly inspect for any signs of damage or leaks, which compromise system integrity and water purity.
Membrane Cleaning Frequency
Regular inspection of your reverse osmosis system's membranes is crucial, with cleaning typically recommended every 6 to 12 months depending on water quality and usage. The type of membrane material greatly influences the selection of cleaning solutions and protocols. For instance, cellulose acetate membranes require neutral or mildly alkaline solutions, while thin-film composite membranes can tolerate a broader pH range.
Precise adherence to manufacturer guidelines ensures the longevity of the membrane and optimal performance of the system. Overlooking the specific needs of your membrane material can lead to ineffective cleaning or even irreversible damage.
Always use the recommended cleaning solutions and carefully monitor the system's performance indicators to determine the appropriate cleaning frequency for your reverse osmosis system.
Damage and Leak Checks
Beyond adhering to cleaning schedules, you must also routinely inspect your reverse osmosis system's membranes for signs of damage or leaks to prevent system failure and ensure efficient operation. Here's a detailed protocol to follow:
- Examine the membrane housing for any signs of pipe corrosion, which can lead to leaks and contaminate your permeate.
- Check for o-ring wear or seal degradation, ensuring seal integrity is maintained to prevent unfiltered water bypass.
- Inspect the membrane itself for tears or brittleness, which indicate a compromised filtration process.
- Confirm that all connections and fittings are secure and show no signs of leakage.
These steps are crucial in maintaining the highest quality of water production and prolonging the lifespan of your reverse osmosis system.
Tank Pressure Verification
Ensuring your reverse osmosis system functions optimally requires verifying that the storage tank pressure is correctly set, typically between 7 to 8 psi when empty. You must check the pressure gauge accuracy to ensure it provides a precise reading. An inaccurate gauge can lead to a misjudgment of tank pressure, potentially compromising the system's efficiency. If you suspect the gauge is faulty, replace it immediately to maintain system integrity.
Additionally, examine valve functionality carefully. The shut-off valve must respond correctly to pressure changes; otherwise, it can lead to continuous water flow or improper system shut down. To test this, monitor the system as it fills the tank. The valve should halt water flow once the tank reaches its designed capacity.
You should periodically depressurize the tank and use a reliable air pressure gauge to check the psi. If adjustments are necessary, use a bicycle pump or an air compressor to correct the pressure, being cautious not to overinflate the tank.
Implementing these maintenance checks ensures your reverse osmosis system remains in peak condition, delivering the clean, purified water you rely on.
System Sanitization Procedures
After verifying tank pressure and valve functionality, it's crucial to sanitize your reverse osmosis system periodically to prevent microbial contamination and maintain water quality. System sanitization is an integral part of system maintenance, particularly in biofilm prevention—a common issue in reverse osmosis systems.
Here's how to ensure thorough system sanitization:
- Prepare a Sanitizing Solution: Use a non-toxic sanitizer approved for reverse osmosis systems. Dilute the sanitizer as per the manufacturer's instructions. This solution will be used to kill any bacteria and biofilm present in the system.
- System Flushing: Before applying the sanitizing solution, flush the system to remove any loose contaminants. This helps the sanitizer to come in direct contact with the surfaces inside the system.
- Apply the Sanitizing Solution: Circulate the sanitizing solution throughout the system, including the storage tank and the piping. Allow the solution to sit for the time specified by the sanitizer's instructions to ensure effective biofilm prevention and microbial control.
- Final Rinse: After the sanitization period, thoroughly flush the system with clean water to remove any traces of the sanitizing agent. Ensure that the water runs clear and that there's no residual taste or odor before using the water again.
Flow Rate Assessments
To maintain optimal performance of your reverse osmosis system, regularly check the flow rate to detect any signs of clogging or membrane degradation. It's essential to ensure your flowmeter calibration is up-to-date to accurately measure the flow rate. A deviation from the expected flow can indicate a problem with the system, such as fouling or scaling on the membrane surface.
The pressure gauge analysis is another critical aspect of assessing the flow rate. By monitoring the differential pressure across the RO system, you can identify abnormal pressure drops or increases that may suggest blockages or leaks. Consistent pressure gauge readings are vital for diagnosing and troubleshooting issues promptly.
Here's a quick reference table to help you keep track:
| Process Step | Key Consideration |
|---|---|
| Flowmeter Check | Ensure calibration is accurate for precise measurements. |
| Pressure Gauge | Monitor for stable readings indicating system integrity. |
| Membrane Status | Assess for signs of fouling or scaling affecting flow rate. |
| Filter Examination | Replace pre-filters as needed to prevent clogs. |
| System Documentation | Record all readings for trend analysis and maintenance history. |
Leak Detection Techniques
Regular inspection for leaks is crucial for the longevity and efficiency of your reverse osmosis system, as even small seepages can lead to significant water loss and system damage over time. To ensure that your system remains in top condition, adopt these leak detection techniques:
- Visual Inspection: Routinely check all accessible connections, fittings, and piping for any signs of moisture or water droplets. Be particularly vigilant for pipe corrosion, as this can be a precursor to leaks.
- Valve Functionality Test: Operate all valves to confirm they're sealing properly. Any valve that doesn't shut off completely may indicate a compromised seal, which could lead to leaks.
- Pressure Testing: Use a pressure gauge to monitor the system pressure at different points. A sudden drop in pressure could signify a leak somewhere in the system.
- Dye Testing: In areas that are difficult to visually inspect, apply a non-toxic dye to the suspected leak area. The appearance of the dye on the outside indicates the exact location of the leak.
Tubing and Connector Checks
Now, you'll want to focus on the integrity of your reverse osmosis system's tubing and connectors.
Ensure you're inspecting for any signs of leakage at regular intervals, as even minor seepage can indicate a compromised connection.
It's crucial to check that all tubing connections are secure and properly fitted to prevent potential system failures.
Inspect for Leaks Regularly
Vigilance in monitoring your reverse osmosis system for leaks, particularly at tubing connections, is essential to ensure its optimal performance and longevity. Leak indicators such as water spots or dampness around connectors can signal issues that require immediate attention.
Here are steps to follow:
- Visually inspect all tubing, especially at junctions, for signs of moisture or drips.
- Feel along the tubes and connectors for any unexpected wetness that mightn't be immediately visible.
- Tighten any loose fittings and replace worn-out O-rings or seals as part of your repair strategies.
- If a leak persists after tightening, consider replacing the tubing or connector to prevent further water damage and system inefficiency.
Regular checks will maintain system integrity and prevent costly repairs.
Secure Tubing Connections
Having inspected for leaks, it's crucial to ensure that all tubing connections in your reverse osmosis system are securely fastened to prevent any potential water escape. Check each fitting for compatibility with the tubing size to maintain connection durability. If you find any loose connections, gently but firmly push the tubing into the fitting until it's snug.
Here's a detailed table to help you keep track of the connection points:
| Connection Point | Check for | Action Required |
|---|---|---|
| Feed Water Valve | Tightness | Secure if loose |
| Pre-filter Inlet | Seal | Replace if worn |
| Membrane Housing | Alignment | Adjust if misaligned |
| Flow Restrictor | Connection Security | Tighten if needed |
| Faucet Attachment | Leak Signs | Re-seat tubing if necessary |
Drain Line Clearance

To ensure efficient operation of your reverse osmosis system, regularly check the drain line for clogs and obstructions. A clear drain line is crucial for maintaining flush efficiency and biofilm prevention. Biofilm buildup can't only impede water flow but also compromise the water quality by providing a breeding ground for bacteria.
Follow these steps to ensure your drain line remains clear:
- Inspect Visually: Look for any visible signs of blockage or damage to the drain line. Kinks or bends in the tubing can restrict water flow and should be straightened.
- Conduct a Flow Test: Disconnect the drain line from its connection point and observe the water flow when the system is in its rinse cycle. A slow flow may indicate a clog.
- Clean Regularly: Flush the drain line with a mild disinfectant solution to remove any developing biofilm. Ensure you follow the manufacturer's guidelines for the type of cleaner and the recommended frequency.
- Professional Assistance: If you're unable to clear the line or if you notice persistent problems, don't hesitate to contact a professional. They can perform a thorough cleaning and inspection to prevent future issues.
Monitoring Water Quality
To ensure your reverse osmosis system functions optimally, you'll need to regularly assess the purity of the water it produces.
This involves measuring specific contaminants, such as total dissolved solids (TDS), to identify any deviation from expected levels.
Accurate monitoring is crucial for detecting filter inefficiencies or membrane degradation that can compromise water quality.
Assess Purity Regularly
Regularly testing your reverse osmosis water with a TDS meter ensures the system's filtration effectiveness and water purity levels. By monitoring total dissolved solids (TDS), you can ascertain if the filters are performing optimally. A sudden spike in TDS readings may indicate a compromised filter, potentially shortening its lifespan. Taste testing can also be a subjective indicator of water quality changes.
To assess purity, consider the following:
- Measure TDS Levels: Use a TDS meter to quantify impurity levels in parts per million (ppm).
- Compare Readings: Regularly compare current readings to baseline levels for significant deviations.
- Check Filter Indicators: Monitor filter change indicators, if available, to anticipate maintenance.
- Perform Sensory Evaluation: Conduct taste testing as an additional check for any unusual changes in water quality.
Identify Contaminant Levels
While assessing water purity through TDS measurements is crucial, it's equally important to analyze specific contaminant levels to ensure your reverse osmosis system is effectively removing harmful substances. You must be vigilant about the variety of potential contaminant sources, such as agricultural runoff, industrial waste, or even naturally occurring substances like heavy metals.
To ascertain filtration efficacy, conduct regular, detailed testing of the water before and after treatment. Look for reductions in pesticides, herbicides, nitrates, and other specific pollutants. Verify that the concentrations fall below the maximum contaminant levels set by health regulations.
Conclusion
Keep your reverse osmosis system performing optimally by adhering to a strict maintenance routine. Replace pre-filters and post-filters as scheduled. Routinely inspect the membrane and verify tank pressure. Follow systematic sanitization procedures.
Stay vigilant for leaks. Regularly examine tubing and connectors. Ensure drain line clearance. Monitor water quality to detect any issues early.
Upholding these practices will extend your system's life, guarantee water purity, and provide peace of mind regarding your water's safety and taste.