Have you ever considered what's really in the water you drink every day? Ensuring the purity of your household water is not just about taste; it's about your health and well-being.
You've made the wise decision to take control of your water quality, and installing a home water filter is a solid step in that direction. As you prepare to navigate the plethora of options and installation steps, keep in mind that the process can be straightforward with the right guidance.
In the following sections, you'll find expert advice on selecting the perfect filter for your needs, preparing your space for installation, and detailed instructions to ensure a smooth setup. But before you grab your tools, there's a bit more to consider—understanding the nuances of maintaining your system is crucial for long-term satisfaction and performance.
Stay tuned to uncover these essential insights, which could make all the difference in your water filtration journey.
Assessing Your Water Needs

Before choosing a filtration system, you must evaluate your household's specific water consumption and quality requirements. Accurate water testing is a critical first step in this process, as it will inform you of the contaminant levels present in your water supply. You'll need to collect a sample of your water and have it analyzed by a certified laboratory.
The results will reveal the presence and concentration of various contaminants, such as heavy metals, chlorine, pesticides, and biological organisms. Understanding these levels is essential to select a filtration system that can effectively target and reduce these impurities.
When interpreting the lab report, pay close attention to any constituents that exceed the Environmental Protection Agency's (EPA) recommended limits. This will guide you in choosing a filter with the appropriate technology—be it activated carbon, reverse osmosis, or ion exchange—to address your water's specific issues.
Choosing the Right Filter
Having assessed your water quality and understood the contaminants, you're now equipped to select a filtration system tailored to your needs. Contaminant identification is critical in determining which type of filter will effectively purify your water. Remember, not all filters are created equal, and each has its specific strengths in eliminating certain pollutants.
Consider these emotional factors when choosing your filter:
- Peace of Mind: Knowing that the filter you choose is capable of removing the specific contaminants in your water provides a sense of security for you and your family.
- Health Assurance: A filter designed to target the contaminants present in your water supply ensures that you're protecting your household's health, avoiding the risks associated with contaminated water.
- Investment in Wellness: Choosing a filter with optimal filter longevity means not only cost savings over time but also a continuous supply of clean water, signifying a long-term commitment to the well-being of your loved ones.
Selecting a filtration system with appropriate filter longevity is equally important. It's not just about the immediate removal of contaminants but also ensuring that your system continues to perform efficiently over time, without frequent replacements or loss of quality. Your choice should balance technical proficiency with practical sustainability for maximum effectiveness.
Preparing for Installation
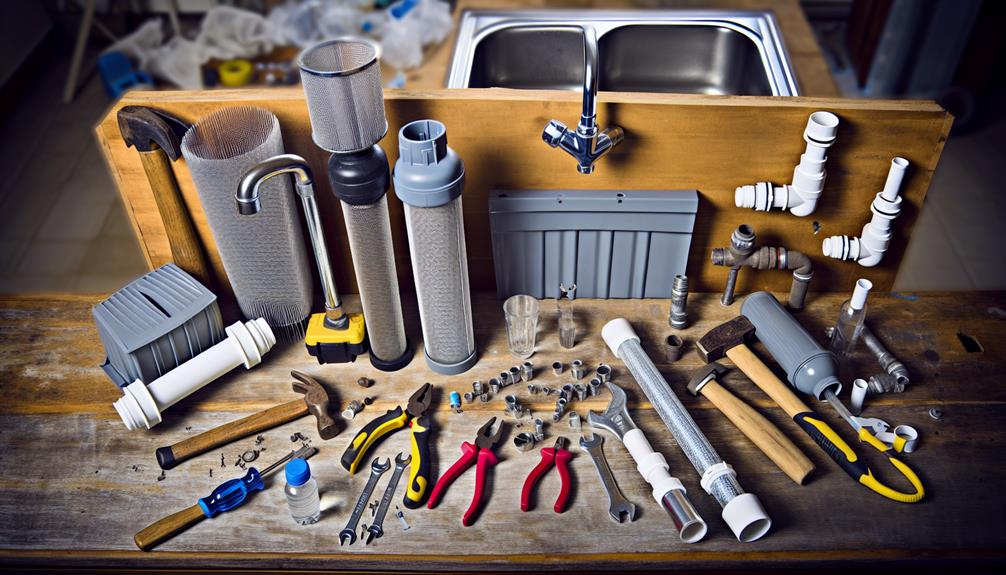
Once you've selected the ideal water filter, gather all necessary tools and the installation manual to ensure a smooth setup process. Begin by confirming the installation location; this is typically at the point where the main water line enters your home or under the sink for smaller filtration units. Ensure the area is clean and accessible, with adequate lighting to work efficiently.
Tool readiness is paramount. You'll need adjustable wrenches, Teflon tape, tubing cutters, and possibly a drill with the correct bits if you're mounting the unit. Check the manual for any additional tools specific to your model. Lay out your tools in an organized fashion, keeping them within reach to avoid interruptions during installation.
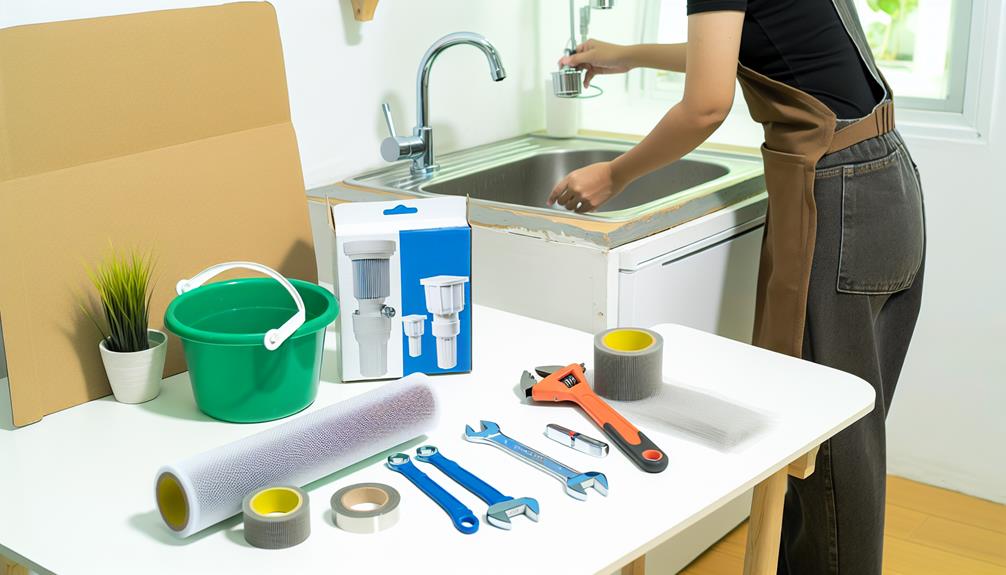
Before you start, shut off the main water supply to prevent any mishaps. If you're installing an under-sink filter, empty the cabinet and clean the area where the system will be mounted. Measure twice to avoid drilling unnecessary holes or making cuts that could compromise the integrity of your plumbing.
Step-by-Step Installation Process
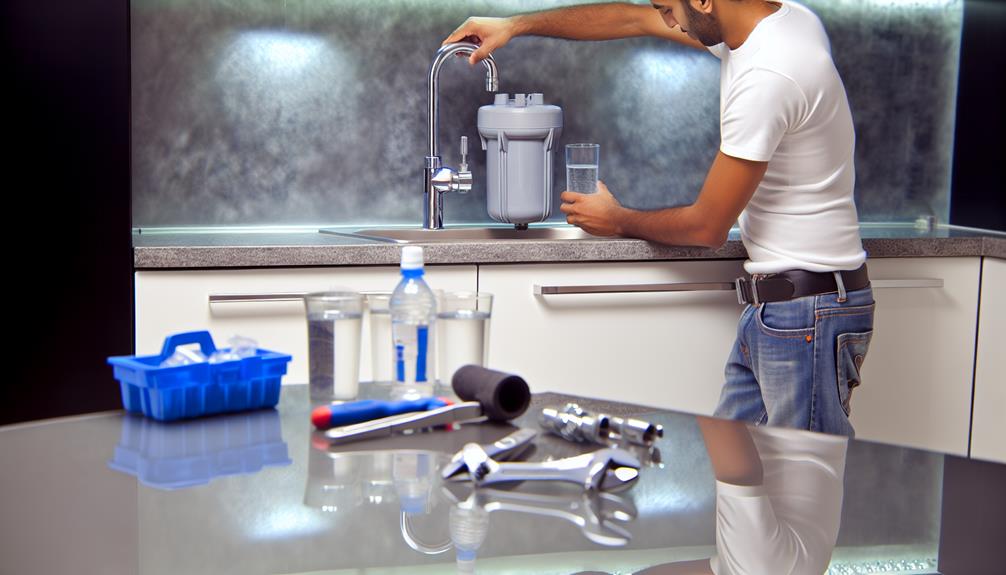
Begin the installation by turning off the cold water supply valve under the sink to ensure a safe work environment. Next, you'll determine the optimal filter location—ideally close to the cold water line and accessible for future filter changes.
Your tool selection is critical for a smooth installation process. Gather a pipe cutter, adjustable wrenches, and Teflon tape. Wear safety glasses to protect your eyes from any unexpected splashes or debris.
Now, follow these steps:
- Measure and Cut: Accurately measure the section of the cold water line where the filter will be placed. Carefully cut the pipe with the pipe cutter, ensuring a clean cut to avoid leaks.
- Secure Fittings: Attach the filter's inlet and outlet fittings to the freshly cut pipe ends. Use Teflon tape on the threads to create a watertight seal, and tighten with wrenches.
- Mount the Filter: Secure the filter unit to the wall or cabinet, maintaining sufficient space for easy cartridge replacement. Connect the fittings to the filter, ensuring the flow direction matches the filter's input and output.
Check all connections for any potential leaks. Once everything is secure, slowly turn the water supply back on and check the system's functionality.
Your home water filter is now expertly installed.
Maintenance and Care Tips
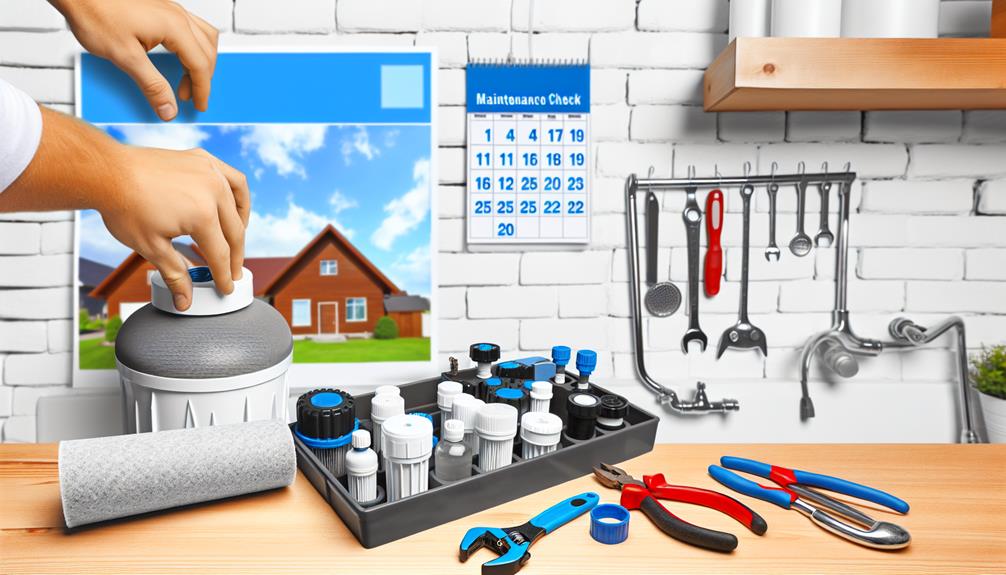
To ensure your home water filter continues to operate at peak efficiency, regularly scheduled maintenance is essential. Familiarize yourself with the manufacturer's guidelines for your specific model to understand the expected filter lifespan and to identify the appropriate intervals for inspection and replacement.
Be vigilant for replacement indicators such as a noticeable decrease in water flow rate or an alteration in taste or odor of the filtered water. These signs suggest that the filter media may be saturated with contaminants and is due for a change. It's critical not to overlook these cues as prolonged use beyond the recommended lifespan can compromise water quality and potentially damage the system.
Additionally, you should routinely sanitize and inspect the filter housing and associated fittings for signs of wear or leakage. Use only manufacturer-approved cleaning agents to prevent any damage to the components or a negative impact on the filtration efficacy.
Record each maintenance activity meticulously to track the filter's performance and anticipate future needs. By adhering to these maintenance and care tips, you'll not only extend the filter's life but also ensure that you're consistently providing your home with clean, safe water.
Conclusion
Now that you've installed your water filter, ensure it runs efficiently by adhering to the manufacturer's maintenance schedule. Replace filters and parts as recommended to maintain water quality and system longevity.
By following these steps, you've taken control of your water purity, safeguarding your household's health. Remember, regular upkeep is crucial for optimal performance.
Trust in your abilities—you've successfully enhanced your home's water system with precision and expertise.