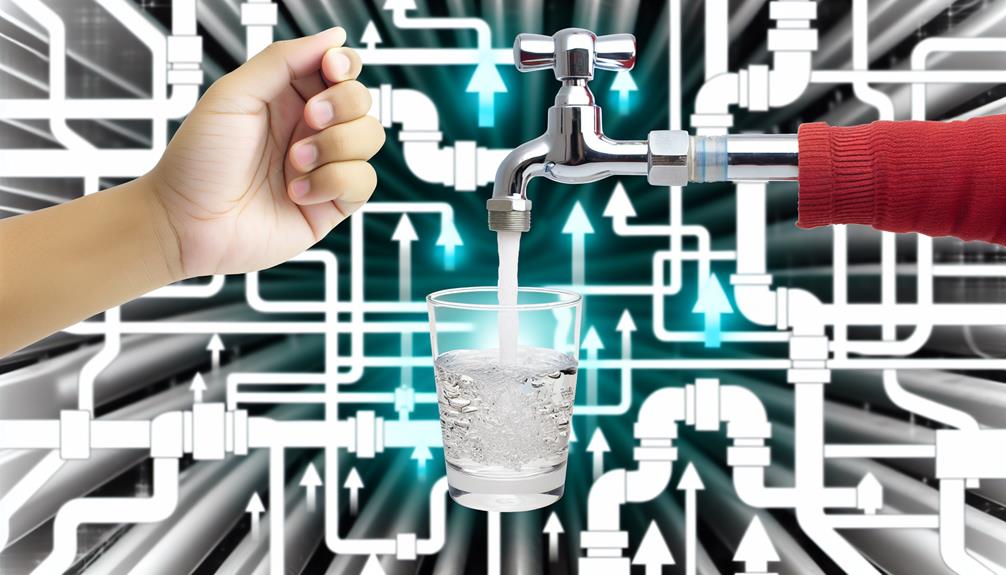
Just as Achilles' heel was his singular point of vulnerability, the purity of your home's water should not be the weak link in your family's health chain.
You've decided to take control of your water quality, but installing a home water filter system can be a task as murky as unfiltered well water if you're unprepared. By following a set of essential tips, you'll ensure that your system not only runs efficiently but also provides the peace of mind that comes with clean, safe drinking water.
From understanding your specific filtration needs to maintaining your system, these guidelines will serve as your roadmap. However, there are nuances in the process that could mean the difference between a job well done and a costly misstep.
Stay with me, as I unveil these pivotal strategies, and you'll soon discover how to navigate the complexities of this seemingly straightforward endeavor.
Assessing Water Quality Needs

Before selecting a home water filter system, it's essential to evaluate your specific water quality requirements based on the contaminants present in your water supply. You'll need to test your water to determine the concentration of various substances, including minerals that contribute to water hardness, as well as any potentially harmful contaminants like lead, chlorine, and bacteria.
Water hardness, a measure of the concentration of calcium and magnesium ions, can affect both the taste and the performance of your water-using appliances. If your water is hard, you'll likely notice scaling on fixtures and a decreased efficiency in your heating system. In this case, you might consider a water softener in conjunction with a filtration system to protect your appliances and improve the water quality.
Your taste preferences also play a crucial role in selecting the right filter. If you're sensitive to the taste of chlorine commonly used in municipal water treatment, a filter with activated carbon might be your best bet to remove both taste and odor issues.
Keep in mind that no single filter can remove all contaminants. You may need a multi-stage system that combines several types of filters to address all your water quality concerns effectively. Always choose a filter certified by an independent testing organization to ensure it meets industry standards for contaminant reduction.
Selecting the Right Filter
Once you've assessed your water quality needs, you'll need to match those needs with the appropriate filter type.
Ensure the filter you choose has a high contaminant removal efficiency for the specific impurities present in your water.
It's crucial to consider both the filter's capabilities and your household's water consumption to make an informed decision.
Filter Type Matchup
Selecting the appropriate water filter requires understanding the specific contaminants you need to eliminate from your home's water supply. Consider filter lifespan and potential installation permits when matching a filter type to your needs.
A sediment filter, for instance, is pivotal if you're dealing with visible particles, whereas a carbon block filter is more suited for organic compounds and chlorine.
Ensure you're opting for a unit with a lifespan that aligns with your water usage and maintenance willingness. Some filters require frequent changes, adding to long-term costs and effort. Moreover, depending on local regulations, certain filter installations might necessitate permits. Always check with your municipality to avoid any legal complications.
This due diligence ensures your chosen solution is both effective and compliant.
Contaminant Removal Efficiency
To ensure peak performance from your water filter, it's essential to understand its contaminant removal efficiency and confirm that it targets the specific impurities present in your water supply. Be meticulous in assessing the filter specifications:
- Match the filter's capabilities with known contaminants
- *Heavy metals* such as lead or mercury
- *Chemical pollutants* like pesticides or herbicides
Consider filter lifespan, which dictates how often you'll need to replace the unit or its components to maintain effectiveness. A longer lifespan often equates to fewer replacements but may come with a higher initial cost.
Additionally, the taste impact should be a factor in your decision-making process. A filter that removes contaminants but alters the water's taste unfavorably isn't ideal.
Selecting the right filter involves balancing these technical considerations to achieve safe, palatable drinking water.
Understanding Installation Location
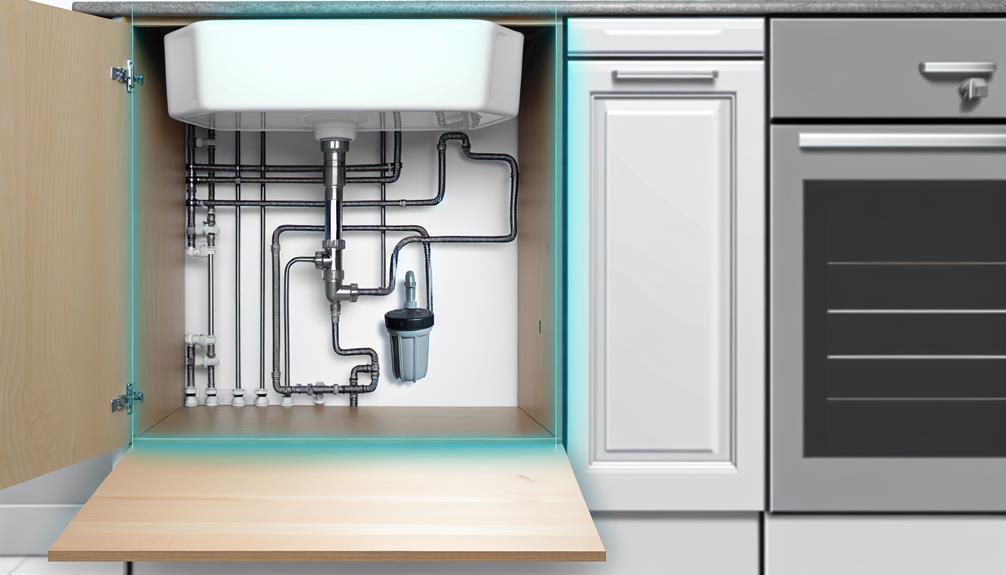
Before you embark on installing a home water filter, it's crucial to assess the intended location's suitability, considering factors such as water source, space availability, and ease of maintenance. Your filter's lifespan can be significantly affected by where you place it. A location that's too exposed to extreme temperatures or direct sunlight can degrade filter components more rapidly. Similarly, installation aesthetics shouldn't be overlooked. You'll want your water filter to be accessible yet unobtrusive, blending seamlessly with your home's design.
Think practically about the installation site. It must be near the main water line for whole-house systems or under the sink for point-of-use filters. Make sure you have enough clearance for filter changes and that there's no risk of accidental damage from household activities. Consider the proximity to electrical outlets if your system requires power and ensure that there's a drain nearby to handle any system flushes or spills.
Lastly, factor in future maintenance. Choose a location that allows for easy access to the filter for regular checks and replacements. Cramped spaces can make changing filters a hassle and may discourage timely maintenance, compromising water quality. Keep these technical details at the forefront to ensure a smooth installation and optimal filter performance.
Preparing the Installation Area
Ensure you've cleared the installation area of any debris or obstructions to create a clean and safe workspace conducive to the precise setup of your home water filter. Area cleanliness is paramount, as dust and particles can compromise the water filter's integrity and function.
Before proceeding, conduct a thorough examination of the installation space. This isn't just about sweeping up; it's about preparing the environment to ensure a seamless installation process. Here's what you need to focus on:
- Installation Space
- *Accessibility*: Verify that there's ample room for maneuvering tools and installing the filter without constraints.
- *Surface Preparation*: The area where the filter will be mounted should be smooth, clean, and level.
- Area Cleanliness
- *Dust Removal*: Use a vacuum cleaner or a damp cloth to remove any dust, which might enter the water system during installation.
- *Debris Clearance*: Ensure no small items or particles are in the vicinity that could contaminate the system.
Make sure you have all the necessary tools and components at hand before beginning. This includes reading through the manufacturer's instructions to familiarize yourself with the specific requirements of your water filter system. A well-prepared installation space is the foundation for a successful and efficient setup.
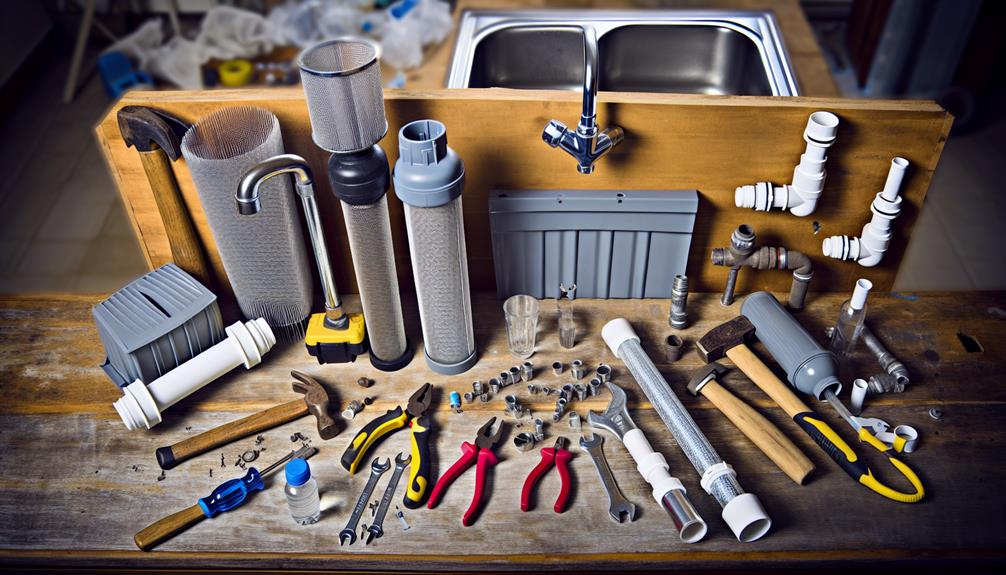
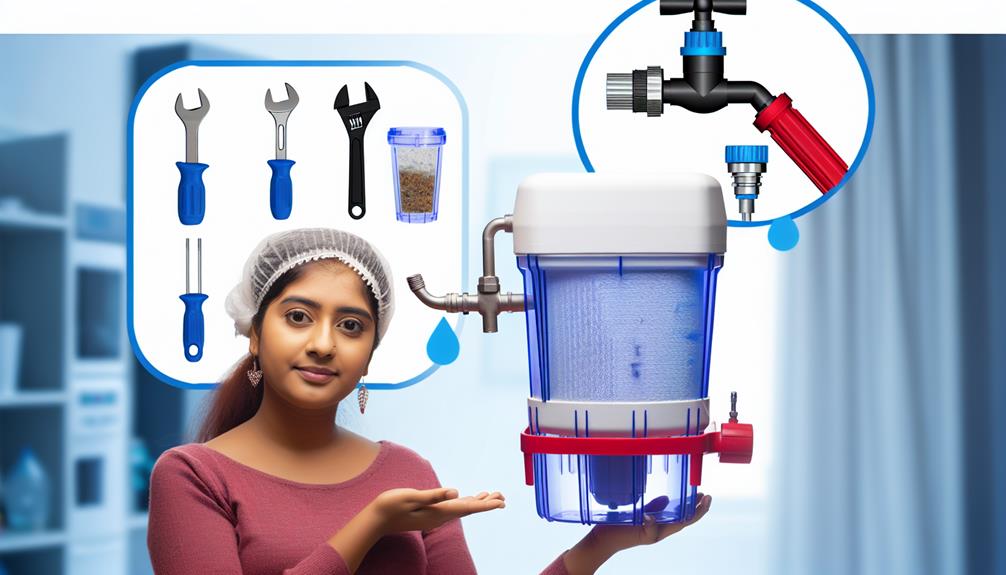
Tools and Materials Checklist
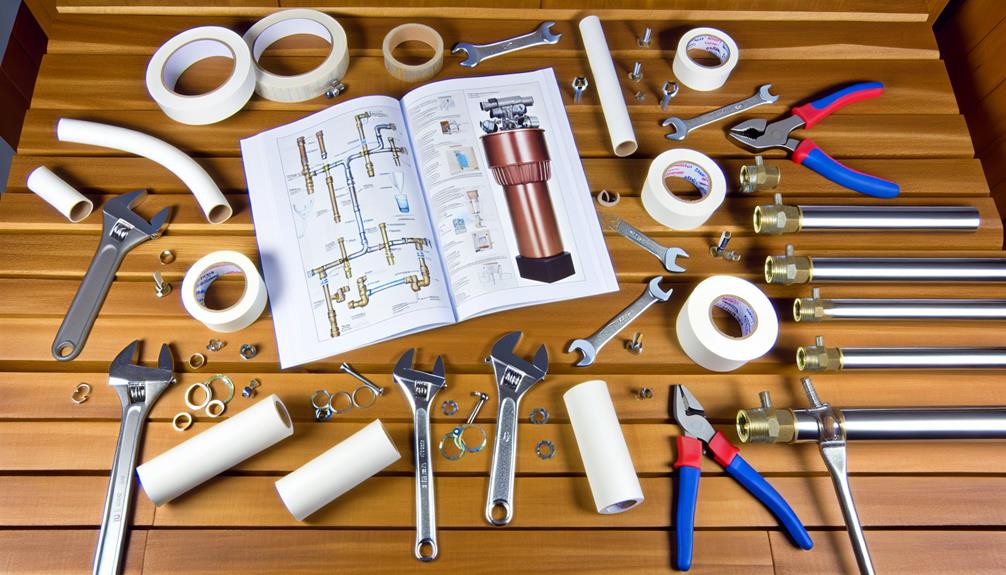
Having prepared your installation area, you'll now need a comprehensive checklist of tools and materials to proceed with setting up your home water filter. First, ensure you have the correct pipe selection on hand. This means checking both the size and type of pipes that are compatible with your new filter. For most residential filters, you'll typically work with PVC, copper, or PEX piping.
For the actual installation, you'll need an adjustable wrench, pipe cutters or a tubing cutter for precise cuts, and Teflon tape to secure threaded connections and prevent leaks. Don't forget a pipe deburring tool to smooth cut edges, which is essential for avoiding leaks and ensuring installation safety.
Materials-wise, gather all necessary fittings, which may include compression fittings, push-to-connect fittings, or PVC solvent joints, depending on your pipe selection. You should also have on hand a bucket to catch any residual water when cutting into your current plumbing and safety glasses to protect your eyes from any flying debris.
Keep in mind that proper preparation extends to installation safety. Always shut off the main water supply before beginning work and double-check that the area is dry to prevent any electrical hazards.
This checklist, combined with careful planning, ensures a safe and successful installation of your home water filter.
Shutting Off Water Supply
Always start your home water filter installation by turning off the main water supply to prevent any unexpected water flow or potential flooding. This crucial step ensures a safe and dry work environment.
To effectively shut off the water:
- Locate the main water valve, which you'll typically find:
- Near the water meter if you're in a warmer climate, often outside your home.
- Inside the home, in colder climates to prevent freezing, possibly in a basement or utility area.
Once you've found the water valve location, turn the valve clockwise to close it. This action should halt water from entering your home's plumbing system.
After shutting off the valve, it's essential to relieve any pressure that might still be in the pipes. Here's how:
- Open a faucet at the highest point in your home to allow air into the system.
- Then, open a faucet at the lowest point to drain any remaining water and release pressure.
This pressure release step is vital to prevent water from suddenly gushing out when you disconnect pipes or fittings during the filter installation.
Removing Old Equipment
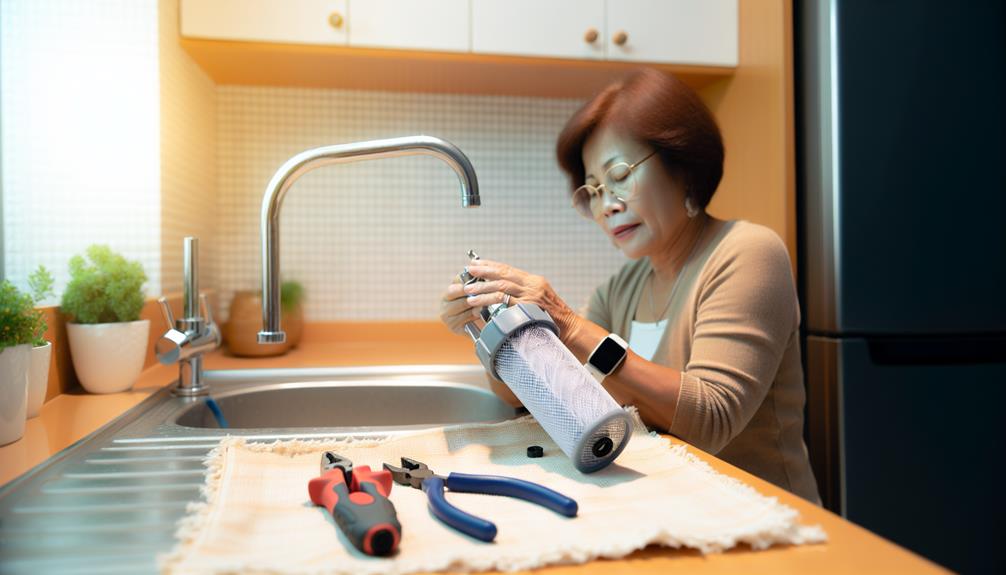
Before you tackle the installation of your new water filter, you'll need to remove any old equipment.
Begin by identifying your current filter system and ensure you have the necessary tools for a safe removal.
Properly disposing of the old filters is critical to avoid environmental contamination and to comply with local regulations.
Identify Existing Filter System
To properly replace your home water filter, you'll first need to identify and remove any old filtration equipment currently installed. Tackling filter identification challenges requires attention to detail. Look for manufacturer labels or model numbers that can offer clues:
- Check for:
- Brand logos: Often found on the housing or end caps.
- Serial numbers: Can be used to determine the model and specifications.
When planning an existing system upgrade, ensure compatibility with new components. Consider the following:
- Compatibility factors:
- Connection sizes: Match the inlet and outlet ports.
- Filter media: Ensure the new system can handle the type and capacity required.
Preparing for Safe Removal
Ensure you've shut off the main water supply to your home to prevent any potential leaks or water damage during the removal of your old water filter.
Next, relieve the pressure in the system by opening a downstream faucet. This step is crucial to avoid water spurts that can occur when disconnecting the filter.
With the pressure released, you're ready to handle the filter. Don personal protection, such as gloves and safety glasses, to guard against any residual water or debris. Carefully unscrew or unclip your old filter from its housing. Have a bucket or towel at hand to catch any drips. Remember to properly support the filter during removal to avoid strain on the plumbing.
Disposal of Old Filters
Once you've successfully removed your old water filter, it's important to dispose of it responsibly, adhering to your local waste management guidelines. Remember, the filter lifespan has expired, and you can't simply toss it in the trash. Here's what you should consider for an environmentally friendly disposal:
- Check the filter's manual for disposal instructions
- Some manufacturers have take-back programs
- Others specify recycling options
- Explore local recycling facilities
- Verify acceptance of water filters
- Inquire about any preparation needed before recycling, like drying out the filter
If recycling isn't feasible, your last resort is to dispose of the filter as directed by your local waste regulations. Ensure you're not contributing to environmental harm by following these steps carefully.
Mounting the Filter Unit
Before you mount the water filter unit, identify a suitable location on the wall that can support the weight and is easily accessible for maintenance and filter changes. Ensure the chosen spot allows the filter bracket to be secured at the correct installation angle, which is typically vertical to ensure optimal filtration performance. This angle also helps in avoiding stress on the connections and piping.
When attaching the filter bracket, use a level to ensure it's perfectly horizontal. Mark the drill points precisely, and double-check the alignment before you start drilling. If you're mounting onto drywall, locate the studs or use appropriate anchors to handle the weight. For masonry walls, use suitable wall plugs that can sustain the filter's weight.
Once the bracket is securely affixed, carefully position the filter unit onto the bracket. Make sure it's seated firmly and locked in place, if applicable. Don't forget to leave enough clearance above and below the unit for easy cartridge replacement and to accommodate any tools needed for servicing.
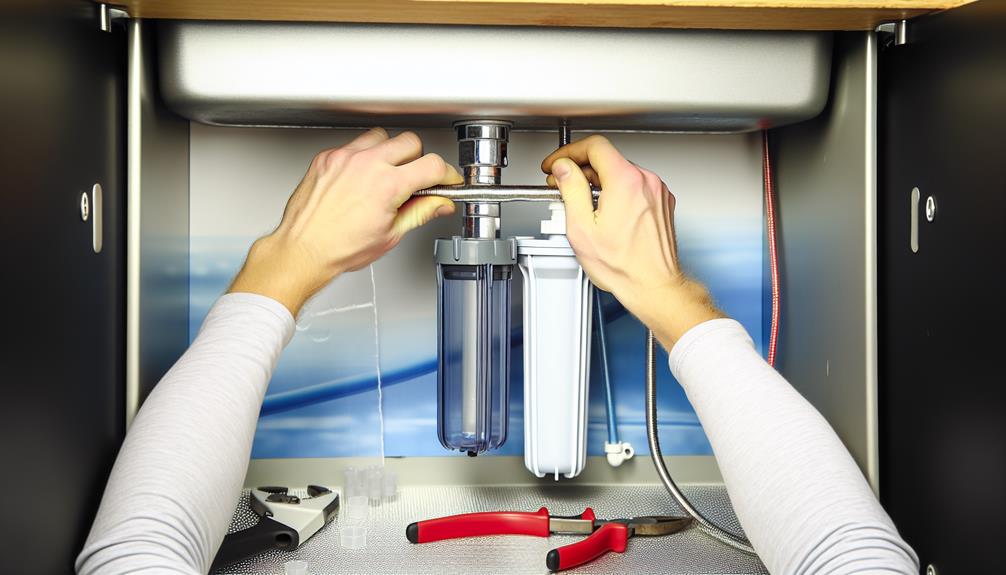
Connecting Water Lines
Once the filter unit is securely mounted, you'll need to focus on connecting the water lines.
Ensure you select the correct fittings for your pipes to maintain a tight seal and prevent any potential leaks.
Apply leak prevention techniques, such as using thread seal tape or joint compound, to safeguard against future water damage.
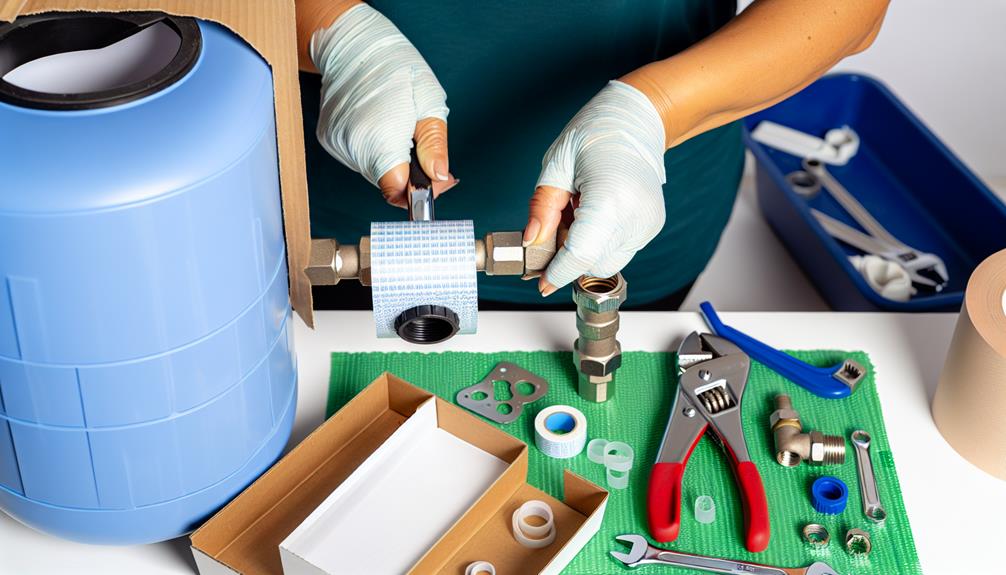
Choosing Proper Fittings
Selecting the appropriate fittings is crucial for a secure and leak-free connection between your water lines during the installation of a home water filter. Ensure you're well-informed about pipe sizing, as it determines the fitting size you'll need.
Adapter compatibility is another key factor; the adapter must match both your pipes' material and size. Here's what to keep in mind:
- Match the fitting to the pipe size:
- Pipe sizing: Measure the diameter accurately.
- Adapter compatibility: Confirm the material (copper, PVC, etc.) matches.
Carefully choosing fittings that correspond to your system's specifications guarantees a reliable installation. Double-check all connections for a snug fit without over-tightening, which can lead to damage and potential leaks.
Leak Prevention Techniques
Having secured the correct fittings for your pipe size and material, it's essential to employ leak prevention techniques when connecting water lines to ensure a watertight seal.
Start by meticulously cleaning the threads on both the pipe and fitting. Any debris can compromise the connection, leading to potential leaks.
Apply a high-quality thread sealant evenly on the male threads, but be careful not to over-apply, as excess can clog the system.
For additional security, consider pipe wrapping with Teflon tape. Wrap the tape clockwise around the threads three times, ensuring complete coverage without overlapping.
This combination of thread sealant and pipe wrapping reinforces the connection, providing a durable seal that withstands water pressure and temperature changes, significantly reducing the likelihood of leaks.
Ensuring Leak-Free Connections
To ensure leak-free connections when installing your home water filter, it's crucial to apply the appropriate sealant and tighten fittings with the right amount of torque. Pipe threading must be clean and correctly matched to the fittings. As for sealant choices, they can vary, but here are a couple of options:
- Teflon tape
- Wrap clockwise to avoid unwinding
- Typically 3-4 wraps are sufficient
- Pipe dope
- Apply a small bead around the thread
- Ensure coverage is even but not excessive
When tightening the fittings, be mindful:
- Don't overtighten; this can cause damage
- Hand-tight plus a quarter to a half turn with a wrench is often enough
- Use two wrenches if necessary
- One to hold the filter steady
- Another to turn the fitting
Remember to check for leaks once the water is turned back on. If a leak is detected, turn off the water again and slightly tighten the connection. Don't apply excessive force, as it can strip threads or crack fittings. Patience and precision are your allies in achieving a sound, leak-free system.
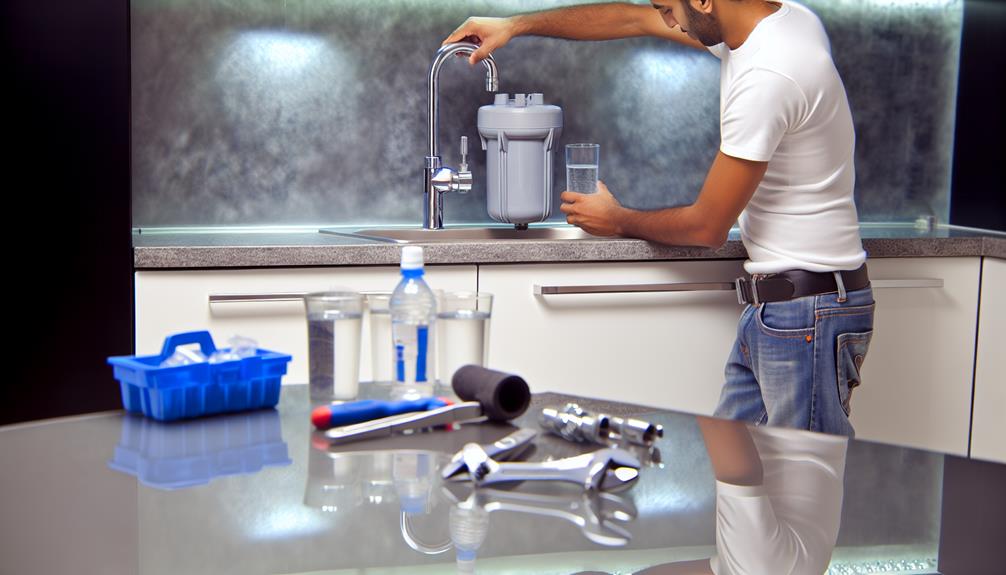
Activating the Filter System
Once you've confirmed the connections are secure and leak-free, it's time to activate your water filter system by slowly turning on the main water supply to allow water to flow through the filter. This gradual approach is crucial for filter priming, which is the process of preparing the filter media for use by removing any air pockets and ensuring uniform water distribution.
Carefully monitor the water as it begins to saturate the filter, checking for unusual noises or a drop in water pressure that could indicate a problem.
System reactivation is particularly important if your filter has been inactive for some time. To ensure optimal performance, let the water run for a few minutes to flush out any stagnant water within the system. This step will also help clear any fine particles or manufacturing residues from the filter media.
Pay attention to the manufacturer's instructions for the initial flush time, as this can vary widely depending on the filter type and model.
Once the system has been properly primed and flushed, you can now enjoy the benefits of cleaner, safer water. Remember, regular maintenance following the initial activation will keep your system functioning effectively, providing you with continuous access to purified water.
Testing Water Flow
Once you've activated your water filter system, it's crucial to test the flow rate to ensure it's within the manufacturer's recommended range.
If you notice a significant drop in water pressure, this could indicate blockages or installation issues.
You'll need to pinpoint the cause of any obstruction to maintain optimal performance and water quality.
Assess Flow Rate
Before selecting a water filter for your home, you'll need to determine the flow rate of your current system to ensure the new filter can handle your household's water usage efficiently. Using flow meters and pressure gauges will provide you with precise measurements. Here's how to proceed:
- Install a Flow Meter
- Attach it to the main water line.
- Record the gallons per minute (GPM) during peak usage.
- Use Pressure Gauges
- Place a gauge close to where the main water line enters your home.
- Note pressure in pounds per square inch (PSI) at different times.
These readings are crucial for selecting a filter that won't reduce water pressure and can cope with the highest demand in your household.
Identify Blockage Causes
Having assessed your system's flow rate, you'll want to explore potential causes of blockage that could affect water flow and filter efficiency. Pipe corrosion and sediment buildup are common culprits. Over time, pipes can corrode due to pH imbalances or the presence of chemicals in the water, leading to restricted flow. Similarly, sediment buildup, often the result of particulates and minerals present in your water supply, can clog your system.
To address these issues, inspect your pipes for signs of corrosion such as discoloration, flaking, or leaks. For sediment buildup, regular maintenance of your filters is crucial. Clean or replace them according to the manufacturer's instructions. Ensuring your home's water pressure is appropriate can also help prevent excessive sediment accumulation.
Maintenance Schedule Overview
To ensure your home water filter continues to function optimally, adhere to a regular maintenance schedule that includes routine filter replacements and system inspections. Be acutely aware of the filter lifespan to prevent inefficiencies or potential water contamination. Check the manufacturer's recommendations for specific time frames, as these can vary based on the type of filter and usage. Also, confirm warranty coverage for your system to understand what maintenance or replacements might be supported at no additional cost.
Regular Maintenance Tasks:
- Replace filters:
- Sediment pre-filters: every 2-3 months
- Activated carbon filters: every 6-12 months
- Inspect the system for leaks or damage: quarterly
- Sanitize the system: at least once a year
Periodic Checks:
- Evaluate water pressure post-filtration: monthly
- Test water quality for signs of filter exhaustion: every 6 months
Troubleshooting Common Issues
While adhering to a regular maintenance schedule is crucial, you'll still occasionally encounter issues with your home water filter that require troubleshooting. The first step is to consult your user manual, as it should provide guidance specific to your model. If you're experiencing reduced water flow or a change in taste or odor, it could indicate that it's time to replace the filter cartridge. Always be mindful of the filter lifespan; exceeding it can lead to less effective filtration and potential damage.
Check for leaks at connection points, ensuring fittings are secure. If a leak persists, gaskets or O-rings may need replacement. Don't overlook the installation warranty; if your system is relatively new, the manufacturer may cover repairs or replacement parts.
If your water filter has an electronic monitor or indicator, ensure it's functioning correctly. A malfunctioning monitor can give false readings, causing you to change filters unnecessarily or overlook a needed change.
In case of unresolvable problems, don't hesitate to contact the manufacturer's customer service for assistance. They can provide expert advice and may even guide you through the troubleshooting process over the phone, saving you time and potentially costly service fees.
Conclusion
Now that you've got the know-how, it's time to ensure your water's purity.
Remember to regularly check your system and replace filters as needed to maintain peak performance.
Don't ignore unusual changes in water taste or flow—these could signal a need for troubleshooting.
With diligent care and attention, your home water filter will provide clean, safe water for years to come.
Here's to your health and the satisfaction of a job well done!