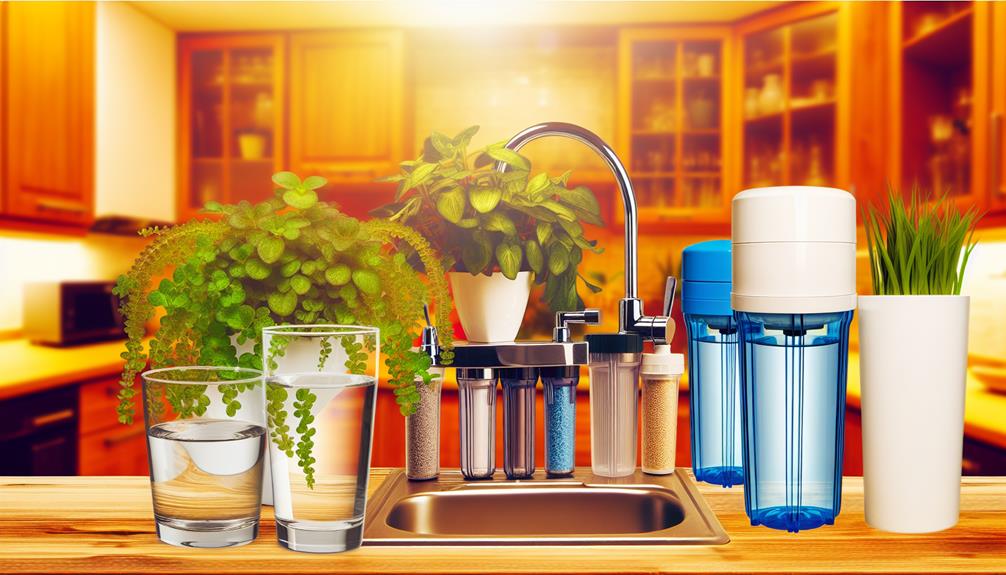
You've recognized the necessity, researched the benefits, and now you're ready to take action; installing a water filter is a wise decision that can safeguard your health and enhance your daily water consumption experience.
As a professional, I understand that navigating the complex world of water filtration can be daunting, but don't worry, you're not alone in this journey. By following five expert steps, you can ensure a reliable installation that'll provide you with clean, safe water for years to come.
From assessing your specific filtration needs to maintaining your system post-installation, these steps are designed to give you peace of mind. But before you grab your toolbox and get to work, it's crucial to understand why each step is important and how skipping even one can lead to less-than-optimal results.
Let's explore the essentials of a successful water filter installation, ensuring that you don't miss any critical elements along the way.
Assessing Your Filtration Needs
Before you dive into purchasing a water filter, it's essential to pinpoint your specific filtration needs based on water quality and usage in your household.
Begin with water hardness testing; this will determine the concentration of calcium and magnesium in your water, which contributes to scale buildup in pipes and appliances. You can purchase a test kit or request a report from your local water authority.
Next, conduct a thorough contaminant analysis. Check for common pollutants such as lead, chlorine, pesticides, and bacteria that may pose health risks or affect water taste and odor. This step often requires sending a sample to a certified lab, ensuring accuracy in identifying which contaminants you're dealing with.
Once you've gathered this data, you'll be equipped to select a filter that targets your specific concerns. If you're dealing with hard water, a water softener might be necessary. For contaminants, options range from activated carbon filters for organic chemicals to reverse osmosis systems for a broad spectrum of pollutants.
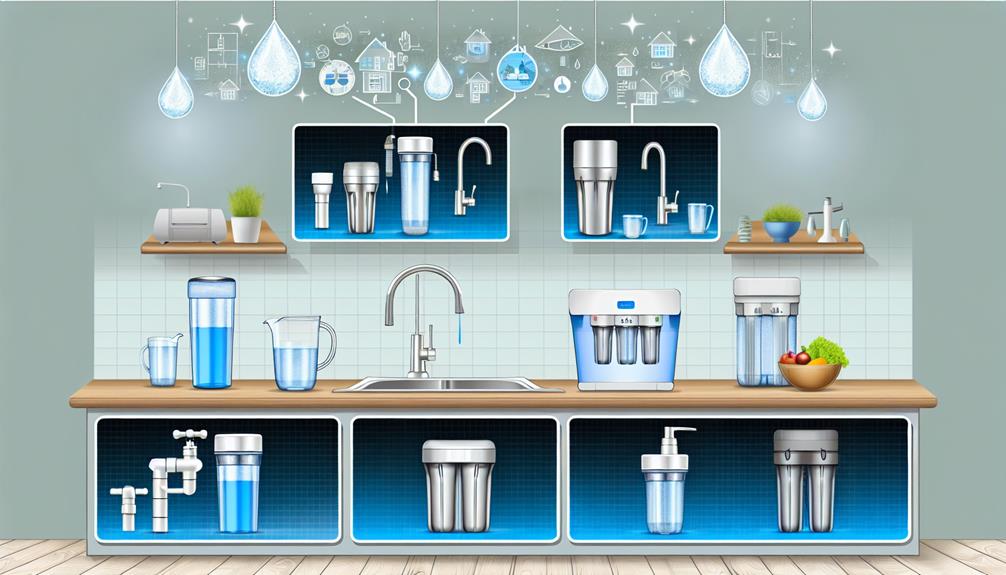
Choosing the Right Filter Model
After assessing your water quality, you'll want to choose a filter model that not only aligns with the contaminants present but also fits your household's water consumption and installation space. You're looking for a system that can handle the specific contaminant types in your water while ensuring that the filter lifespan matches your expectations for maintenance and replacement intervals.
To visualize the right choice, consider the following:
- Volume and Flow Rate: Estimate your daily water usage and ensure the filter can process that amount efficiently without a noticeable drop in pressure. A family of four typically requires a filter with a higher capacity than a single occupant.
- Filter Lifespan: Examine the manufacturer's data on how long the filter is expected to last before needing a replacement. This can range from a few months to several years, depending on usage and water quality.
- Contaminant Removal: Match the filter to the specific contaminants identified in your water test. Look for a model certified to remove or reduce the prevalence of these impurities to safe levels.
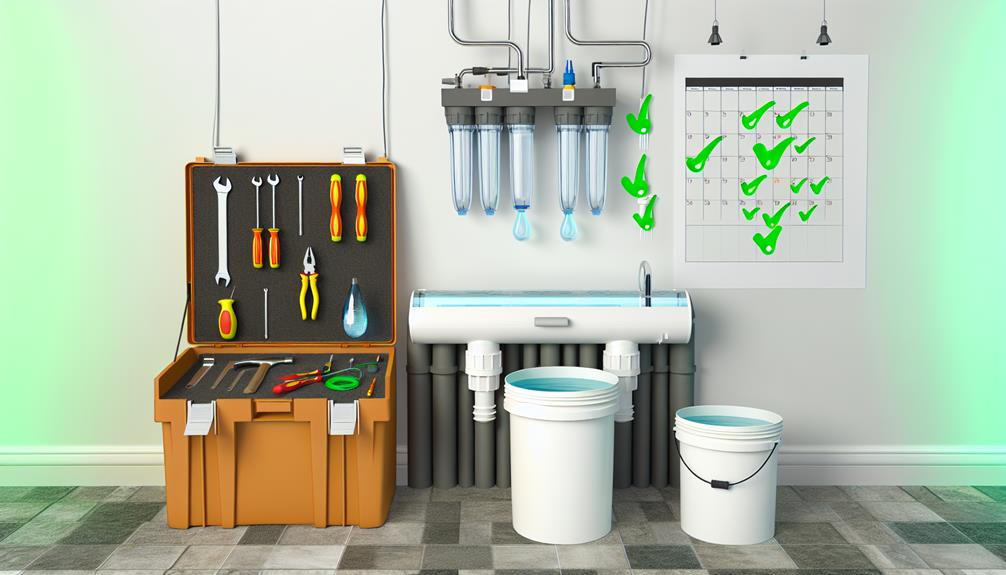
Preparing Installation Tools and Area
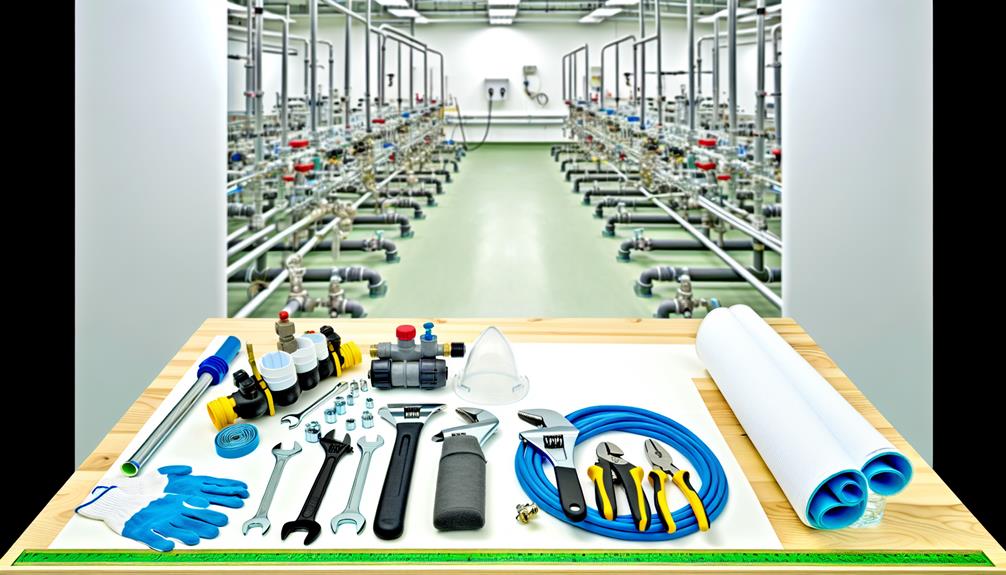
Gather your toolbox and clear the installation space to ensure a smooth setup of your chosen water filter system. Proper tool organization is crucial to streamline the process and avoid delays. Make sure you have all necessary tools at hand before you begin. This may include wrenches, screwdrivers, Teflon tape, and tubing cutters. Organize them in order of use to save time.
Area clearance is just as important. You'll need a clean, unobstructed area to work in. Remove any cleaning supplies, dishes, or other items from under the sink or around the installation site. Ensure ample lighting so you can see what you're doing, reducing the risk of mistakes or injury.
Here's a table outlining the essential tools and actions for preparing your workspace:
| Essential Tools | Preparation Actions |
|---|---|
| Adjustable wrench | Clear countertop space |
| Screwdriver set | Ensure good lighting |
| Teflon tape | Clean installation area |
| Tubing cutter | Lay down a towel or mat |
Step-by-Step Installation Process
Ensure you've turned off the water supply to your sink before you begin the actual installation process of your new water filter. This precaution prevents any unexpected water flow that could disrupt the installation or cause water damage.
Here's the step-by-step guide:
- Mount the Filter Unit: Secure the filter unit to the wall or cabinet side, ensuring it's positioned for easy access for maintenance and doesn't interfere with storage space or plumbing.
- Connect the Water Lines: Attach the water lines to the inlet and outlet ports of the filter. Use plumber's tape to prevent leaks. Ensure connections are secure but don't over-tighten, as this can damage the fittings.
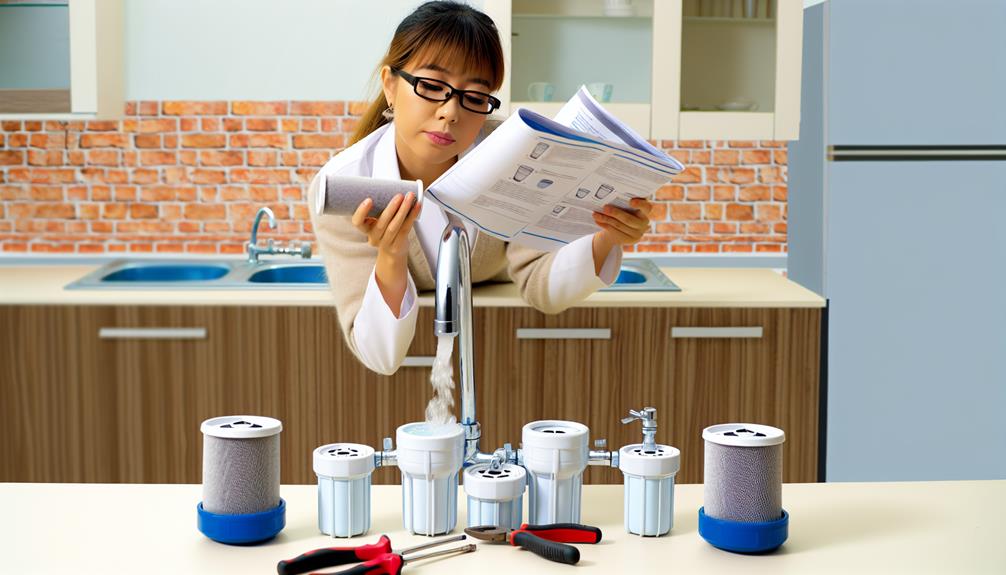
- Install the Faucet: If your system includes a separate faucet for filtered water, install it according to the manufacturer's instructions. Drill a hole in your sink or countertop if necessary.
After installation, slowly turn the water supply back on and check for leaks. It's crucial to run the water through the system for several minutes to flush out any manufacturing residue.
Keep in mind the filter lifespan to schedule timely replacements. Should you encounter any flow issues or leaks, consult the troubleshooting tips provided with your filter's manual. Regular maintenance is key to ensuring your water filter performs optimally.
Post-Installation Maintenance Tips
To maintain your water filter's efficiency and longevity, regularly check and replace the cartridge according to the manufacturer's recommended schedule. Ignoring this crucial step can severely shorten your filter's lifespan and compromise water quality. Your filter's manual will specify how often the cartridge needs changing—this could be every few months or after a certain number of gallons have been processed.
Be mindful of changes in water taste or clarity, as these can be early indicators that the cartridge is due for a replacement. Taste testing your water periodically is a simple, yet effective way to detect any issues. If the water starts tasting off or becomes cloudy, it's likely time to check your filter.
Cleaning your water filter system is also essential. Dust and debris can accumulate on the unit, affecting performance. Gently clean the exterior and follow the manufacturer's guidance for sanitizing the interior components.
Lastly, keep an eye on the system's seals and connections. Leaks can develop over time and impact filter effectiveness. Tighten any loose fittings and replace worn-out seals as needed.
Conclusion
Now that you've installed your water filter, remember, maintenance is key to longevity. Regularly check for leaks, replace cartridges as recommended, and clean the system to prevent clogs.
By following these steps, you'll ensure your filter performs optimally, providing you with clean, safe water. Don't neglect your system; a little attention goes a long way in safeguarding your investment and your health.
Stay proactive and enjoy the benefits of pure water at your fingertips.