Installing a water filter in your home can be as straightforward as following a recipe, but just as with cooking, the devil is in the details.
You've recognized the importance of clean drinking water and decided to take control by considering a local water filter installation.
As a professional, I'll guide you through the necessary steps to ensure that you're well-prepared for this undertaking. From assessing your specific filtration needs to choosing the right system, you'll be equipped with the knowledge to make informed decisions.
The process doesn't end with installation, though; understanding the maintenance and upkeep will be crucial for the longevity and effectiveness of your filter.
Stick with me, and you'll soon discover the finer points that could make all the difference in the performance and reliability of your home water filtration system.
Assessing Your Filtration Needs
Before you choose a water filter, it's essential to determine the specific contaminants you need to remove from your water supply. This process, known as contaminant analysis, involves a comprehensive assessment of your water quality. You'll need to gather a detailed report, which typically includes testing for biological organisms like bacteria and viruses, chemicals such as chlorine and pesticides, heavy metals including lead and mercury, and sediments or particulates.
Once you've identified the contaminants, you'll select filtration methods tailored to your findings. For instance, activated carbon filters effectively remove chlorine and certain organic compounds, while reverse osmosis systems are more adept at reducing dissolved inorganic substances like salts and heavy metals.
It's also crucial to consider the micron rating of the filters. This measurement determines the size of the particles the filter can remove. A lower micron rating indicates a finer filtration capability, which is necessary if your water analysis reveals smaller particulate contaminants.
Remember that no single filtration method eradicates all impurities, so you may require a combination of systems to ensure your water is safe for consumption. Understanding the specifics of your water's contaminant profile will guide you to the most effective and efficient water filtration setup for your needs.
Choosing the Right Water Filter
After assessing your water quality, you'll need to choose a water filter that effectively targets the specific contaminants identified in your analysis. Given the variety of filters available, it's crucial to match the filter's capabilities with your contaminant identification results. Consider activated carbon filters for organic chemicals and chlorine, while reverse osmosis systems are suited for a broad spectrum of contaminants, including heavy metals and fluoride.
Filter lifespan is another key factor in your decision. It's not just about the initial purchase; you should also account for the maintenance costs and frequency of replacement. Some filters may require more frequent changes, impacting your long-term budget and convenience. Look for systems with longer-lasting filters to minimize hassle and ensure continuous protection.
Additionally, consider the flow rate and whether it aligns with your household's water usage. A filter with an inadequate flow rate can lead to interruptions and inefficiencies. You want a system that maintains a consistent supply of filtered water without significant drops in pressure.
Lastly, certification by a reputable body, such as NSF International or the Water Quality Association, can give you confidence in a filter's performance claims. Always verify that the model you select is certified for the specific contaminants you need to address.
Preparing for Installation
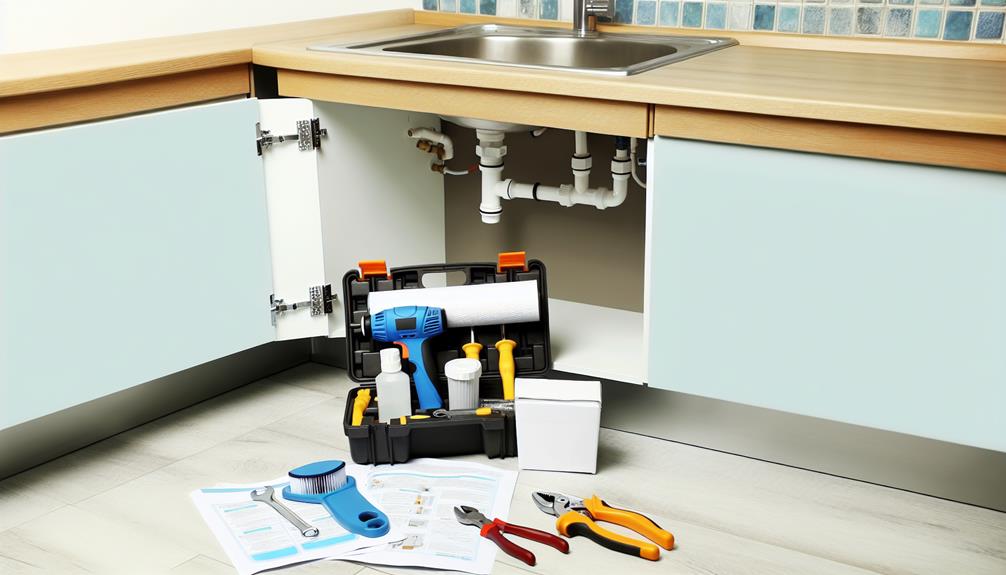
Ensure you have all the necessary tools and components on hand for your water filter installation to avoid delays and complications. Before diving into the installation process, it's crucial to conduct a thorough site survey. This involves examining the area where you'll install the filter, checking for an accessible water line, and ensuring there's sufficient space for the system and any future maintenance. Remember, accurate measurements are key to a smooth installation.
Next, focus on tool gathering. You don't want to be halfway through the installation only to realize you're missing a crucial piece of equipment. Here's a list of items you should prepare:
- Adjustable wrenches for tightening and loosening connections.
- A drill with various bits, if you need to create new mounting holes.
- Teflon tape to seal threaded fittings and prevent leaks.
- A tubing cutter or hacksaw to cut pipes to the required length.
With your site survey complete and all necessary tools at the ready, you'll be set up for a successful installation. This preparation phase isn't just about having the right equipment; it's about ensuring a seamless and efficient workflow that leads to a well-functioning water filter system.
The Installation Process
Having prepared your workspace and gathered the essential tools, let's begin the installation process by shutting off the main water supply to avoid any potential leaks. First, check the filter compatibility with your plumbing system. Ensure the model you've chosen matches the specifications of your water line in terms of size, pressure, and connection type.
Next, assemble your installation tools. You'll need wrenches, Teflon tape, and possibly pipe cutters if you must modify your piping. Carefully follow the manufacturer's guidelines for securing the filter. If it's a point-of-entry system, you'll typically install it where the main water line enters your home. For point-of-use filters, like for a sink, installation is generally under the counter where the water line connects to the faucet.
Tighten all connections with the wrenches, but don't over-tighten as this can damage the fittings. Wrap threads with Teflon tape to ensure a water-tight seal, preventing any future drips. Once everything is secure, slowly turn the water supply back on and check for leaks. If you spot any, shut off the water again and re-tighten the affected areas.
With these steps, your filter installation should be successful, providing you with cleaner, safer water for your home.
Maintenance and Upkeep Tips
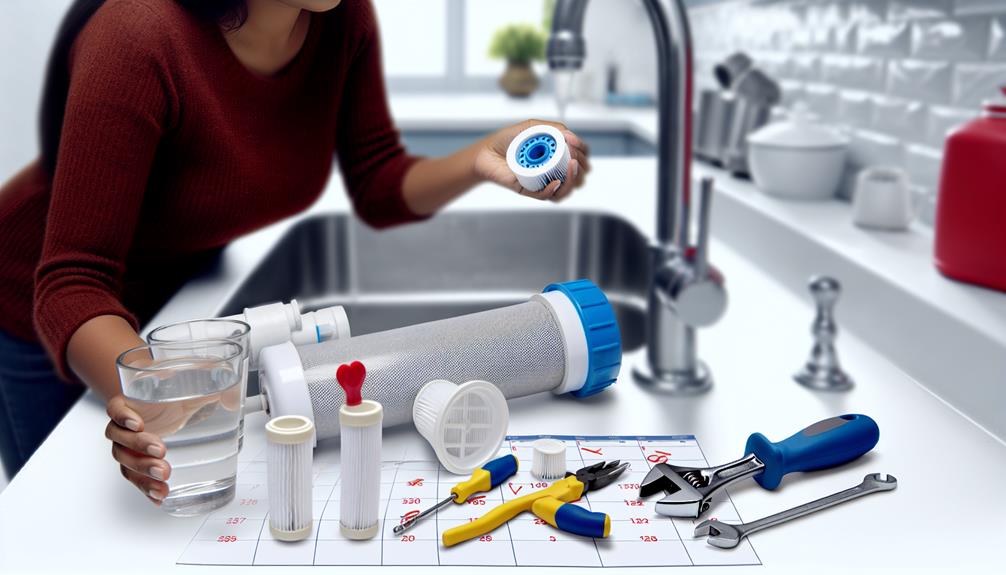
To maintain your water filter's optimal performance, regularly replace the cartridges according to the manufacturer's schedule and inspect for any signs of wear or damage. Ensuring the longevity of the filter lifespan not only guarantees the purity of your water but can also lead to significant taste improvement.
Here's a concise list of maintenance tips to keep your water filter functioning at its best:
- Monitor Filter Cartridges: Check the filter cartridges every couple of months. Accumulated sediments can reduce efficiency, so replace them as recommended or when you notice a decline in water quality.
- Sanitize the System: Every time you change the cartridges, take the opportunity to sanitize the housing units. Use a solution recommended by the manufacturer to prevent bacterial growth.
- Check for Leaks: Regularly inspect connections and fittings for leaks. A small drip can indicate a bigger problem and should be addressed promptly to prevent water damage.
- Record Maintenance: Keep a log of all maintenance activities. This helps you track the filter's performance and ensures you're adhering to the maintenance schedule for optimal filter function.
Conclusion
Now that you've installed your water filter, remember to maintain it regularly for optimal performance. Change the cartridges as directed, typically every six months, and check for leaks periodically.
Staying on top of maintenance ensures you'll always have access to clean, safe drinking water. Trust in your handiwork and enjoy the peace of mind that comes from knowing you're protecting your household's health with every glass of water.
Your diligence makes all the difference!
